
DIY Pottery Barn Inspired Faux Berry & Pine Wreath
create a high-end winter wreath with this super easy tutorial and for under $20!
Hello, friends!
I usually always start my Christmas decorating by adding a wreath to our front door. But this year things didn’t exactly go as planned.
Mostly because I couldn’t decide on what exactly I wanted the wreath to look like. And secondly, because the beautiful mums I bought this fall that took SOOO long to bloom, still looked so lovely on our front porch. I seriously didn’t have the heart to switch them out for Christmas decor just yet.
But then winter happened.
We recently had a few frosty nights and even a bit of snow this past weekend. So I guess it’s time.

I had searched and searched online for inspiration to make a wreath, but nothing caught my eye. Until, like usual, I checked out my favorite place for decor and inspiration. Pottery Barn!
When I saw this asymmetrical wreath I fell in love immediately!
If you follow along you’ll remember that I created an asymmetrical wreath for fall this year too!
This berry and pine-filled wreath had all the natural feels I was looking for. And I loved the little pops of red. I also liked the fact that this wreath could stay up all winter long too! That’s a big PLUS for me!
But here was the BIGGEST bonus!


Those talented folks at Pottery Barn also showed two more ways this gorgeous wreath could be hung!!! And I LOVE them all!
So I’m getting THREE wreaths instead of one!
Now that’s what this budget-conscience girl is talking about!
what you’ll need to make the berry & pine wreath:
(Affiliate links are provided throughout this post. If you make a purchase we will receive a small commission at no additional cost to you. You can find our full disclosure here.)
- (1) Grapevine wreath. ( Re-use one you have or pick one up at a thrift store). **Michaels also had them for $6.99)
- Pine garland
- Additional Pine stems
- Berry stems
- Wire Cutter
- Pine Cones
- Floral Wire
- Hot glue
- Battery Operated Mini Lights
how to make the berry & pine wreath:
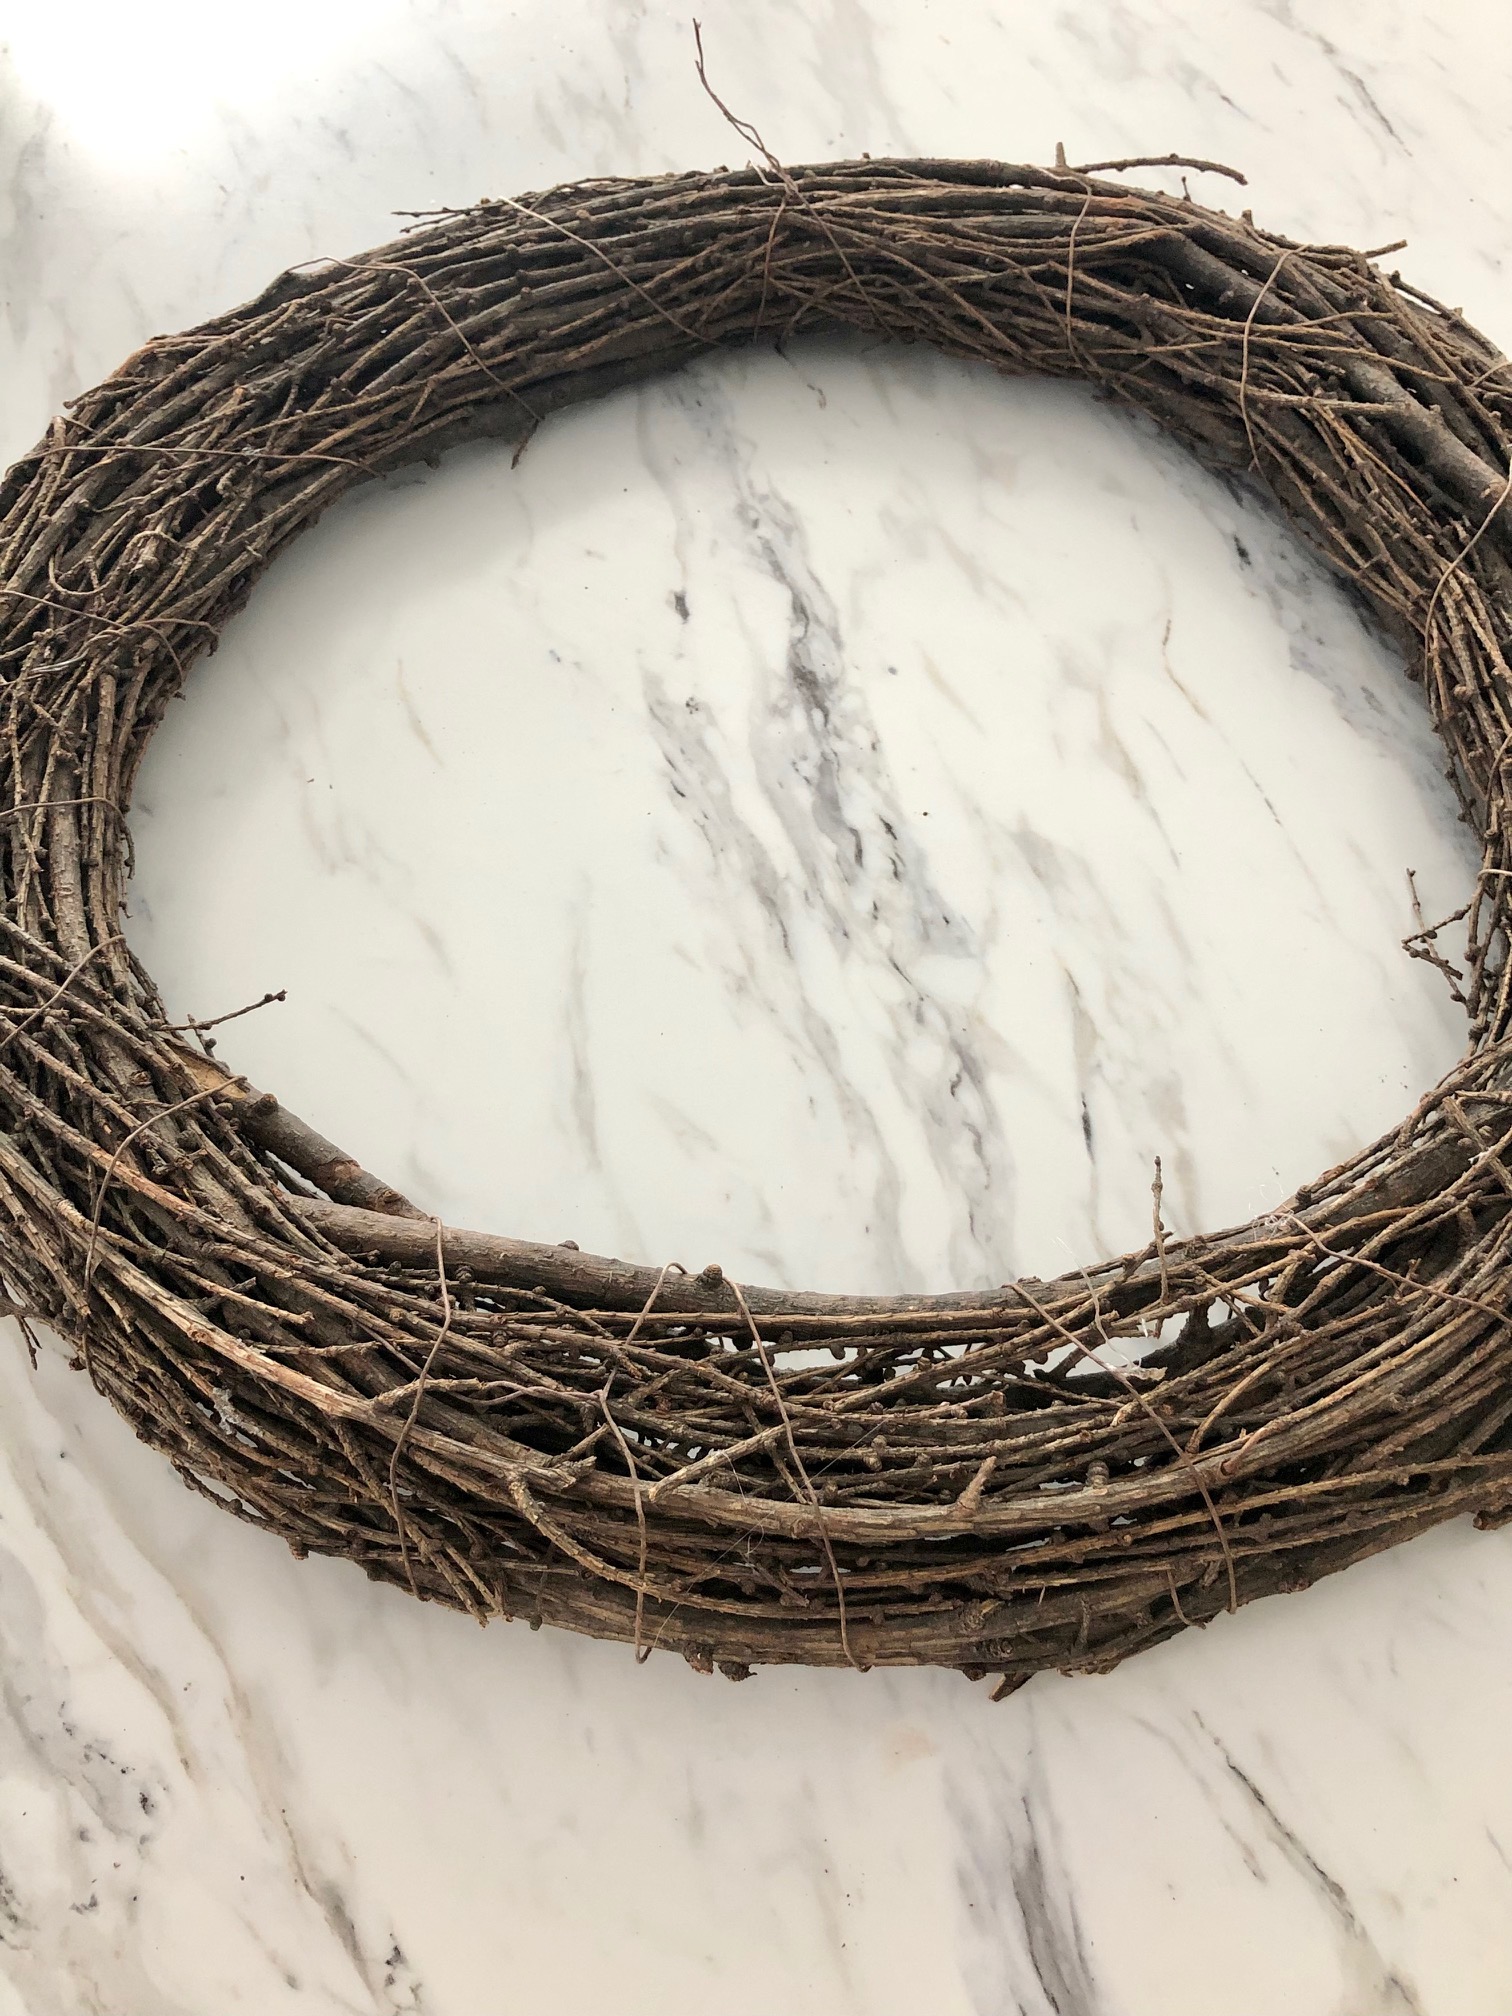
- Lay your wreath out onto a clean, flat surface.
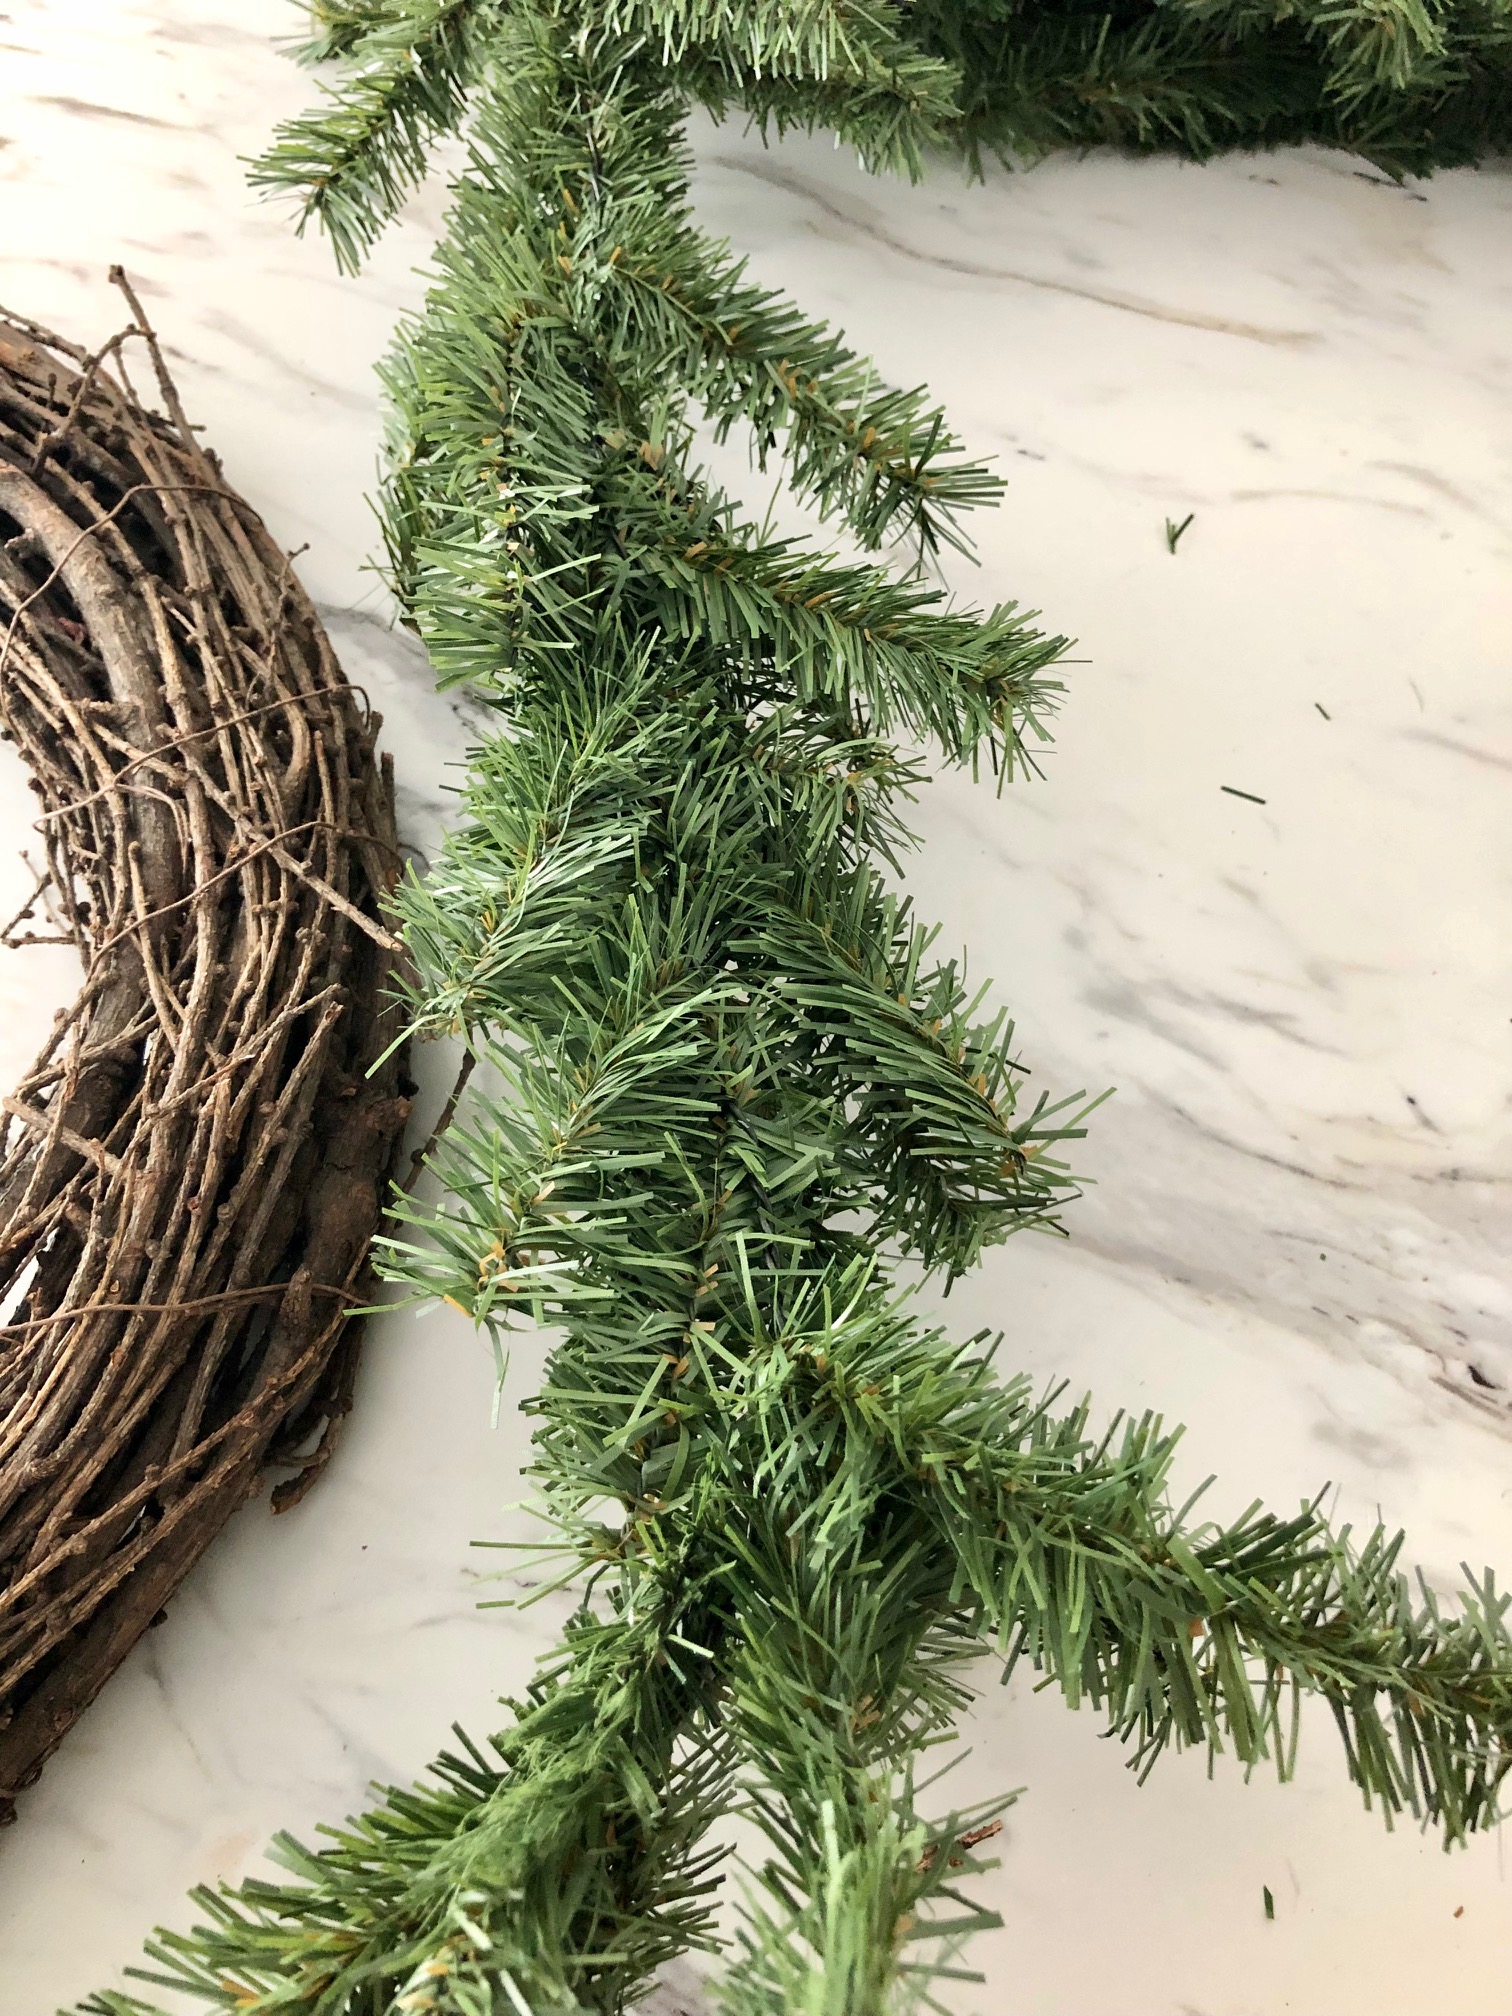
2. Cut the garland into 12″ sections. (This makes it MUCH easier to handle).

3. Lay each piece of garland down flat and attach it to the wreath with the floral wire. (We’ll tweak the garland in the next step)
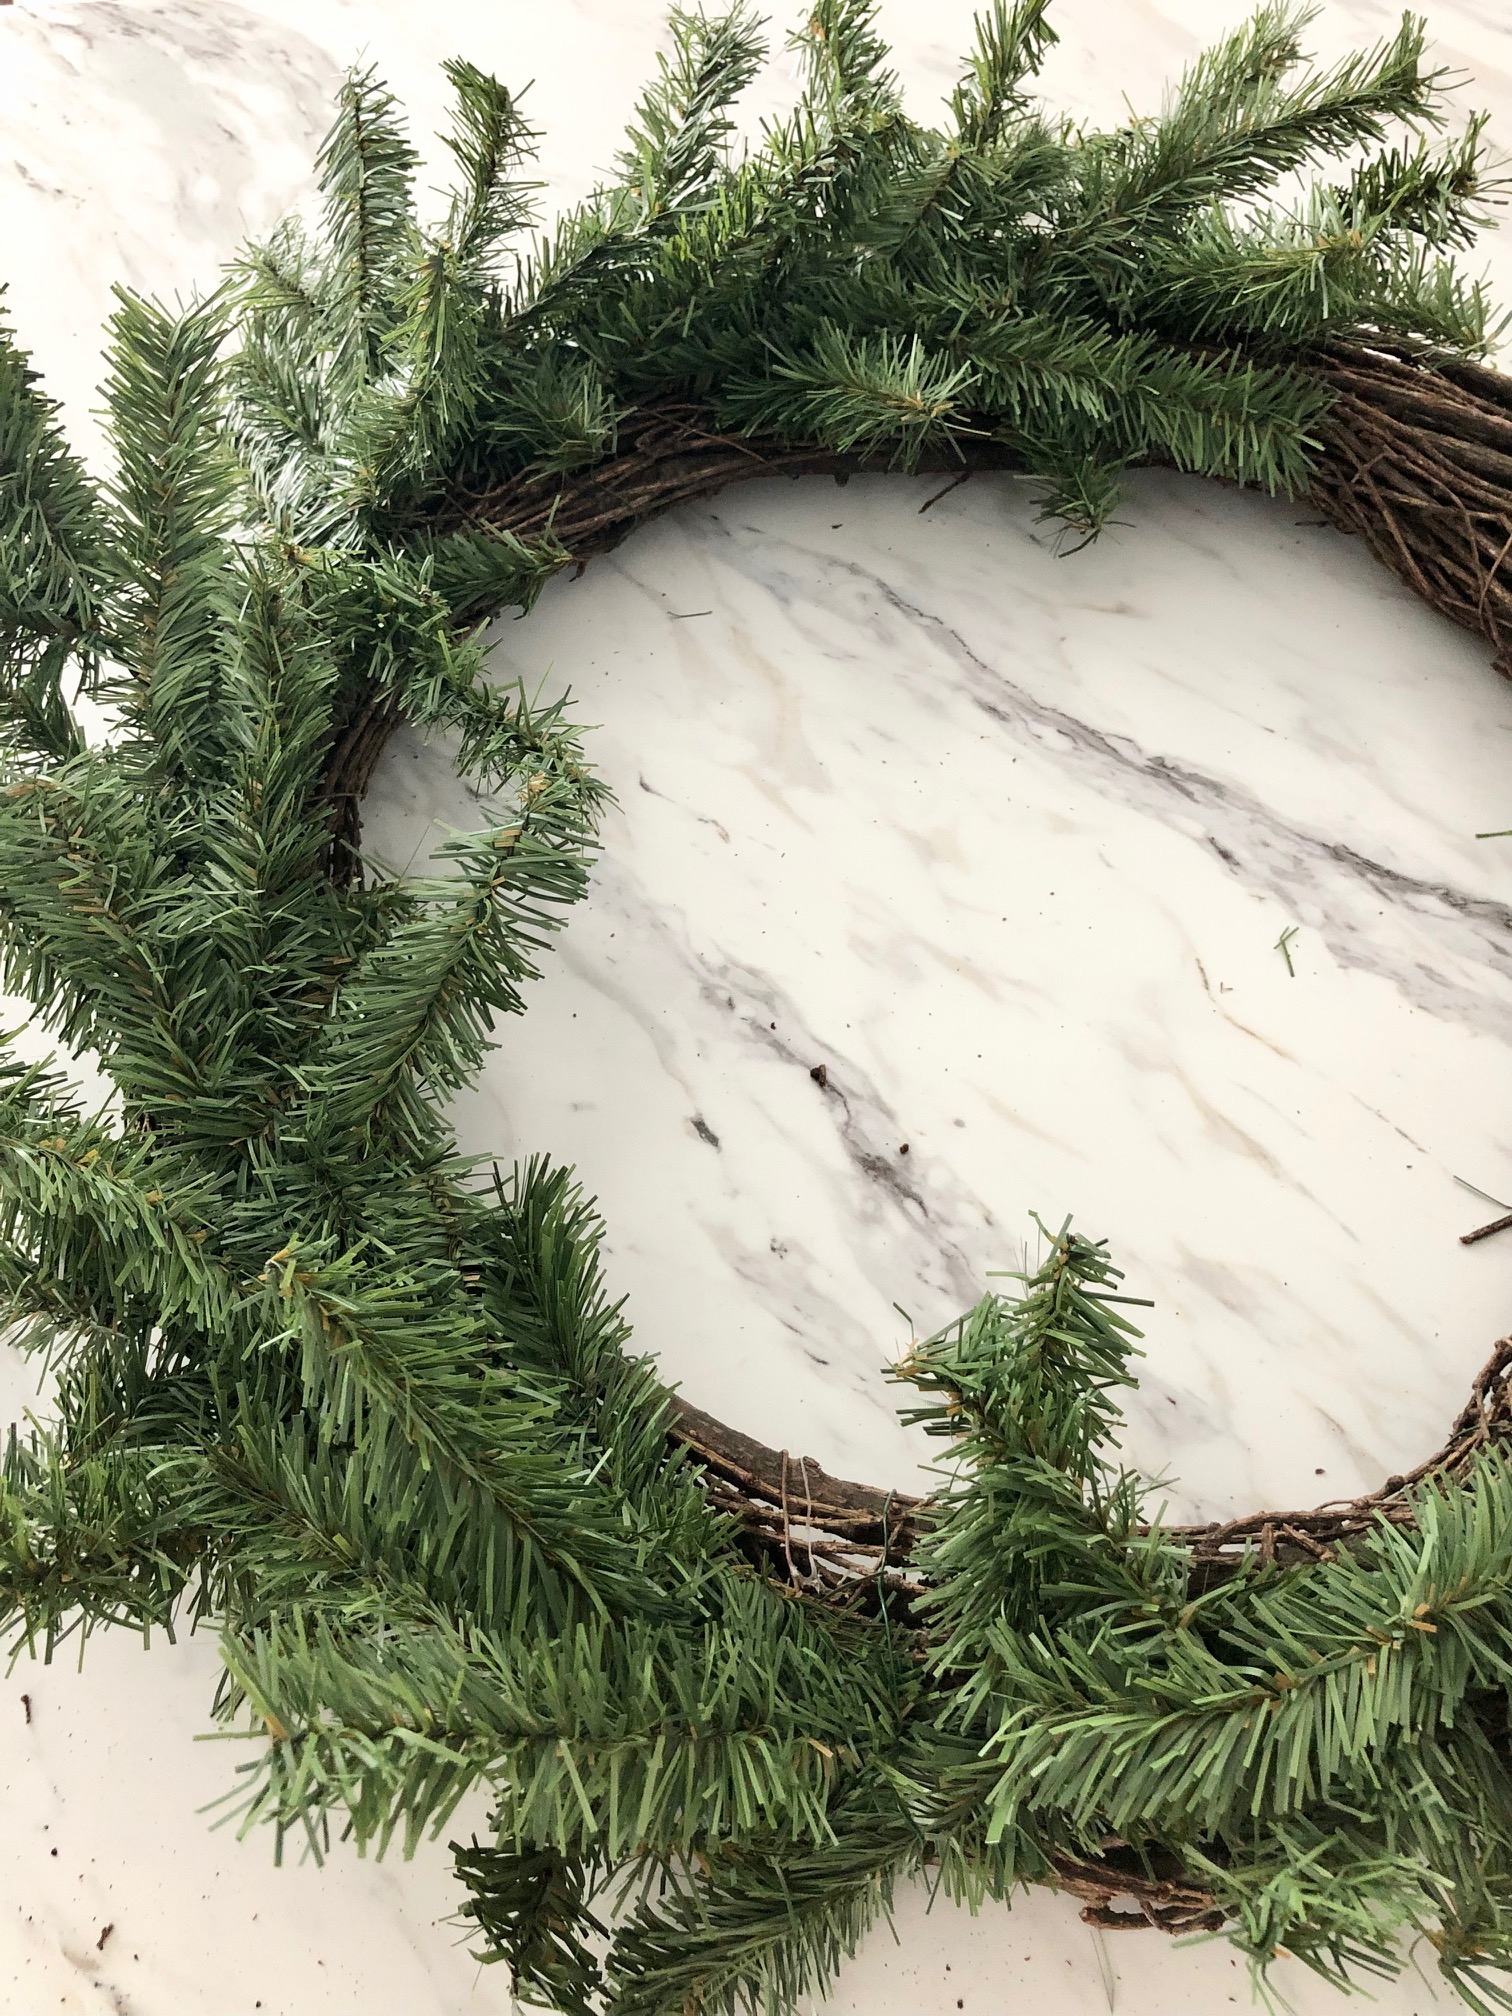
4. Wrap the garland around creating an asymmetrical wreath. Once it is wrapped to the point you want it, you will notice there are bare spots. No worries. We will fill those in the next few steps. All we want to do in this step is straighten each section of garland and make it look like it’s going in the same direction. **NOTE: You may have to snip off a few ends with the wire cutter to shorten them so are jutting out.

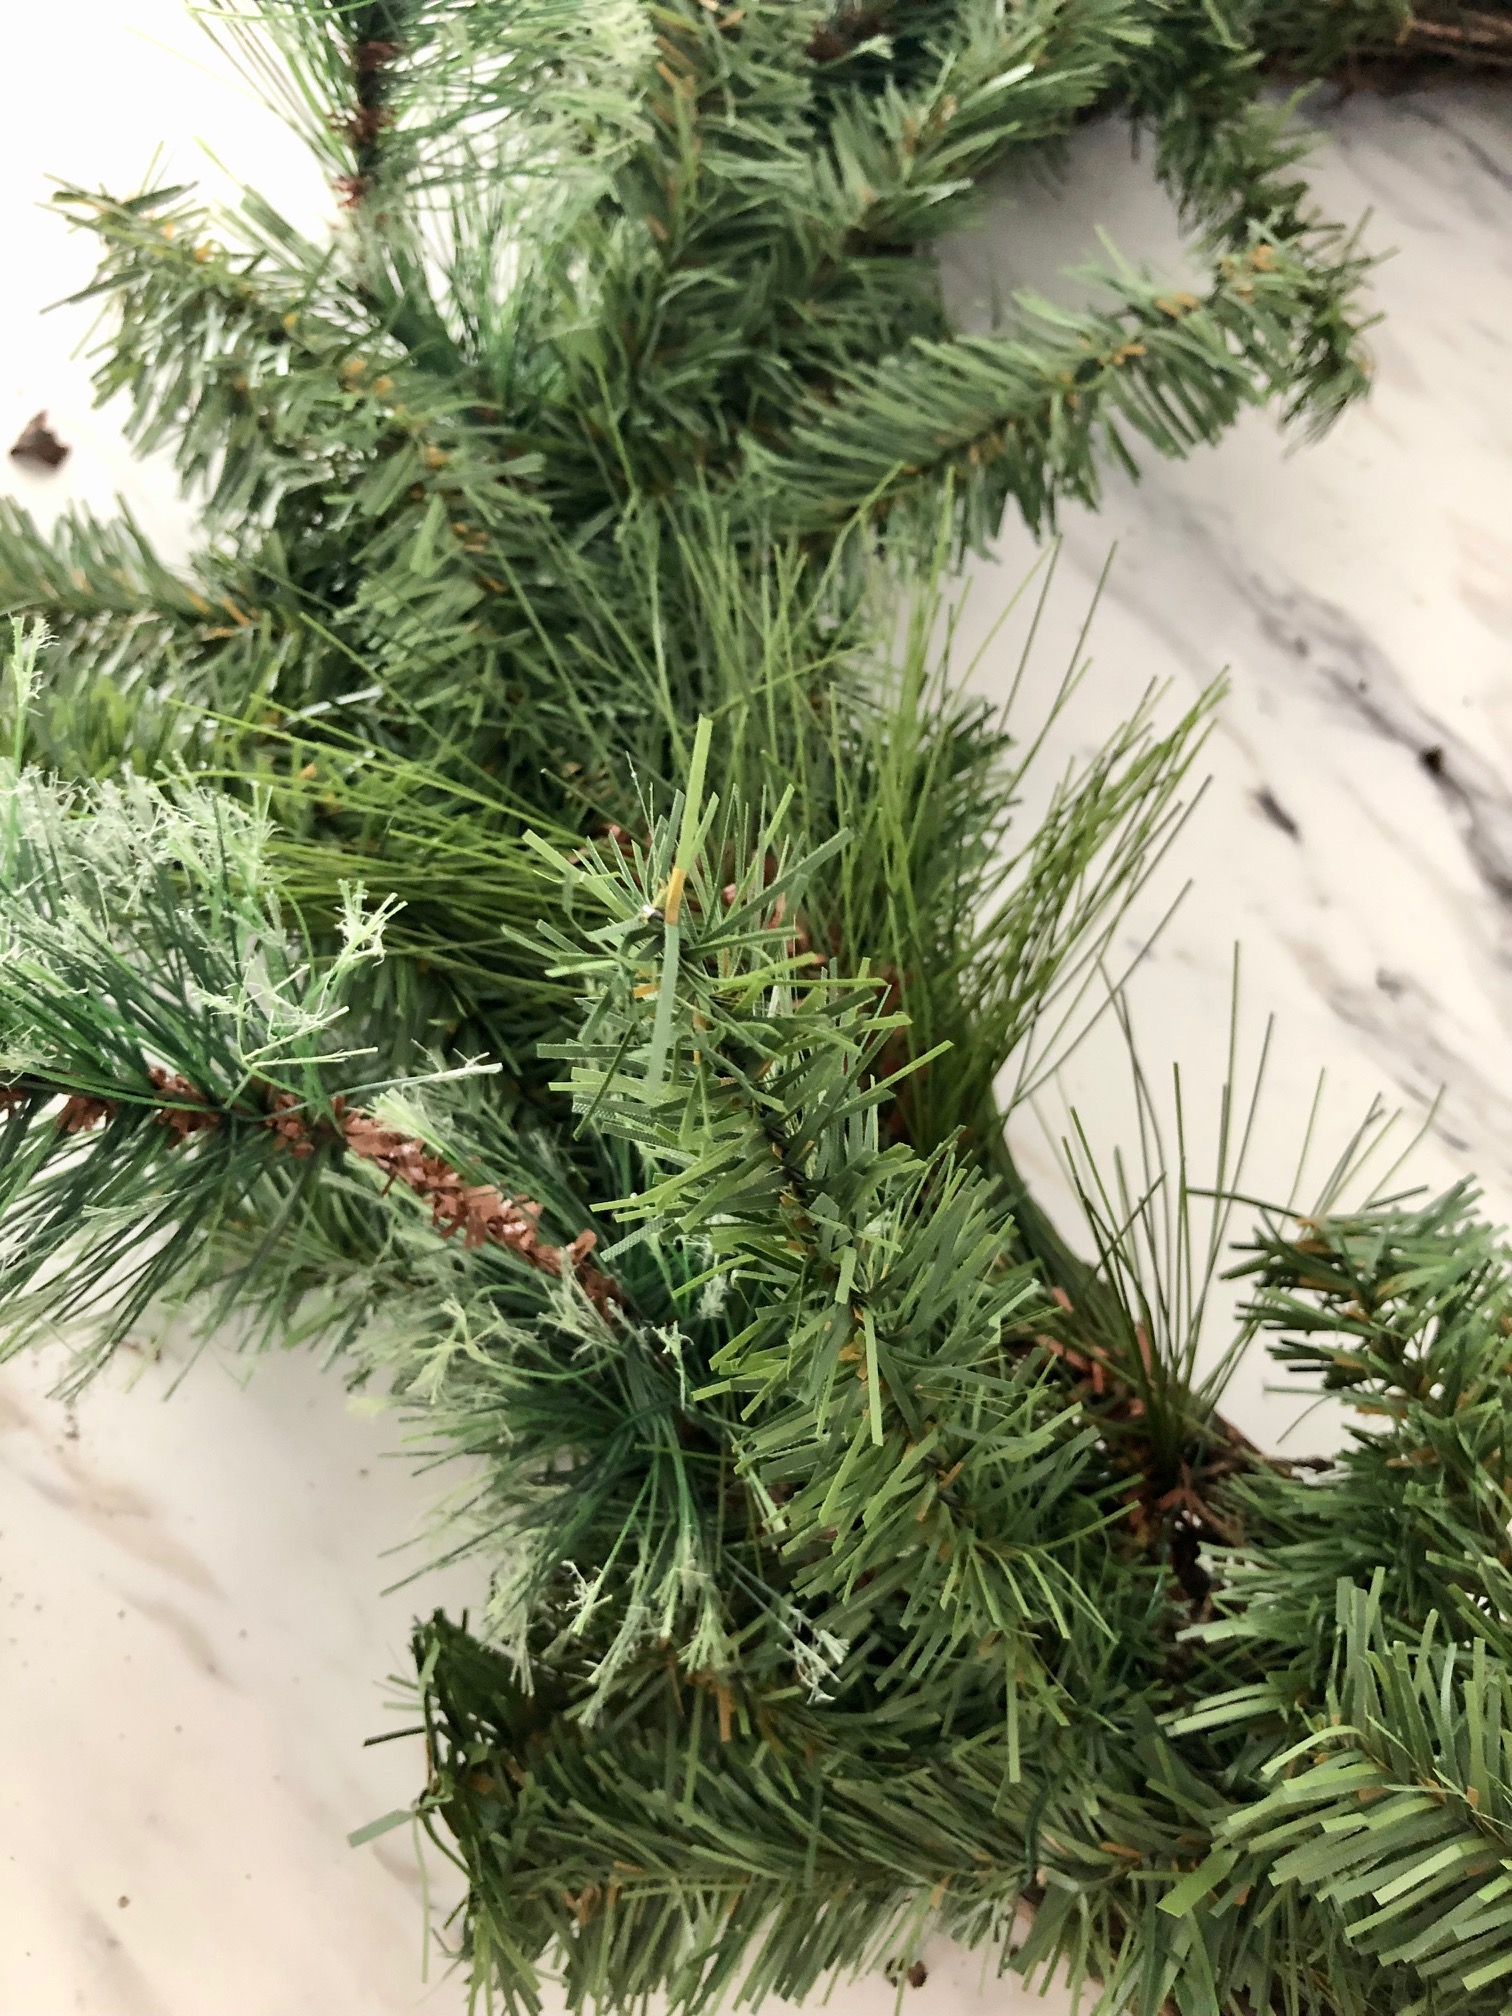
5. Cut additional greenery.
I bought these berry and pine stems at Target last year. I loved the slight frostiness and texture of the cashmere pine and the berries were a bonus. So I just snipped off the pine from the main stem and pushed them into the wreath.
TIP: The inspiration wreath has mostly frosty greenery so if you want the exact look you may want to use a frosty garland. As the additional greenery will just add more texture and a bit of frostiness.
6. Attach the berries
My berries had stems so I just pushed them into the wreath and they held just fine. You could also tie them down with the floral wire. Or glue them.

7. Add Pine Cones and lights
The inspiration wreath had long plain pine cones, but I only had a couple of those on hand. And since I didn’t want to buy more, so I used two frosted ones from an old wreath I had. All I did was use some hot glue to glue them down.

To attach the lights I first tied the box where the batteries are stored onto the back of the wreath (behind the greenery) with floral wire. Then I weaved the string of lights through the greenery.

And that, my friends, is it!
I have a beautifully full, natural, Christmas wreath that I can hang three different ways!
But here’s the VERY best part!
Guess how much the inspiration wreath cost?
$149!!!
Yes, you read that right! $149!
And the cost of my wreath?
$0 because I already had everything on hand!
Now I know you all probably won’t have all the materials, But, if you replicate it your cost could be under $20! ** Buy inexpensive garland and add more quality picks (Michaels and Hobby Lobby have them on sale now). You can also buy the berries at Dollar Tree (although mine were completely out).

Of course, now that I saw all three ways to hang this Pine and Berry Wreath, I’m a bit unsure on how I’ll hang it on our front door. What I am sure of is that I’ll be hanging it using this fun plaid ribbon!
Have you decorated outdoors for Christmas yet?
If not, I hope today’s post inspires you to create a high-end wreath for not a lot of money!
SHOP THIS POST


Looking for more Christmas inspiration?


SHARE THIS POST

Thank you so much for stopping by!

This looks amazing, Christine, and such cost-saving tips and tricks too! I love the pop of red berries and the plaid ribbon you chose. It’s been fun to see all the red and green out this year. I think people are really embracing a sense of nostalgia after dealing with the pandemic. Love this and can’t wait to see what you have in store! Hugs, CoCo
Thank you so much, CoCo! I totally agree! That ribbon just gives me all the cozy Christmas vibes!