
DIY Weathered Stone Pumpkins
how to create high-end weathered stone pumpkins with just a few items you already have at home!
Hello, friends!
I know I’ve said it before.
I’m not going to make any additional decor for our current home.
The practical side of me says it just doesn’t make sense, especially when the number #1 tip to sell a home is…DECLUTTER!
But giving these old pumpkins I picked up at a thrift store years ago a makeover, wasn’t exactly ‘adding’ decor.

Besides my only other option for these tired pumpkins was to throw them out! And the frugal side of me just couldn’t do that. After all, they had potential.
I had initially planned to do this project for last week’s DIY challenge-“All Things Pumpkin”, but with everything going on I just didn’t get time.
FYI-This project DOES take a wee bit more time than I counted on, but I think you’ll find it totally worth it if you try it.
So let’s get started. First, let’s take a look at my inspiration for these weathered stone pumpkins!

I just LOVE the rustic- old-world look of these pumpkins, don’t you? I also LOVE the texture!
Which made me think of that Earthenware Vase I did a while back. If you follow along you’ll remember I created it using drywall compound!
And since I’ve been itching to do another project with it, I thought why not try it on pumpkins?!
Materials/Tools
- Faux Pumpkins
- Drywall Compound
- Paintbrushes ( I used a small one like this, a craft brush like these, and a bigger brush like this.)
- Paint (Linen, Brown, Black)
- Faux Leaves
- Glue Gun
[show_shopthepost_widget id=”4843914″]
how to create weathered stone pumpkins

I’m not going to lie. The drywall compound is AMAZING to work with! But…it IS messy too! We have a HUGE (and very heavy) container of it in our basement. So instead of hauling the whole thing up I just put some in an ice cream bucket. A little goes a long way!!!
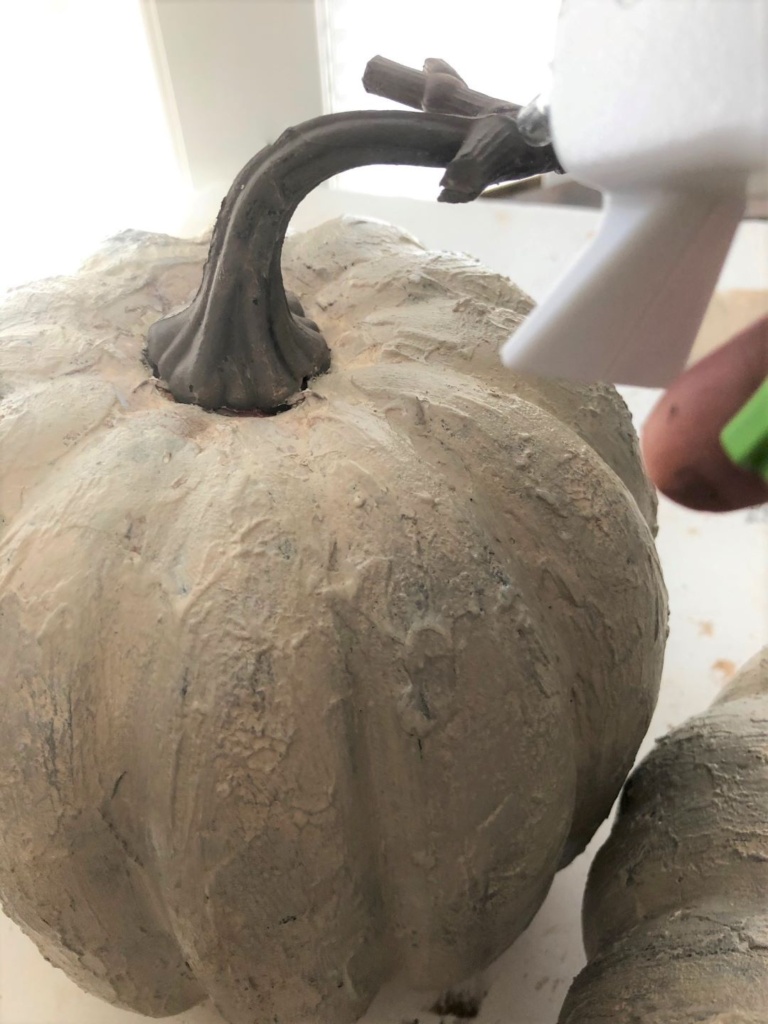
apply the compound to your pumpkins

The easiest way to add the compound to your pumpkin is honestly with your hands! Yes, it’s messy (like playing with mud-messy) but they really are the BEST tools! It allows you to ‘play’ with the compound and move it around where you want it. Some places need more, some need less.
TIP: I placed a small bit of the compound on my fingers and then slid them down the side of the pumpkin from top to bottom. Then I tapped the compound with my fingers, causing indents, which adds more texture to the look.
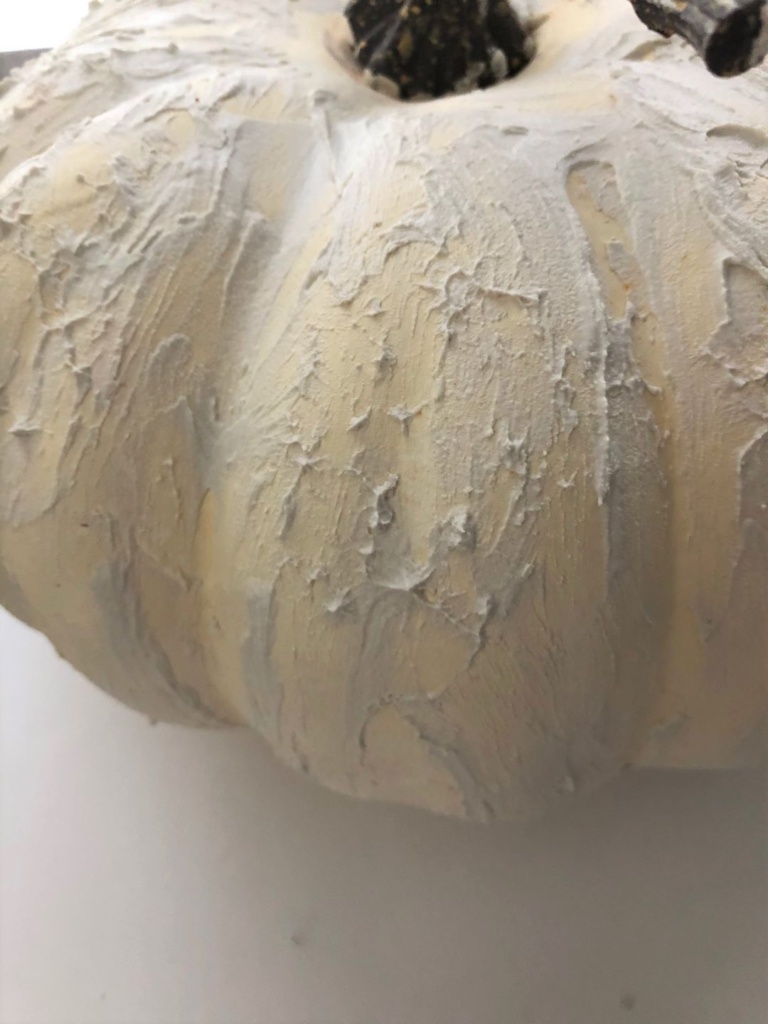
Here is what both pumpkins looked like at the beginning of the process. It kind of looks like I just gobbed it all on, but there’s a method behind my madness.
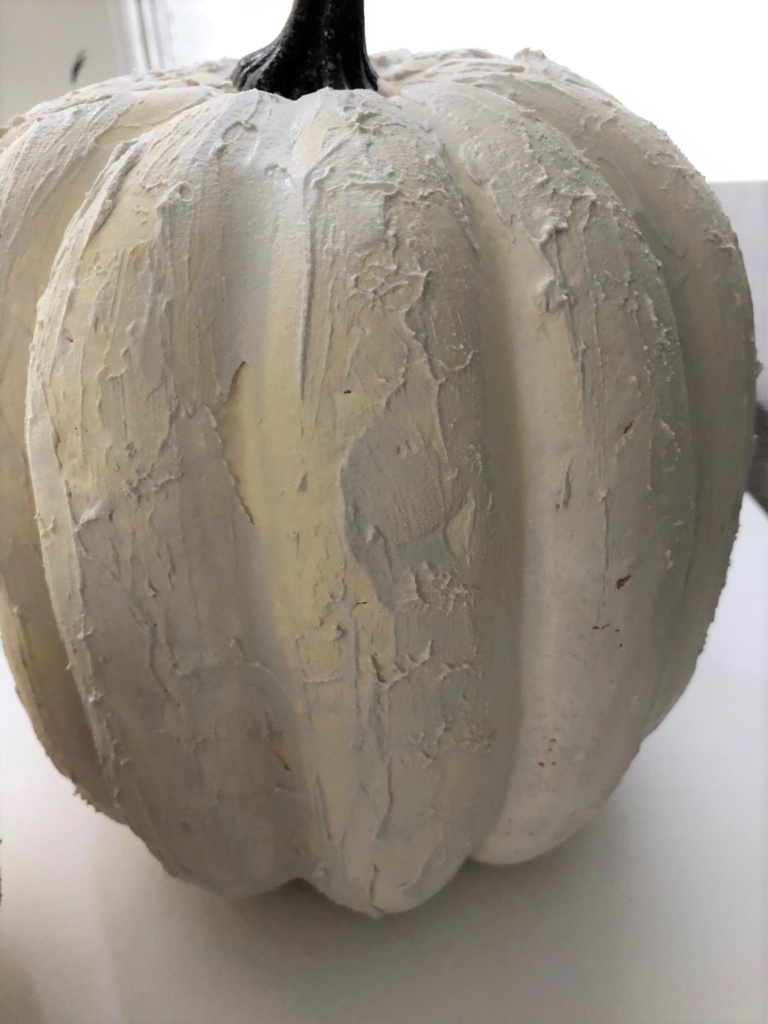
I just kept moving the compound around, taking off excess here and there. Until finally, I had the look I wanted! Can you see all that GLORIOUS wonderful texture? AHHHH! I just can’t stand it!

allow the compound to dry completely!
I put the drywall compound on a bit thicker in some places so it definitely needs a good 24-hour drying period before painting.
painting pumpkins

To start my paint technique, I gave each pumpkin one light coat of linen paint. As you can see from the above picture it did not cover all areas of the compound. In this case, that’s actually okay. Once both pumpkins were painted I allowed them to dry for 30 minutes.

With the same brush as I used for the linen (didn’t even wash it out), I dabbed (tap the brush quickly) here and there on each pumpkin. There is definitely no wrong or right way of doing this painting technique. It’s simply using color to highlight the texture of the pumpkins. Once I had added brown to each pumpkin, I again let them both dry for about 10 minutes.

Once the brown had dried, I began to blend it in with a bit more linen on the same brush. Again I just tapped my brush here and there, leaving some brown but blending other spots. As I did this I couldn’t help but think how close to an old piece of driftwood the pumpkins were starting to look. Do you see that too? It’s close.

The last color to get added to the mix is black. I used this sparingly and lightly brushed it on instead of dabbing. Then again it was all about blending so that a little of the black showed through.
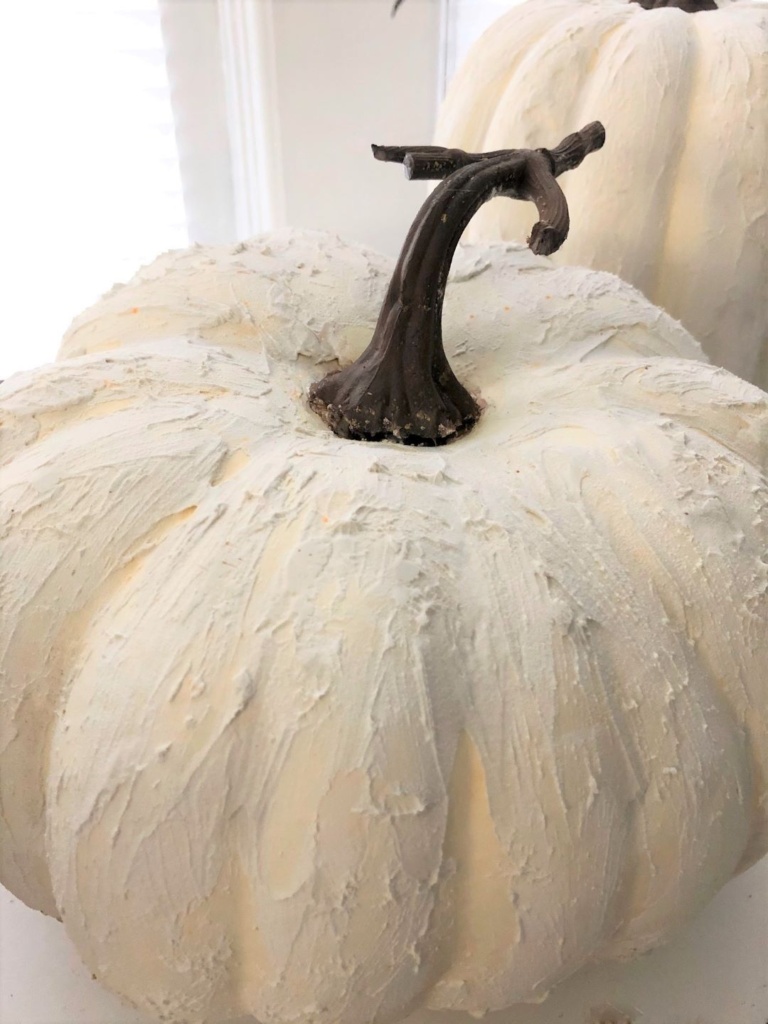
After I blended in the black paint I allowed the pumpkins to dry for a couple of hours. The longer the paint has to dry, the lighter the pumpkins get. Meanwhile, I worked on the stems that in hindsight I should have removed in the beginning! (Ooops!)
paint stems and attache THE leaves
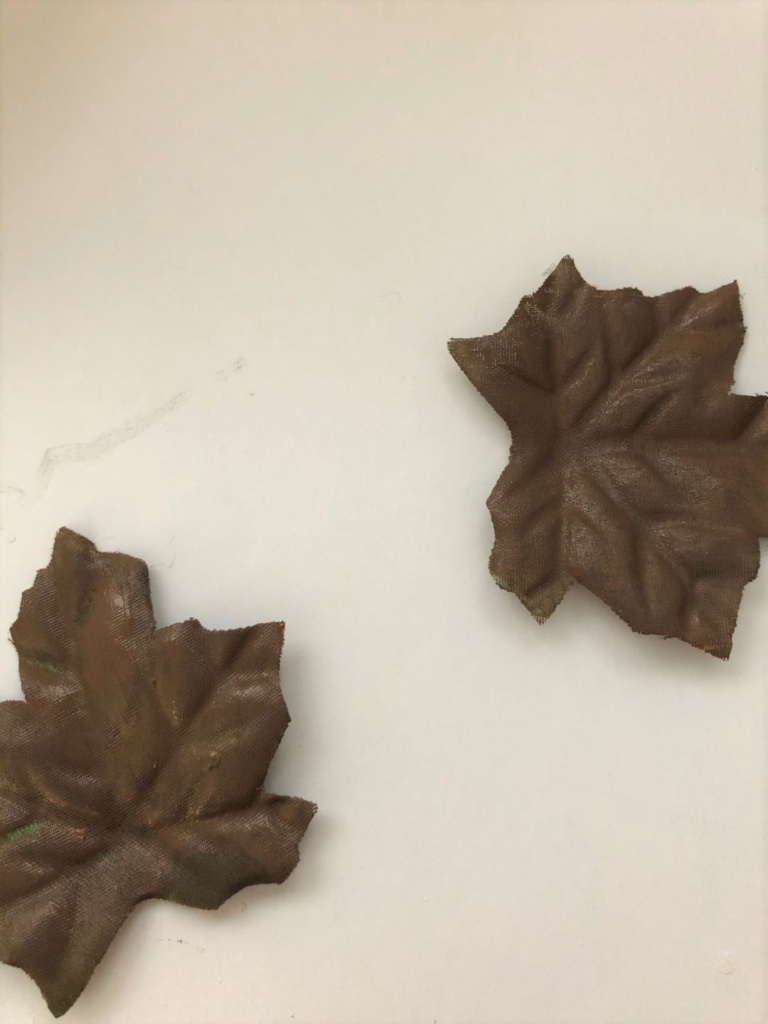
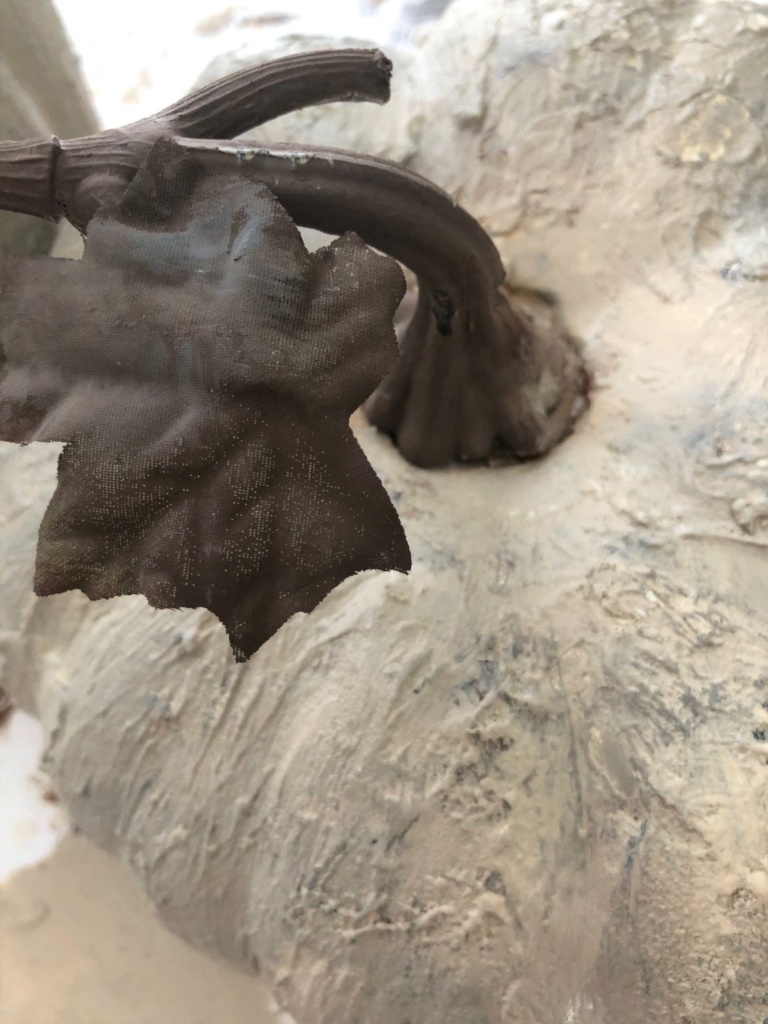
I had some faux leaves that I picked up at the Dollar Store last year. I painted four of them dark brown and allowed them to dry. Then I touched up the stems which were in good shape with the brown paint as well. Once both were dry I used my glue gun and attached two leaves to each stem on the pumpkin.

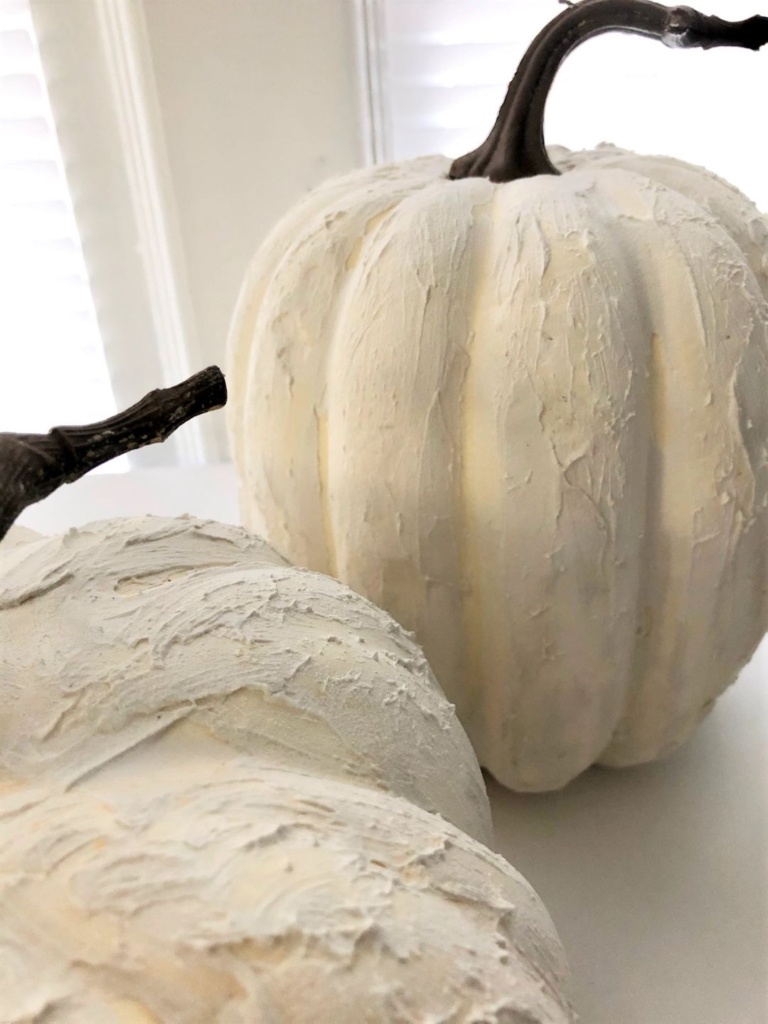
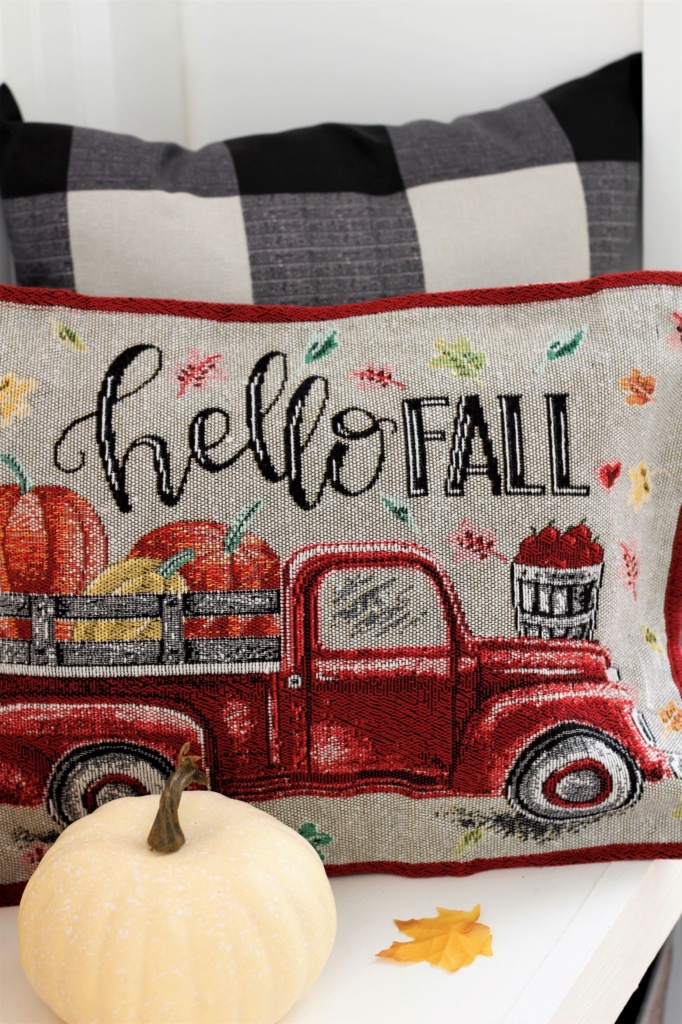
And VIOLA! I now have two ‘new’ pumpkins that look like ‘old’ weathered stone. I think that may be an oxymoron but whatever! I absolutely LOVE how they turned out!

The texture on these pumpkins just makes this girl swoon, and although the project was a bit time consuming, it didn’t cost any $$!! That’s right! $0, and now I’ll be able to enjoy these pumpkins for a few more years!
I hope you enjoy today’s DIY! And I hope it inspires you to think outside the box before throwing away any of your worn-out decor! Maybe all it needs is a new coat of paint, or a tweak here and there to become NEW!
If you liked this project we would love for you to share it!


Looking for more Fall DIYs?
Thank you so much for stopping by!

These are SO cute!! Thanks for sharing , hoping to try this soon!
Hello, Beth! I’m so glad you like the pumpkins! They were such a fun project! Enjoy creating yours!!! 🙂