
DIY Dollar Store Hanging Flower Basket
Let’s create a sweet hanging basket for spring using a thrift store basket and a few floral picks from the Dollar store!
Hello, sweet friends!
If you follow along you’ll probably remember a month or so ago I said that I wanted to do something different to decorate our front door for spring this year.
Adding something new and pretty to our front door is where I always start whenever the seasons change.
Unfortunately, I had some trouble executing my original plan to add some spring to our front door.
Initially, my plan involved filling a simple straw tote or bag with spring blooms and calling it a day.
But finding a simple straw tote/bag that was the right size and fit my budget…well, that was a bit more difficult than I’d thought it would be.
I guess straw totes and bags aren’t ‘in’ because I could only find a handful online and they were all way too big and gaudy. I even looked in the little girl’s accessories and in several thrift stores and came up empty-handed.
So…I finally gave up and settled for a hanging basket instead.

Finding one of those at our local thrift store wasn’t so hard but of course, it would definitely need a wee bit of tweaking before it ended up on our front door.

To start, I found this lovely gray-washed vintage basket and used it as my inspiration for how I wanted my basket to look.
how to add a gray wash vintage look to a basket:
Material needed:
(Affiliate links are provided throughout this post. These are products we used and/or recommend. If you make a purchase we will receive a small commission at no cost to you. Thank you, as always, for supporting our blog so we can continue to share budget-friendly DIY home decor projects!)
- Gray Paint ( I used Apple Barrel Pewter Gray & Country Grey)
- White Paint ( I used Waverly Ivory Chalk Paint)
- Chip Brush
- Sponge Brush
- Detail Brush
- Plastic bowl ( to put paint in)
- Water (for diluting paint)
[show_shopthepost_widget id=”4726214″]
getting the look:
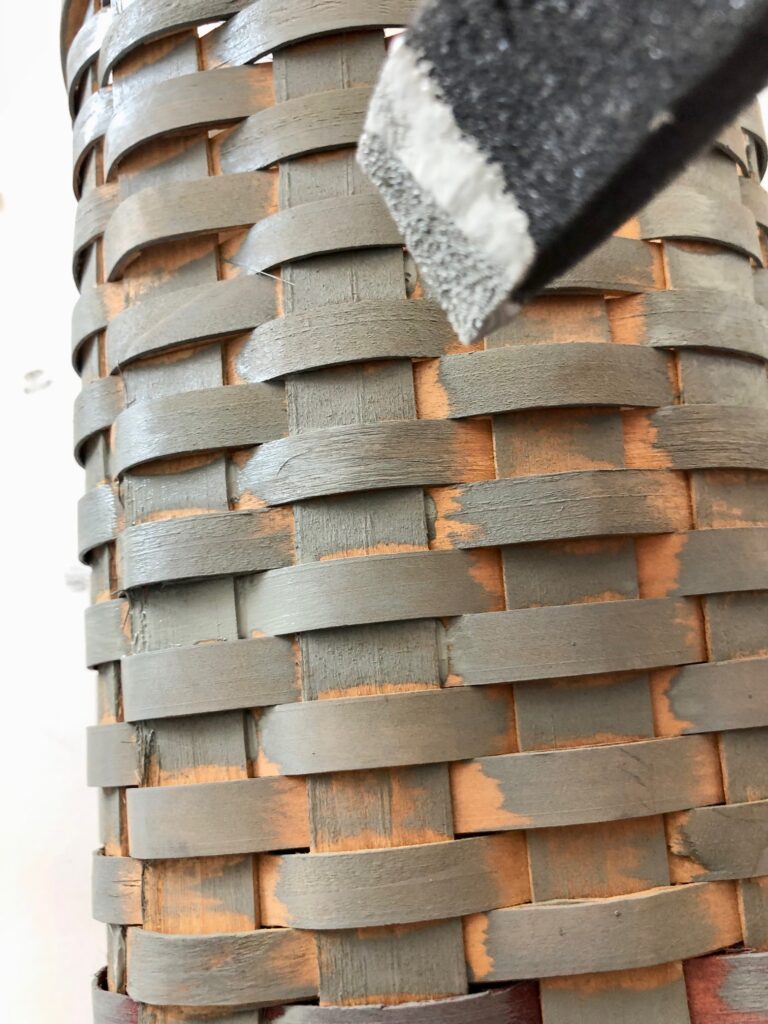
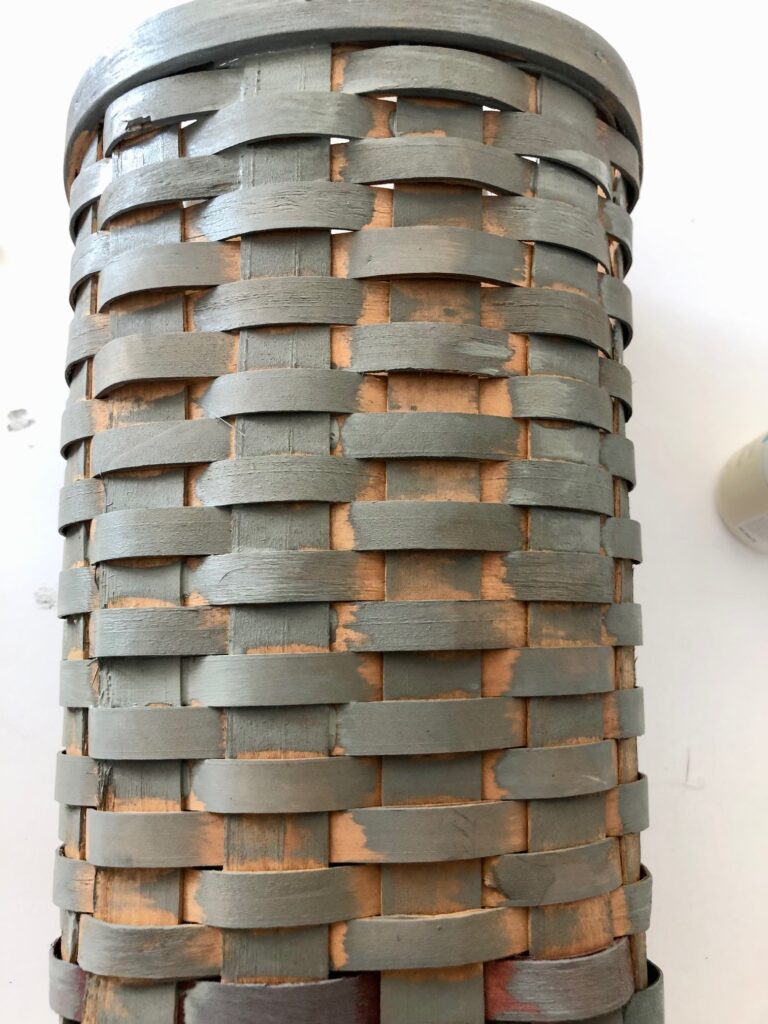
- Add the base coat. I gave my basket one coat of the pewter gray using a sponge brush. Then I let it dry for 15 minutes. TIP: It’s not really important at this time to get into all the cracks and crevices with the base coat. You’ll be adding additional coats that will do that.
- Add another layer of color by covering the bare spots on the basket with the lighter gray (country gray) using a detail brush to blend.
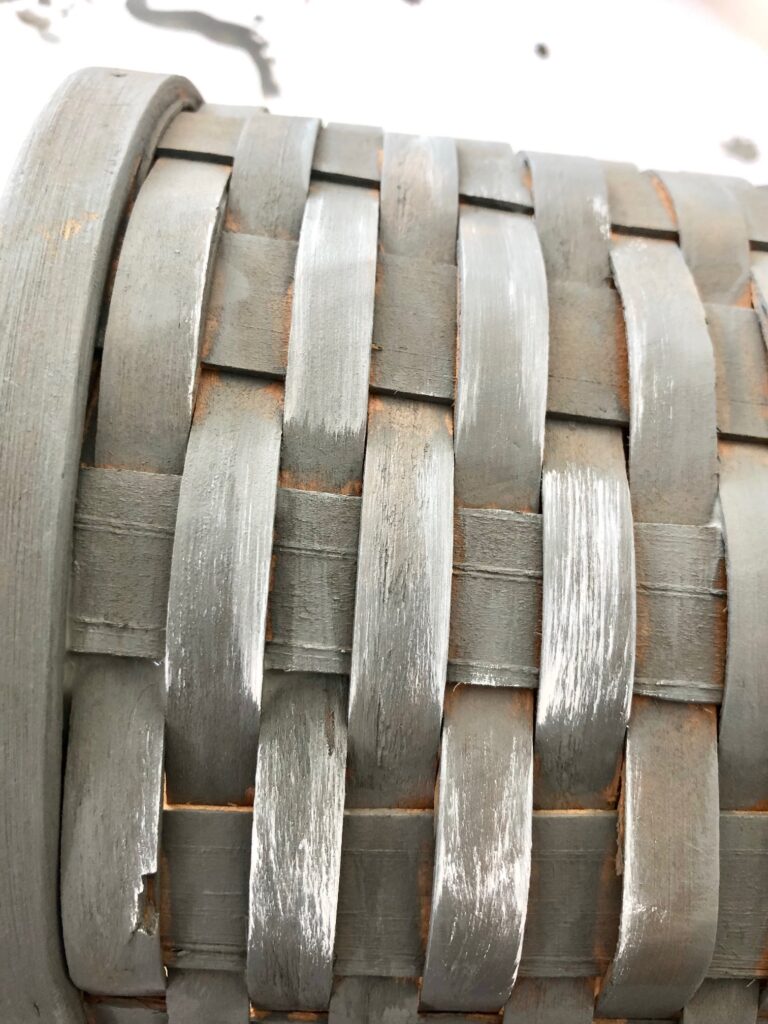
- Dry brush another layer using a chip brush and ivory chalk paint.

Once I had finished dry brushing the ivory on the basket, I let it dry for about 10 minutes. But after it had dried I felt like the basket was more white-washed than gray so I blended a bit more with my dry brush and added some more of the light gray paint that I diluted with some water.

The end result was EXACTLY how I had imagined it. And I absolutely LOVE how it looks against our black door!
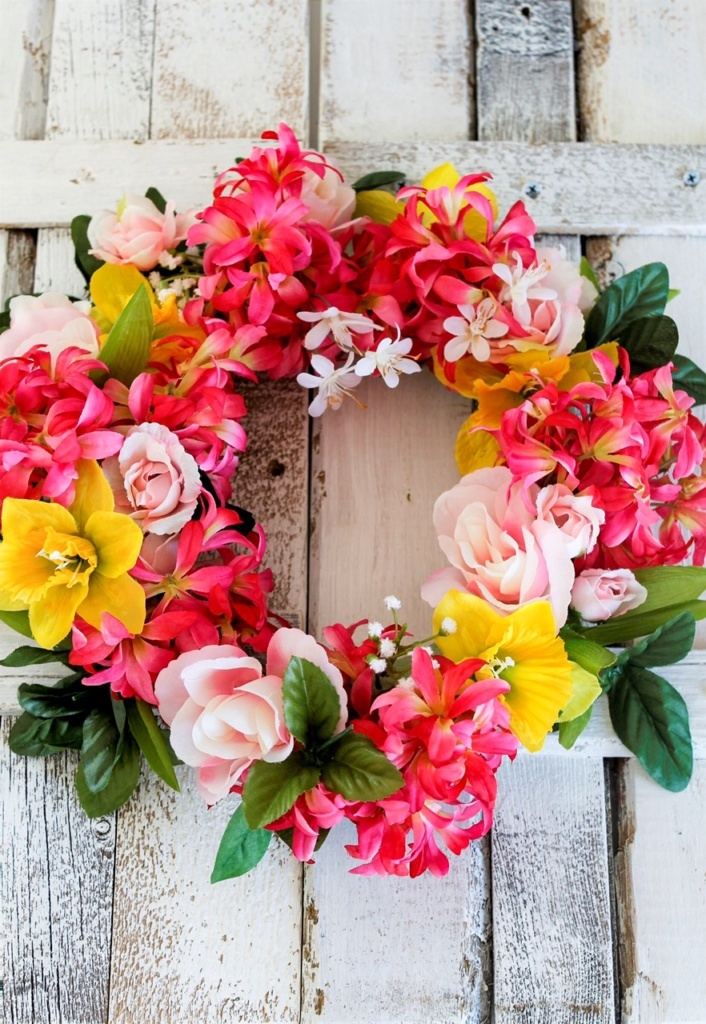
Once I had the look for the basket I wanted, it was time to FILL it!

I started by adding one of my favorites- Lambs Ear! I truly love the dusky gray-green vintage look of this bush and it pairs so well I think with pink!
Speaking of PINK! I added PLENTY of pinks. Starting with those gorgeous roses! Can you believe I found those at the Dollar Tree??!!! My store didn’t have a lot left so they must be popular. If yours is out I also found some inexpensive pretty pink roses here and here. Each stem of my Dollar Tree roses had about 4-5 flowers so I only needed to use two full stems since my basket is narrow. Then I tucked in a few single stems here and there.
The next flower I chose was some cherry blossoms I had in my flower supply. I just love their whimsical and dainty petals and they too have a wee bit of vintage charm.
Then I filled in the remaining holes with a few more stems I bought at the Dollar Tree and some Eucalyptus I had on hand.

This sweet little vintage basket of flowers came together in less than 10 minutes and here’s the breakdown of the total cost.
- Basket- $2
- Pink Roses- $2.50
- Other Dollar tree stems $2.50
- Cherry Blossoms (I had)
- Lambs Ear (I had)
- Eucalyptus (I had)
That’s a total of $7! And my inspiration basket alone cost $30!
Now that’s a bargain! Am I right?!

I ended up liking my sweet basket of blooms so much that I’m not even sad that I didn’t find a straw tote anymore!

It was just meant to be I guess!
I hope you enjoyed today’s budget-friendly DIY!


Looking for more spring front door decor?
SHOP THIS POST
[show_shopthepost_widget id=”4726596″]
Thank you so much for stopping by!

Your dollar store projects always amaze me, Christine! I love the shape of the basket you chose and those pretty pink flowers too. They’re such a great way to celebrate the Spring season. No doubt, you have the prettiest door in the neighborhood! Hugs, CoCo