
2 Simple Winter Crafts Using Dried Oranges!
how to Create two lovely decor pieces that will last all winter long using dried oranges!
Hello, friends!
Now I know everyone is busy shopping, baking, wrapping, and all things Christmas right now.
But winter will soon officially be here, and today I wanted to share two SUPER easy crafts I recently did for Christmas, that will last throughout the long cold winter months too!
Just so you know. I’m not inventing the wheel or anything today with my projects. Both of these crafts have been done before. In fact, I found my inspiration for one of the projects I believe on either Pinterest or Youtube.
Even so, I thought they were both SO pretty, and I’m hoping they inspire you to do some creating of your own as the days get shorter and the temperatures get colder.
As I mentioned you’ll need dried oranges for both projects. Oranges are easy to come by this time of year, so finding them shouldn’t be a problem. And drying them is even easier to do.
There are plenty of tutorials out there on the drying of oranges. All you need to do is Google it. But here’s how I did mine.
- Cut the oranges into slices.
- Lay them out on a paper towel and pat them with another paper towel to get as much moisture out of the orange slices as possible.
- Place the orange slices face up on a parchment paper-lined baking sheet.
**** I used two oranges for these projects
- Put the baking sheets in a 200-degree oven and set your timer for 1 hour.
- After 1 hour, flip the oranges over and set your timer for 2 hours.
- Test the dryness of your oranges after the 2 hours are up. If they still feel soft and wet, put them back in the oven for another thirty minutes. Keep checking them every 30 minutes or so (you don’t want to burn them) until the oranges are completely dry.
- Remove the oranges from the oven.
- Place the oranges on more paper towels and leave them out overnight to continue to dry.

I absolutely LOVE the vintage look of dried oranges. And I LOVE the smell even more.
how long do dried oranges last?
If you dry them well enough, dried oranges should last 18-24 months. I store mine in an air-tight container. Note: If your oranges weren’t dried completely, they will begin to mold and in the garbage, they should go.
Now that we have our dried oranges. Let’s get crafting!
PROJECT #1- Dried orange and eucalyptus wreath

what you’ll need:
- Dried Oranges
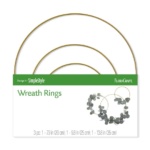
- Gold Wire Wreath ( I bought a package of three at Walmart and used the 10-inch wreath form one for this project.)
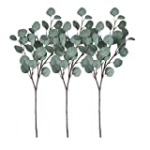
- Dried Eucalyptus branches
- Glue Gun/Glue Sticks
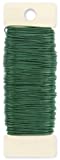
- Floral Wire
- Wire Cutter
how to make the wreath:

- Cut the eucalyptus to a size that will fit onto your wreath.

2. Attach the eucalyptus to the wreath form using the floral wire. Don’t worry about the wire showing. This will be covered up in the next step or two.

3. Hot glue the oranges onto the wreath form. I used three total. 2 that were the same size and 1 smaller orange for the middle.

4. Fill in any bare spots and cover the floral wire by gluing individual pieces of eucalyptus on.


I cannot tell you, my friends, how much I ADORE this wreath! It turned out exactly how I had hoped. And when I hung it up I couldn’t have been happier with how it looks with our other Scandi-inspired Christmas decor.

I’ll be sharing more of how this all fits together in our Christmas Home Tour on Friday. But for now, here it is in hanging in the sunshine with a couple of other wreaths.

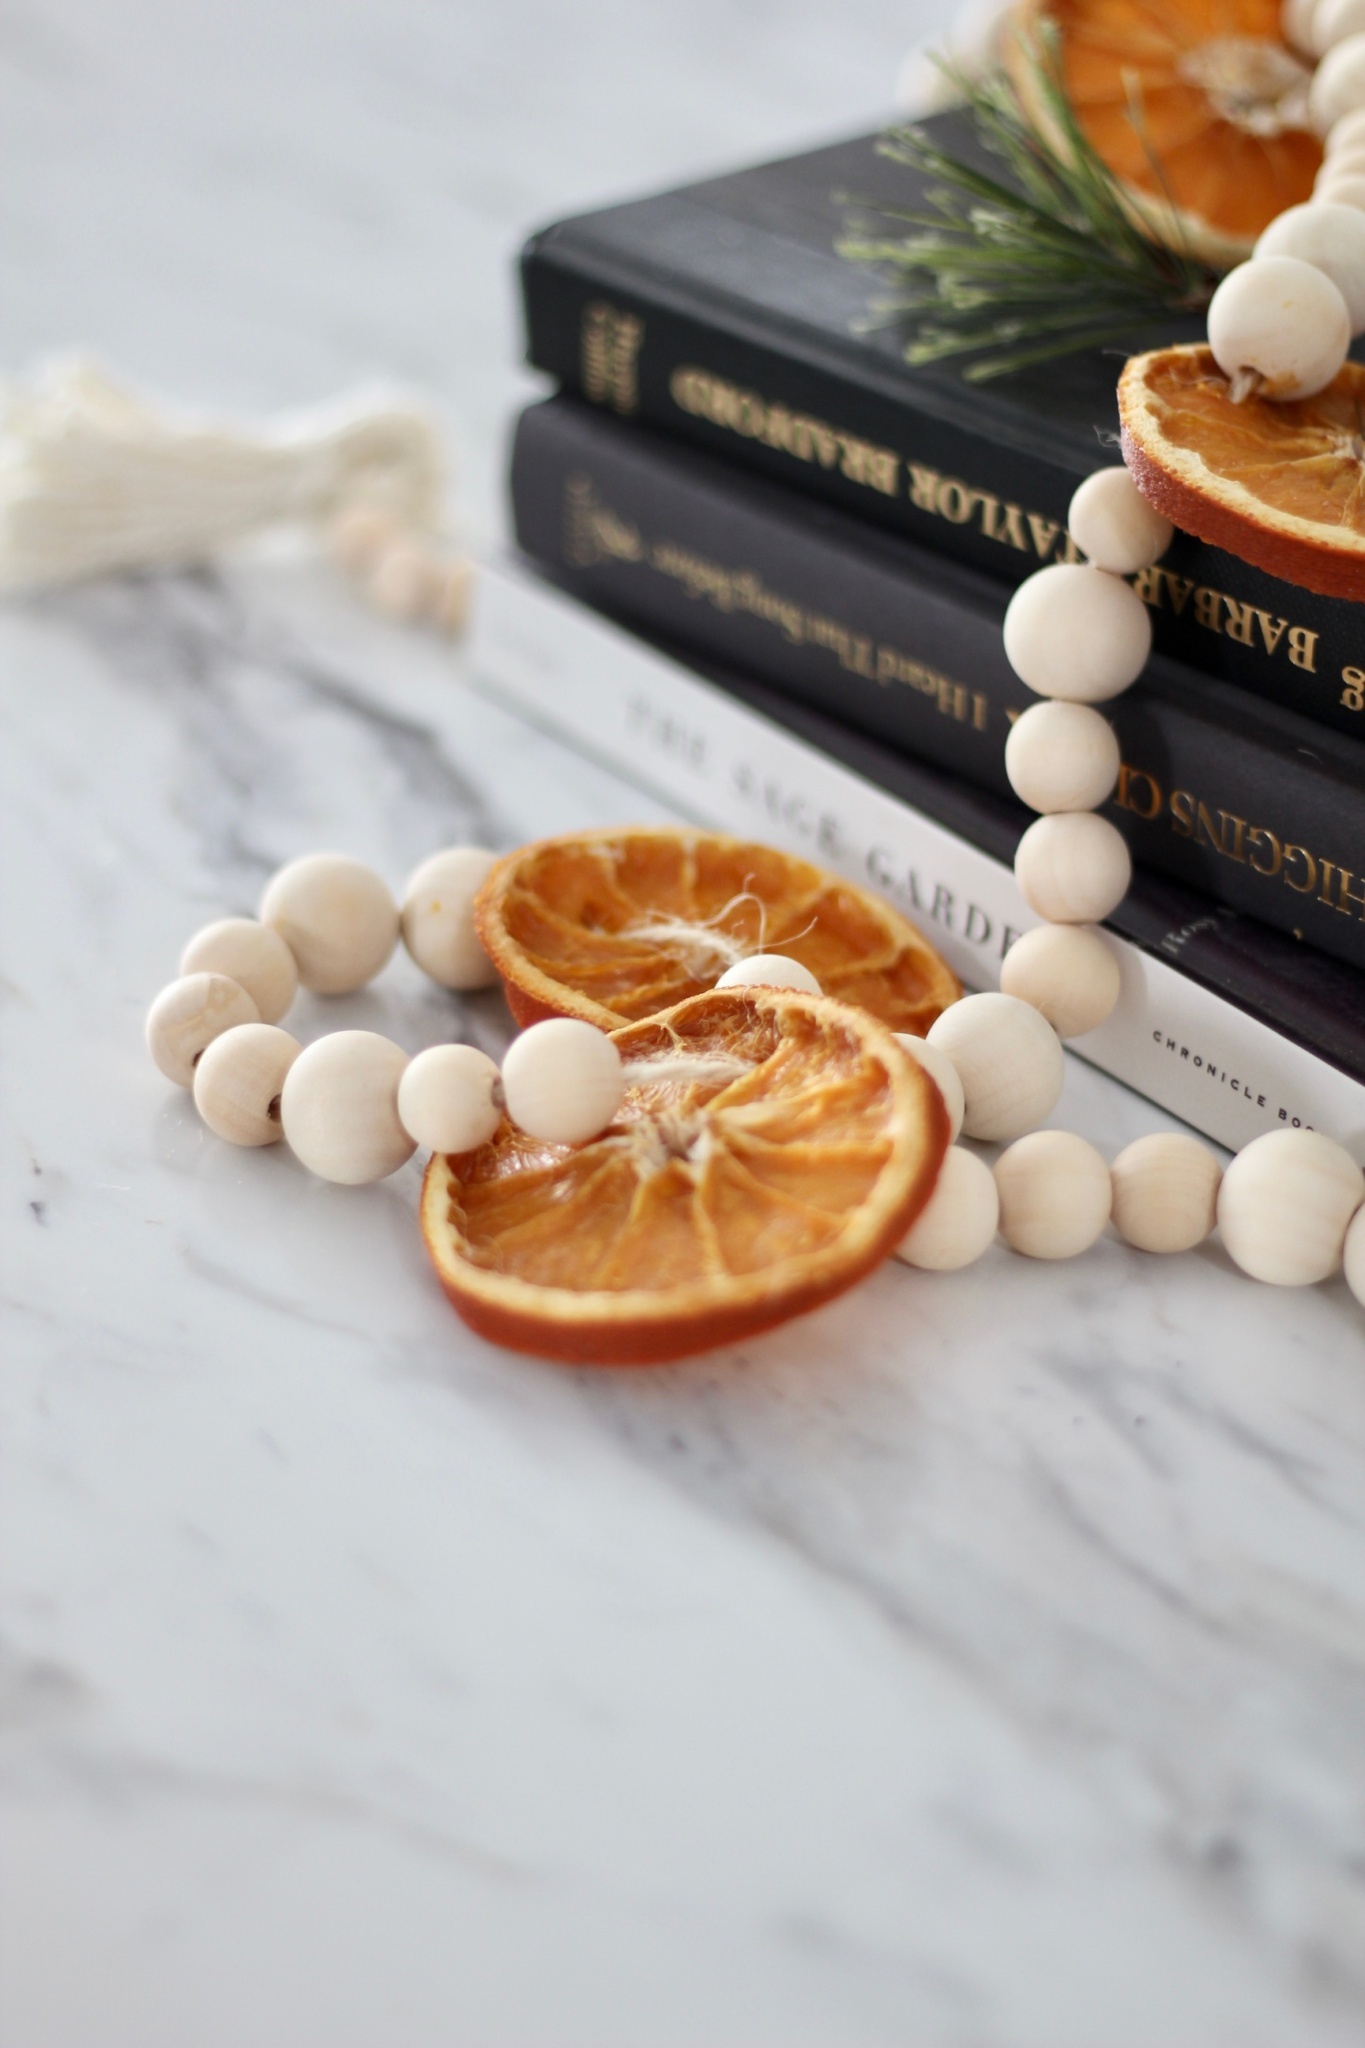
project #2-DRied Orange & Bead Garland

what you will need to make the garland:
- Dried Oranges
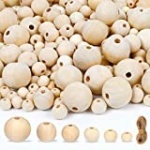
- Beads (I bought this set which came with sizes 8-20 mm + the string to make a garland)
- String
- Scissors
- Tape
how to make the garland:
- Decide how long you want your garland to be and cut your string to length.
- Poke a small hole at the top of your dried oranges with the scissors
- If your using more than one size of beads (like I did) decide how you want them to line up. IE: Big one, Big one, medium one, medium one, and so on.
- Tape one end of the string. (TRUST ME! This will make threading the beads SO much easier!)

4. Begin threading the beads onto your string.

5. When you have the number of beads added-alternate by adding in a dried orange and then more beads. Do this until you have the desired look and length of garland you want. TIP: Make sure you have at least 8-10 inches of string on either end of your garland to attach the tassel.
6. Make your tassel.
Here’s how:(Sorry I didn’t take photo’s but this is an awesome video if you need a visual.)
- Use the same string you used to create the garland. Begin by wrapping it around your hand at least 20 times.
- Carefully remove the string from your hand without unraveling it and set it aside.
- Grab another piece of string about 12 or so inches long. Tie this string around the top half of the wrapped string and make a knot.
- Keeping the knotted end at the top, use your scissors and cut through the bottom half. This will give you frayed ends
- Fold the knotted end over so the knot is inside the head of the tassel
- Then cut another piece of string, again about 12 inches long. This will be used to secure the head of the tassel. You’ll simply wrap it around and around the top of the tasse (start about two inches from the top) and then tie a knot to secure it. And trim off the ends.
- Lastly, just pull the ends of your tassel together and cut them straight across to remove any uneven or straggling strands.

Again, my friends. I SERIOUSLY was over the moon happy with how this garland turned out. I really love the natural color of the beads against the bright orange. And the best part is if I get tired of the oranges I can simply remove them and add more beads!

SIDENOTE: My OCD is totally going bonkers that two of the books in this shot are upside down. But I’m going to take a deep breath- give myself grace, then move on.
I had all of the supplies needed to make these two projects. So the cost for me was $0! But you could totally do both for under $20!
Even better? These two simple crafts would be something you could do during the cold and dreary months ahead. And each one will add a little bright sunshine and wonderful scent to your home all winter long!
SHARE THIS POST♥

Looking for more Christmas crafts?
SHOP THIS POST


Thank you so much for stopping by!

These are both so cute and creative, Christine! I love oranges any time of year but especially during the winter season. There is just something about them that smells amazing and fills me with hope. Loving and pinning this fabulous idea, CoCo
Thank you so much, CoCo! I’m such a huge fan of citrus all year round, but especially during the holidays!