
Small Spaces-Creating an Organized Pantry
small pantry organization: tips & tricks on getting organized and making the most out of a small space + Free pantry Printables!
Hello, friends!
Well, it’s here! The post I’ve been waiting to write for weeks!
After waiting for all the supplies I needed to complete it, our pantry is FINALLY organized!
But before we get to that, let’s take a look at what I started with.
If you’re new here, Michael and I sold our home last summer and decided to rent a home until we found the perfect property to build our dream home on.
One of the pluses to this home was that it has a walk-in pantry, albeit a small one, which our old home did not have.
The pantry is located in the utility room, where the owners were able to carve out some space for shelving along one wall. They also placed bi-fold doors on either side so you could keep everything contained in the space.
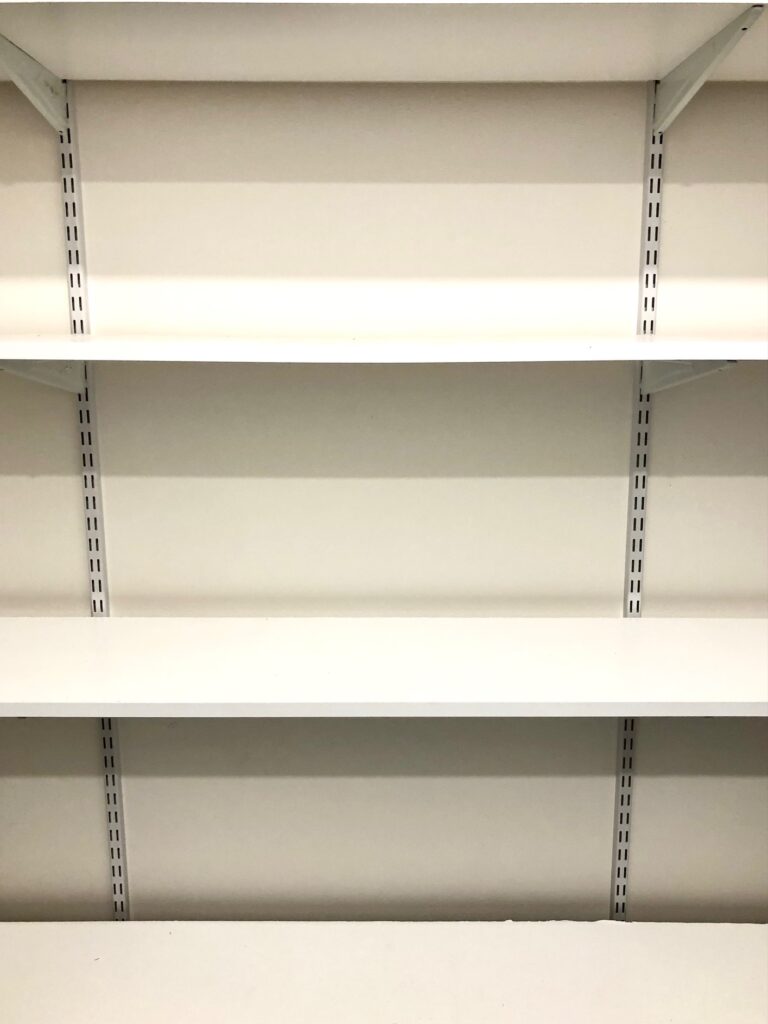
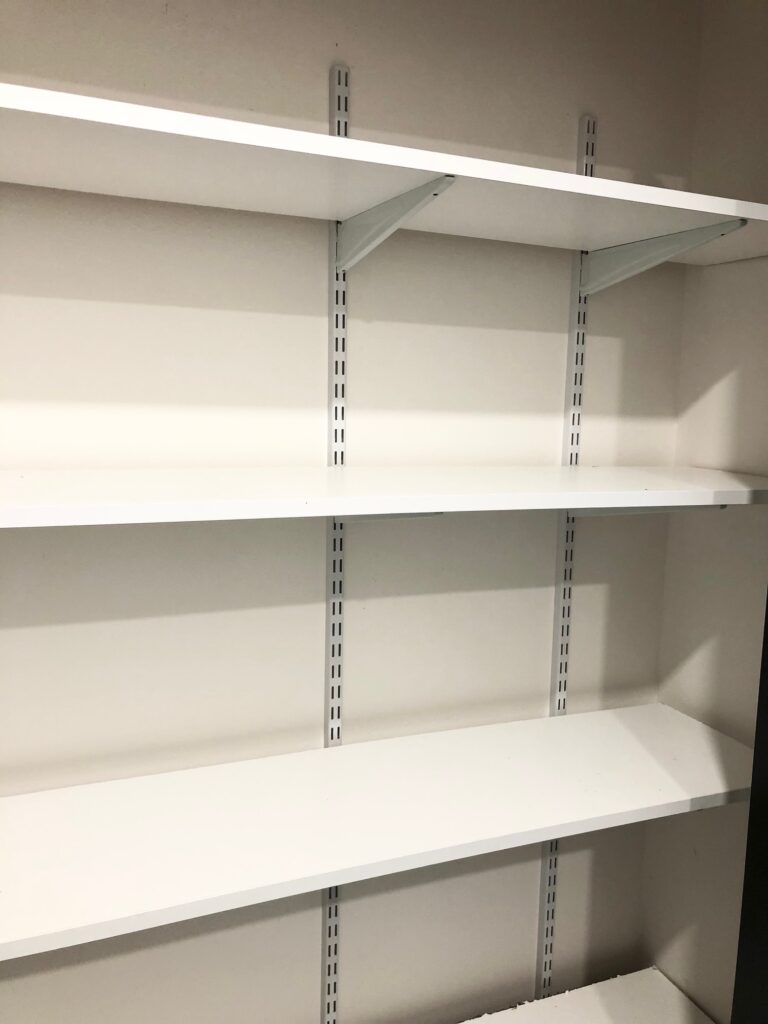
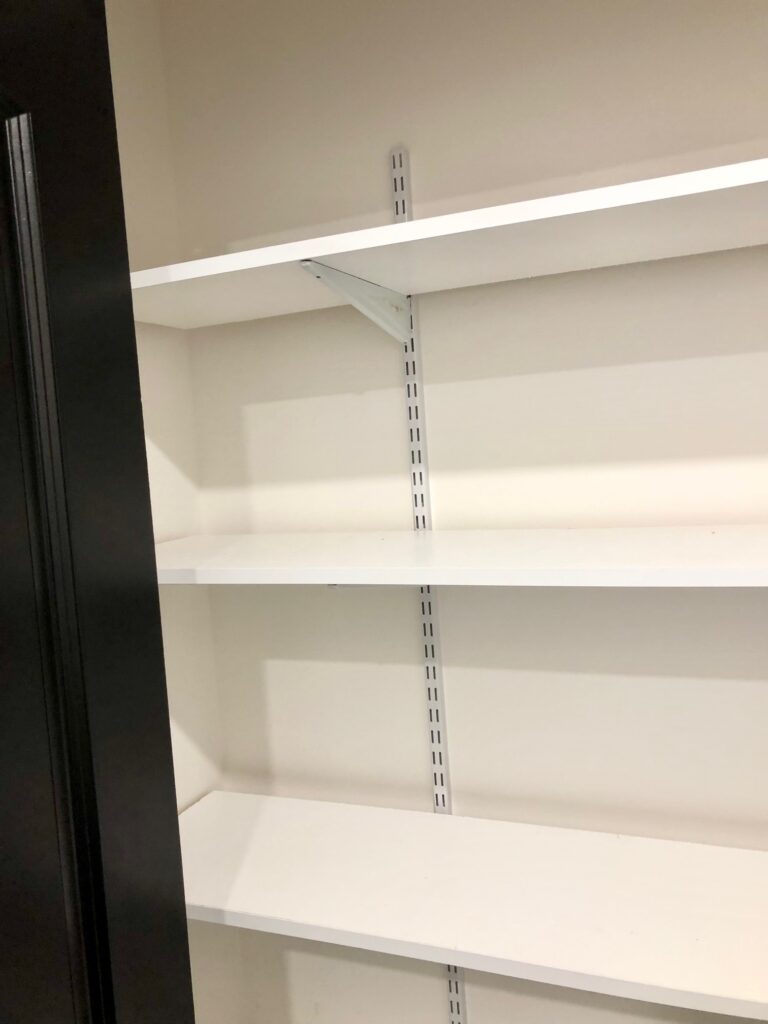
Of course, there are SO many things I would change about the existing pantry if I could. But, since we are renting, the only choice I had was to make the most out of the space.

Which meant I shoved everything but the kitchen sink in the small pantry until it was bursting from the seams!
I’m not kidding, friends! This gal was so thrilled to have ‘extra’ storage that EVERYTHING found its way in here. And nothing. I mean NOTHING was organized. I know this because when I finally had enough I cleared EVERYTHING out!
You wouldn’t believe all the duplicates of items I had. Simply because I couldn’t SEE what I had!
MY GOAL: To clearly be able to see what was in my pantry + have it look and BE organized!
SUPPLIES I USED:
(Affiliate links are provided throughout this post. These are products we used and/or recommend. If you make a purchase we will receive a small commission at no cost to you. Thank you for supporting our blog so we can continue to provide DIY, recipes, organizing tips, free printables, and more!)
- Glass canisters
- Rubbermaid Flip Top Containers (no longer available but these are similar)
- Clear Bins
- Clear Plastic food containers in this size and this size
- Flip-top Cereal Storage (no longer available but this one is similar)
- 2×2 Easy Peel Labels
- Mason Jars with these air-tight lids
- (2) Shoe racks
where to start when it comes to organizing a pantry:
start fresh:
- Clear everything out of the space!-That means EVERYTHING until all the shelves are bare!
- Give the space a good cleaning! Grab your favorite cleaner ( I use vinegar and water) and wipe everything down!
- PURGE!-First start by checking expiration dates. Whatever has expired-THROW.
organize:
-
Group like items together-
I started by creating categories for items I planned on storing in the pantry.
- SOUPS & SAUCES
- CONDIMENTS
- RICE& GRAIN
- CANNED GOODS
- BAKING
- SNACKS
- BREAKFAST
- BEVERAGES
- OILS
- PASTA
- SPICES
- HOUSEHOLD/CLEANING
- PET
2. Make a list
Write down each item you will place back into your pantry and how many of each you have. (Keep this updated so you can replace what is needed whenever you go shopping).

3. Buy the right storage items for YOU!-
I can’t emphasize this one enough. Don’t buy expensive baskets and pretty canisters just because you saw them on Pinterest. Especially if they aren’t functional and right for your space! Trust me if you can’t see what’s in them and they are bulky and take up MUCH needed space, they aren’t worth the $!
![]()
4. Get rid of half-empty containers and bags!-
Empty these items into clear- air-tight containers to keep them fresher longer. Always make sure to jot down the expiration dates on the new container. ( I used a label maker and attached mine to the bottom of each container.)
5. Think outside of the box!–
Getting organized sometimes means thinking outside of the box, or, in this case, a pantry. To get the best bang for your buck, look for items not specifically made for pantries or kitchen storage.
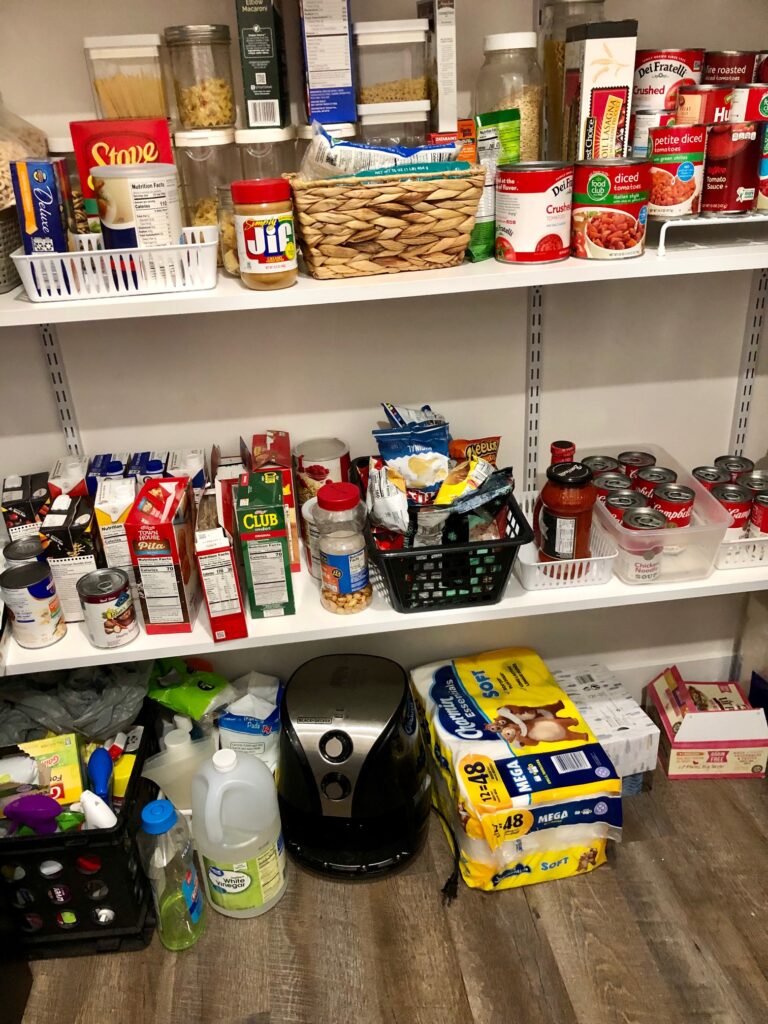
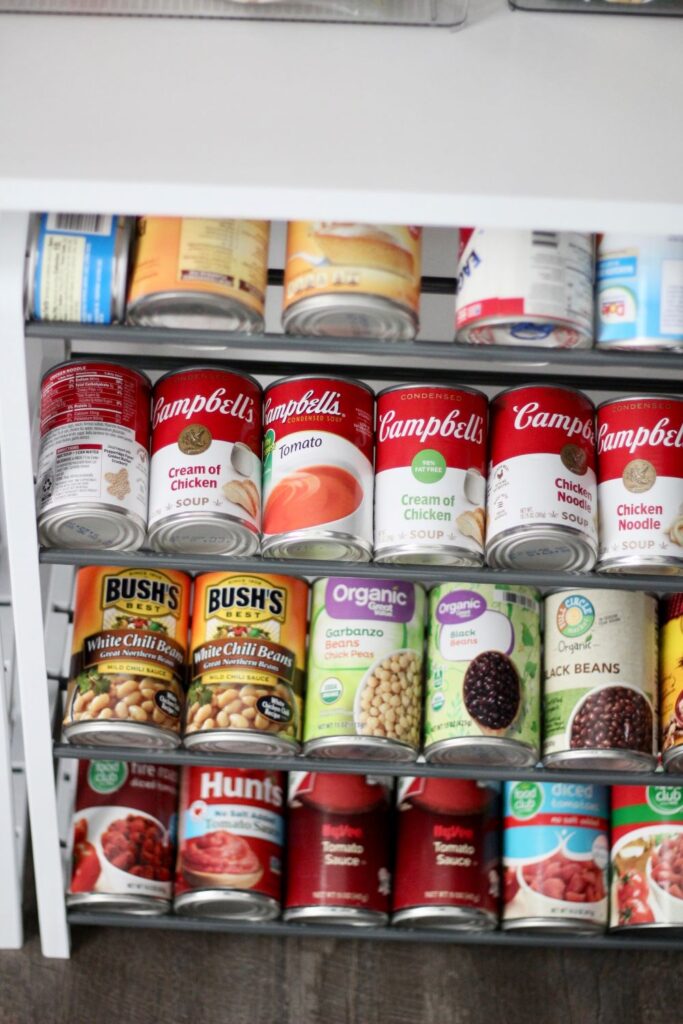
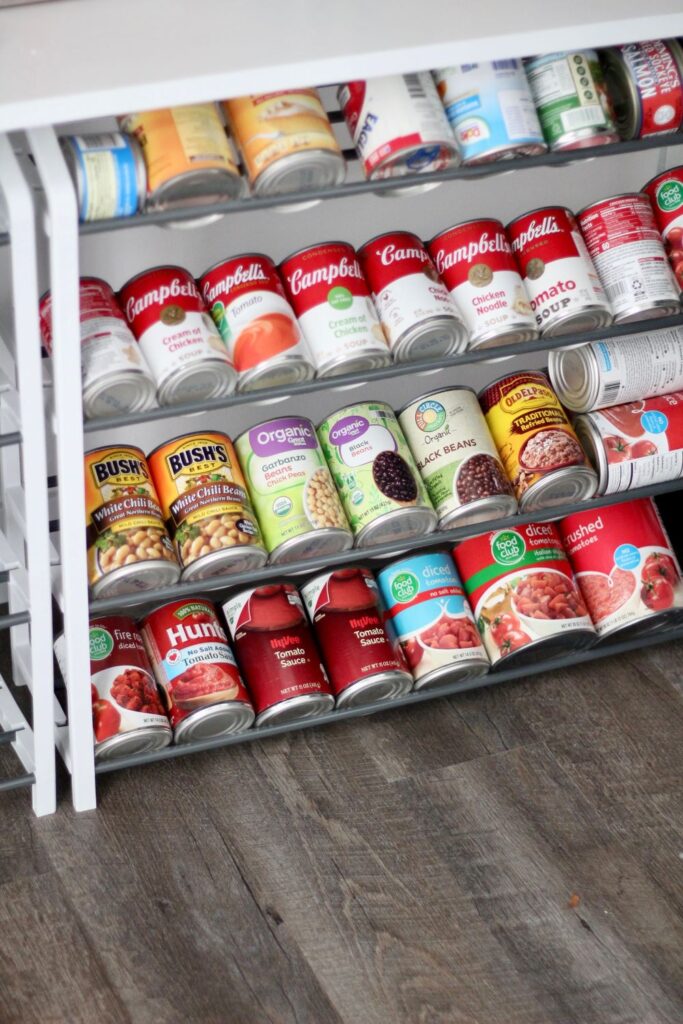
Shelf space was limited in our pantry but there was PLENTY of real- estate beneath them! All I needed to do was find a way to use it! Can you believe a shoe rack did just that?! It was not only great for all my paper product supplies (Check out this post for more uses for shoe racks) but it worked perfectly for displaying my canned goods! Now I have no excuse for buying doubles or triples!

6. Label, label, label!-
On top of putting everything in clear containers, labeling is also a great way to make it easier to find things in your pantry. It also just makes the pantry look more organized and pretty too! I wanted clean and SUPER simple labels for this pantry. Initially, my plan was to order some from Etsy that were perfect. But unfortunately, I couldn’t get all of the labels I wanted unless I ordered extras and that would have cost a small fortune. So I decided to make my own!
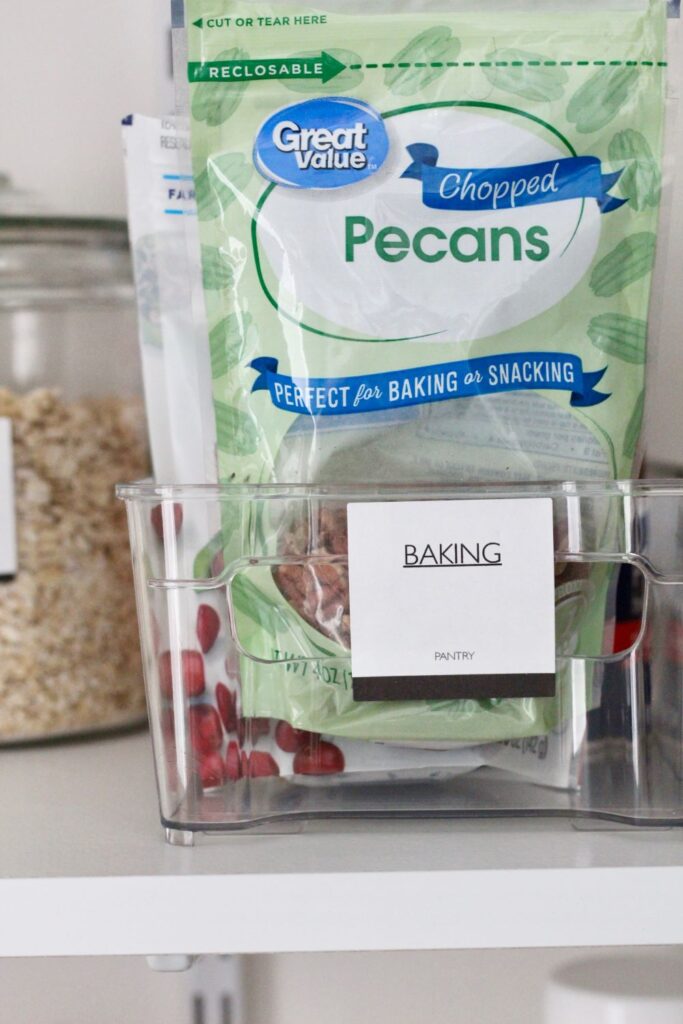
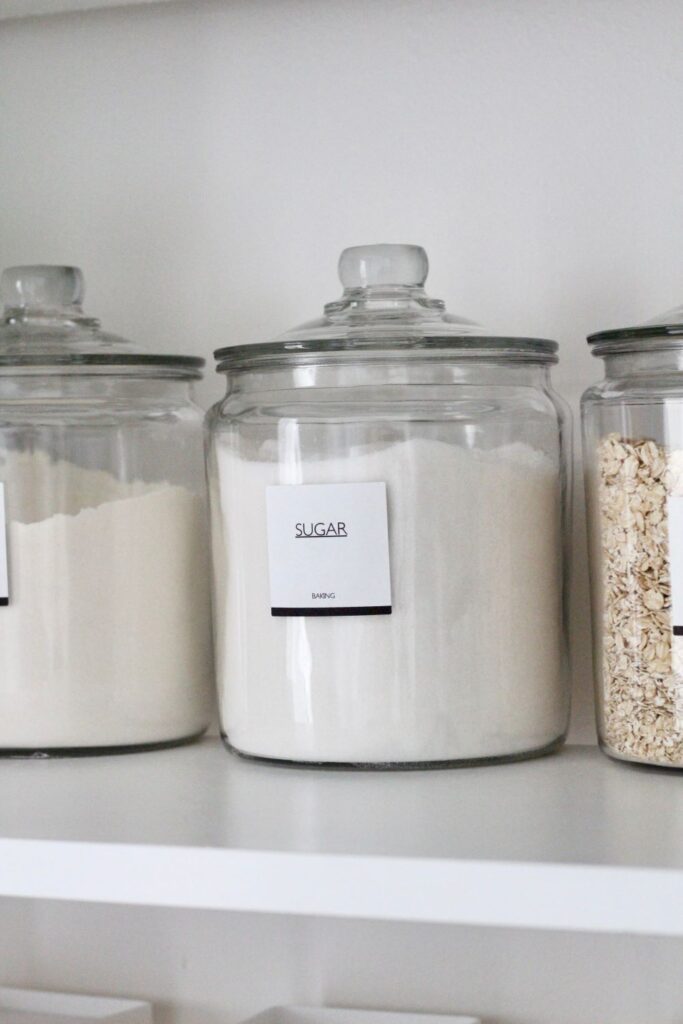
I had two different sizes of labels, and after trying both I decided on these 2×2 labels. They fit perfectly on all of my containers, including the bins! I chose a simple font for the label and also added the category that each item fits into.
You can grab a free set of my baking labels, along with a free set of basic pantry labels by signing up for our weekly newsletter here!
If you are already a member, you can grab your free sets here! Just put in the password that is at the bottom of your weekly newsletter!
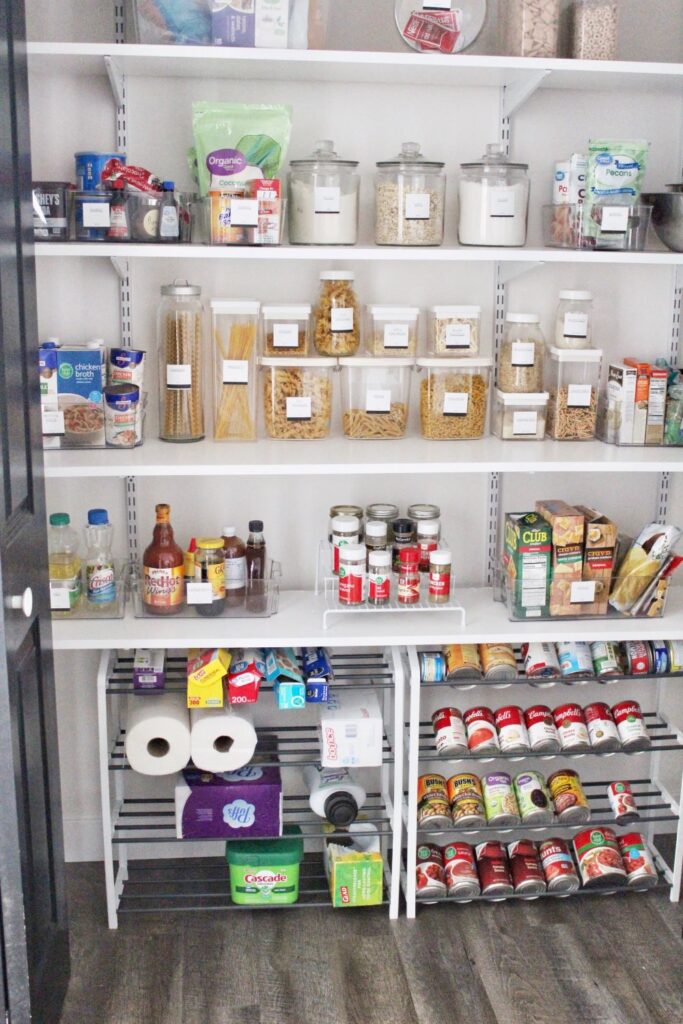
And now…(drum roll please…) Here is what our pantry looks like now!

Quite a big difference from the before, wouldn’t you say? It is like total night and day for me and Michael! In fact, just the other day I asked him to grab some baking soda when he was in the utility room and he actually FOUND it!

Can I just say again how much I LOVE those shoe racks in the pantry? OMG, my friends! They have truly been a lifesaver! I only wish I had room in there for more! But I don’t want things to get too crowded. And after all, I do have storage elsewhere in the house.

I’m just happy that I don’t have 10 cans of one kind of soup and 0 of one that I really need!

I’ve already ordered a few more bins so I can organize our fridge and freezer next.
And don’t worry. None of those baskets and bins I had in the pantry before have gone to waste. I’m repurposing every one of them for new craft storage in my office closet!
I hope today’s post inspires those of you who don’t have a dedicated space for a pantry to think about giving a closet or utility room space a new purpose! All you need are some shelving brackets, lumber, and a vision to add some extra storage in even the smallest of spaces!
SHOP THIS POST
[show_shopthepost_widget id=”4716005″]


Thank you so much for stopping by!

Your pantry looks amazing! I love how organized everything is. And I cannot believe how perfect the shoe rack is for holding cans. What a genius idea! Pinned for inspiration!
I have a small pantry too but it’s nowhere near as organized!! Thank you for sharing the labels.
You are so welcome, Katie! I’m really loving the labels and even my hubby is finding stuff now! LOL!
Thank you so much, Michelle! I’m seriously OVER THE MOON happy at how the pantry turned out! And yes, those shoe racks ROCK! Thanks for sharing!
This looks AMAZING, Christine! I know this was a ton of work but wow it totally paid off. It’s not only beautiful, but it’s also functional too. I love all your tips and tricks and the containers you chose as well. They’re fabulous! Loving and pinning as always and super excited for you, CoCo
Thank you so much, CoCo! Yes, it was a LOT of work but I’m so thrilled with how it all turned out! Hugs!