
I mentioned in a previous post that I had one more project left to do in our dining room, before it’s BIG reveal!
The truth is- that project actually consists of TWO parts:

Unfortunately, with all the changes I’ve made in the dining room to BRIGHTEN it up-this dining room set no longer fits!
Enter Part ONE of the dining room set makeover:
Now that is what I call-getting a LIFT!!

Isn’t it amazing what some paint and fabric can do?

Of course, there was a ‘little’ bit more involved in this transformation, than just paint and fabric. But that was okay, because I learned a lot, and most importantly, this project forced me to be something I thought I’d never be……..PATIENT.
So, if you’re interested in a quick tutorial on how I made ‘ugly’ into ‘pretty’, sit back, sip your coffee and keep reading. I promise it won’t be boring!!!
Step One: Take the chairs apart. (Here is where you and an Allen Wrench will either become best friends or deadly enemies!)
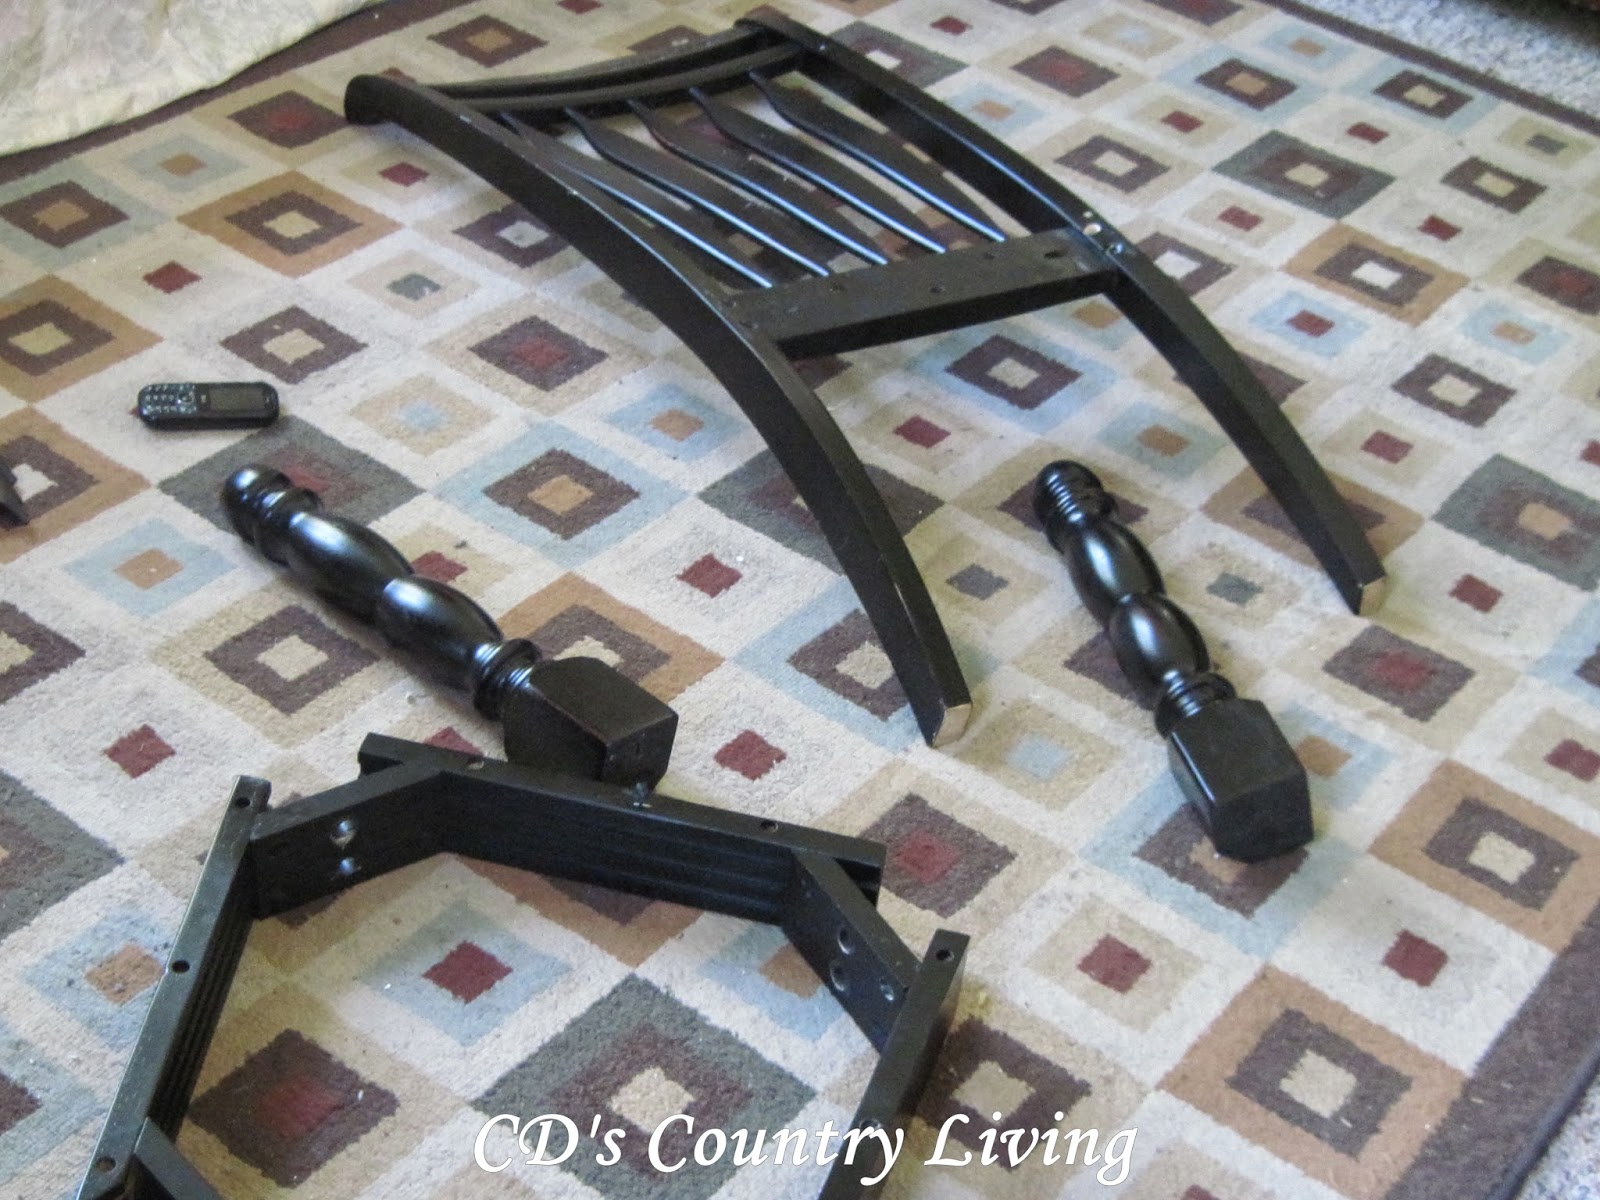
I started this project on our back porch, because hubby was working on his car in the garage, and it was raining outside. It ended up being a bad idea, as you can see by stains on my ‘once’ nice rug! Note to self: Anything manufactured with nuts and bolts is NOT clean, no matter how much you think it is!

As you can see-I moved into the kitchen for this next step! Which, of course-was: Step Two- remove the gloss from whatever material these chairs were made of. I wasn’t quite sure at the time so I went with the De-glosser because I didn’t want to scratch it all up with sanding. BAD IDEA! DO NOT- I repeat DO NOT use De-glosser on ANYTHING that you want the paint to stick to!!! It won’t- I promise you!

This was Step #3-Priming your surface-which turned into step # 5-because after one hour of drying-the primer began to peel off, and I ended up having to sand the laminate (or whatever it is), anyway.
So, step # 4 is SAND! And unlike me-don’t worry about scratching the material your working with. This laminate stuff is TOUGH-REAL tough! My trusty little hand sander didn’t even put a dent in it! (Which means you better have patience and a strong arm, because you’re going to be sanding for a while!)
Step 5- Prime (AGAIN). I used KILZ spray primer, not only because it was recommended, but also because it seemed easier to spray than to brush all the little nooks and crannies! In the end…it was!
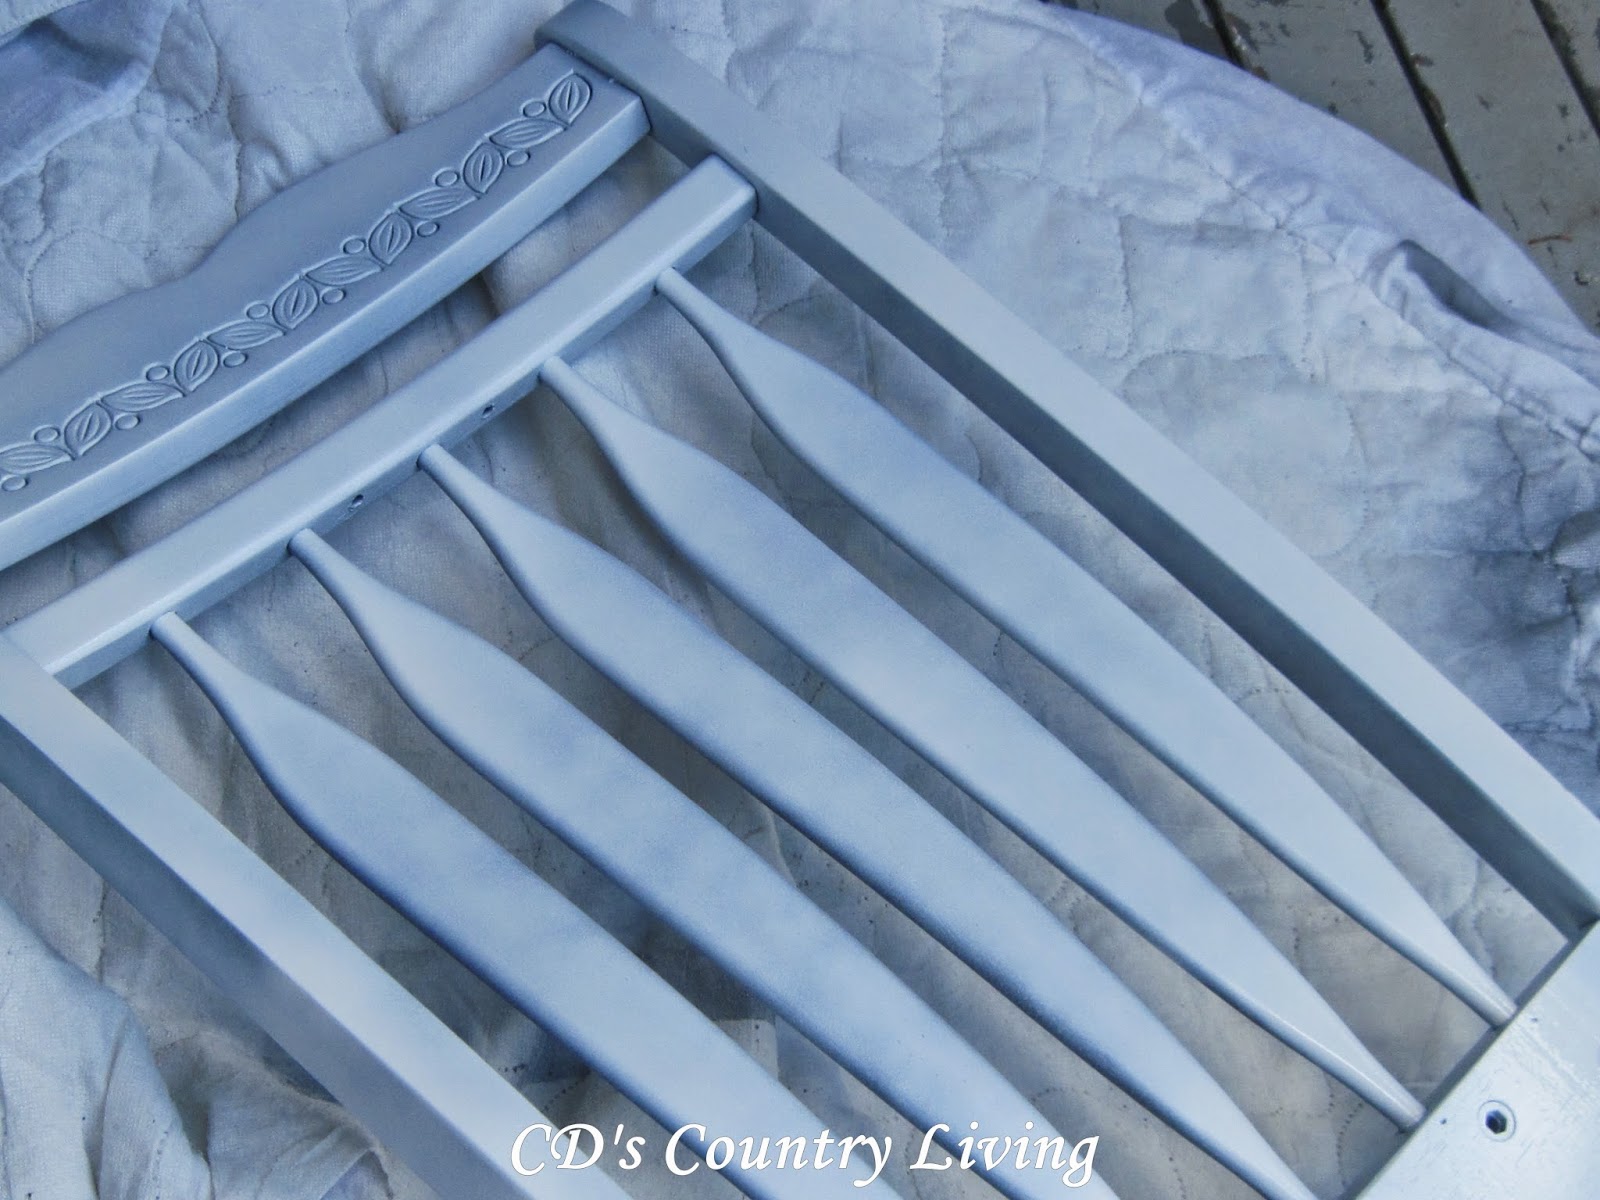
Much better! Now it was time to dry. (I let it dry the recommended time- 1 hour) and then I sanded it lightly with 120 grit sandpaper, and sprayed another coat of primer on. Then it was time to let them dry thoroughly!!! (Which for me meant- step away from the chairs-do not touch them-do not even LOOK at them-for 24 hours!!!)

Step 6- Paint. I used Krylon spray paint- in Bright White with a satin finish. After the first coat had dried (1-2 hours), I sanded each piece lightly and sprayed on another coat. Again, I let these dry for another 24 hours, and I went on to the next step.
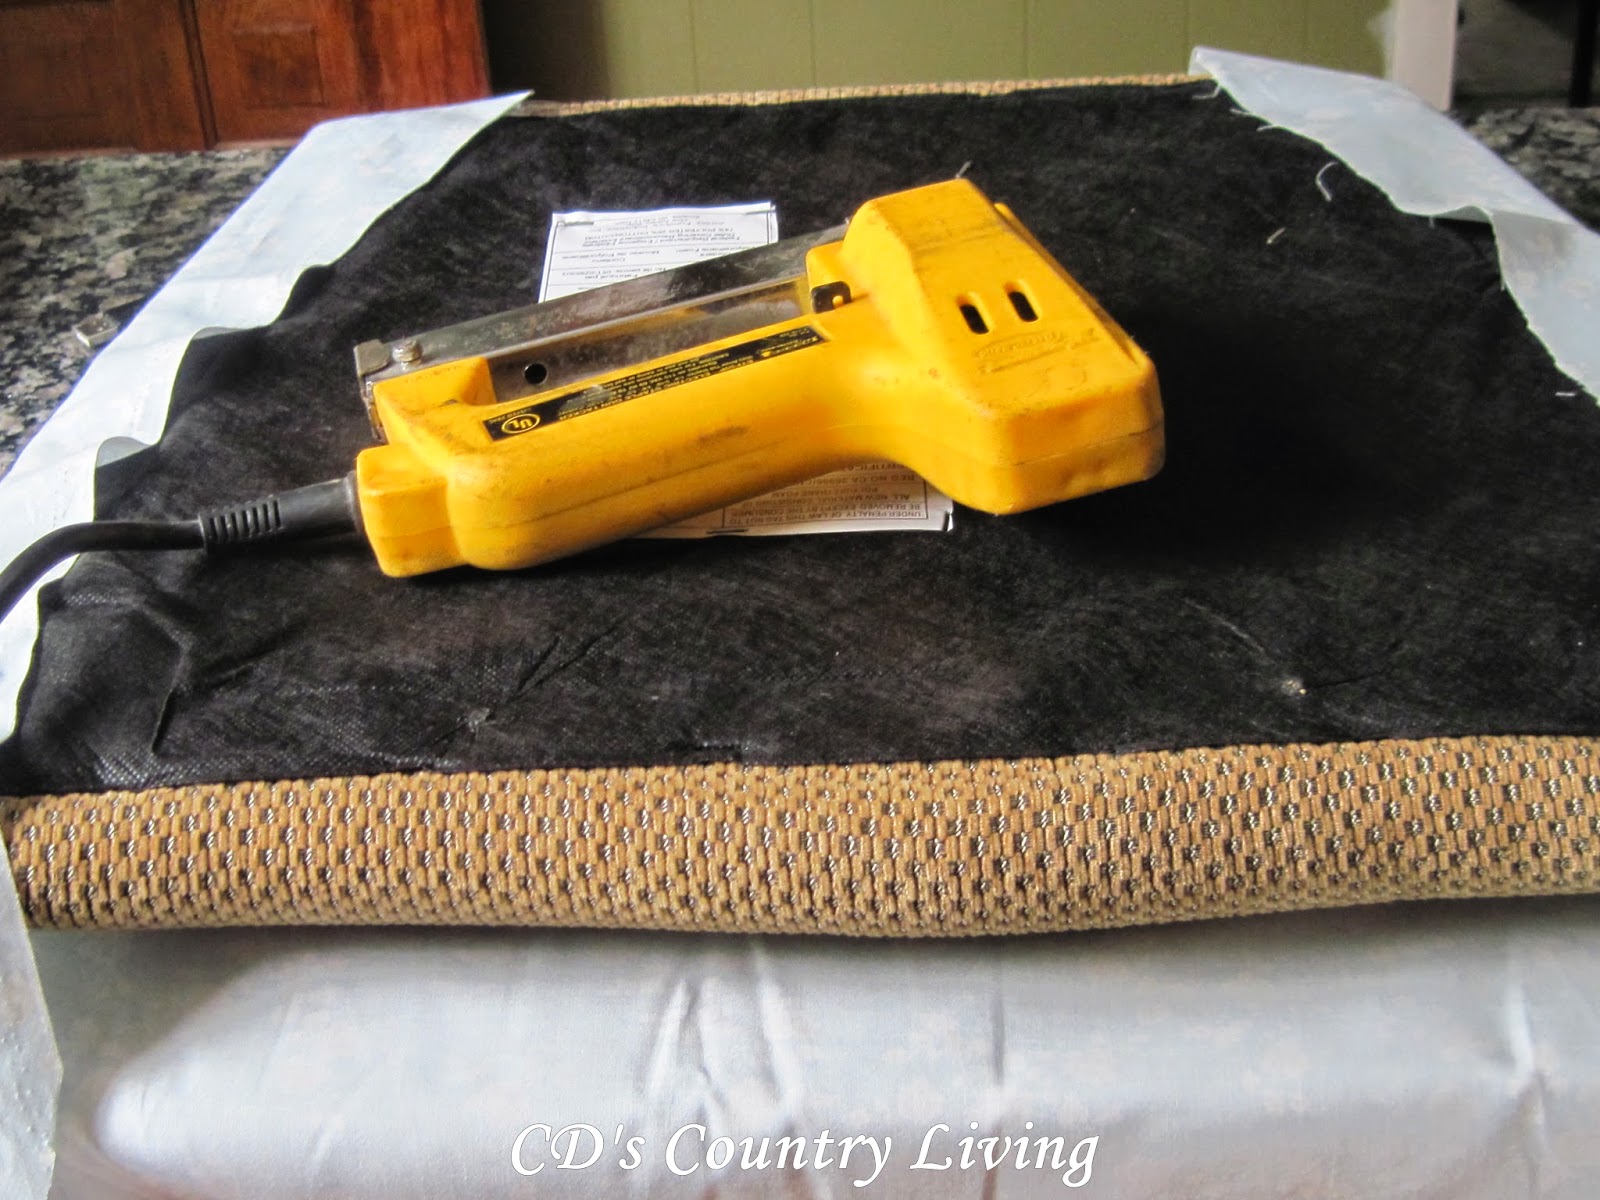
Step 7: Since my cushions were still in good shape(except for the color), I decided to cover right over them. BEST IDEA ever! WORST idea ever? Hubby giving me his electric staple gun without a warning! After I shot the first round (and missed my mark completely, because I jumped to the ceiling) he quickly decided it was best if I just ‘assisted’. GREAT idea!

I held the fabric-while he shot the staples! Our teamwork turned out splendidly-don’t you think?
Step Eight: Spray two coats of Polycrylic on all the pieces of your chair. Now, some folks said this wasn’t necessary, but then, they don’t live in our house. Ours get banged around pretty good-ergo- they need EXTRA protection! Once again-this step requires at least 24 hours drying time-so patience is a necessity!
Step Nine: Reassemble your chairs and ENJOY them!

I’ll be linking up Dining Room Chairs get a Facelift to these wonderfully creative blogs today-so stop on over at get inspired!!!!
Love the chairs, they look fantastic. I like the look of both tables, but I really like the dark wood top best. Both are really fabulus though.
Thank you, Marty! I'm starting to lean towards the dark one too! I so appreciate your expertise!