
Buy or DIY-Concrete Planter Bowl
Have you ever found a home decor piece that you absolutely LOVED until you saw the price tag? Well, what if you could buy it for less. Or, even better…what if you could MAKE it for WAY less? Which would you choose?
Hello, friends. I’m super excited to tell you that today is the first installment of our new series BUY or DIY! This new series is for anyone who has ever fallen head over heels for a piece of home decor, only to be disappointed by the $ amount on the price tag. I’ll not only do the research and find a less expensive dupe for each high-end inspiration piece I find, but I’ll also be sharing an even lower-cost way to create the piece yourself!
I’m also teaming up with some VERY talented bloggers for this month’s DIY Challenge, hosted by Terrie over at Decorate and More with Tip!

If you’re stopping by from, Niky’s, Welcome! This month’s theme for the challenge is ‘Trash to Treasure’. Which, for anyone new here is this gal’s absolute FAVORITE kind of DIY challenge!
So let’s jump right in, shall we?!
INSPIRATION PIECE:

Cement bowls and planters have been SUPER trendy and popular for more than a year now. And it looks like they aren’t going anywhere anytime soon! This beauty came from Kirkland’s, which is one of my favorite places to find high-end pieces for less. That’s why I was shocked to see the price tag on this cement bowl listed for $199.99!!!
LESS EXPENSIVE DUPE:

On the other hand, you COULD buy this concrete bowl which is almost the exact same measurements as the high-end piece, and pay a 1/4 of the price at $42.61! And if you wanted to put some moss or faux succulent plants you’d still only pay around $50!!!
That’s a savings of $150!!
DIY DUPE:

But what if you could MAKE a concrete bowl with a few simple steps and supplies- add in some moss for good measure, and still only pay $10!! Yes, you read that right! $10!!!
Well, my friends. You can, and I’m going to show you how right now!
First, let’s take a closer look at my DIY version of the inspiration concrete bowl.

Would you believe that this is a faux concrete bowl? It looks pretty realistic, right? Well, it is. I just used a simple paint treatment to create the ‘look’ of concrete.

And before I gave my ‘faux’ concrete bowl a little makeover, it looked like this!
Now I know there are probably folks out there who would love this bowl just the way it is. But it just wasn’t my style. What it did offer though was the exact size and depth that I needed for my DIY!
how to turn a thrift store bowl into a high-end concrete bowl with moss!
(Affiliate links are provided throughout this post. These are products we used and/or recommend. If you make a purchase using these links we will receive a small commission at no cost to you. Thank you, as always, for supporting our blog so we can continue to bring you easy DIY dupes and more!)
Materials and Tools Needed:
- A bowl (size is dependent on you)
- Plastic drop cloth (the process can get messy)
- Paintbrushes ( I used a regular chip paintbrush)
- Disposable bowls to mix paint
- Disposable spoon for stirring paint
- Damp sponge or rag
- Baking soda
- Paint ( see below for colors)
- Sealer
- Moss
- Filler ( I used shredded paper, tissue paper, and foam)
I used the following paint:
- Apple Barrel Multi-Surface Acrylic Paint (2 oz bottles) in Dark Granite & Timeless Gray
- Waverly Chalk Paint in White
- Folk Art Real Brown (optional)
[show_shopthepost_widget id=”4690984″]
creating the concrete ‘look’ for the bowl:

MIXING THE PAINT:
Base Coat: (Dark Granite)
I’m going to share how I mixed my paint, but in the end, the ratio is totally up to what type of paint you use and the look you’re going for.
For this project, I started with 1 part baking soda to 2 parts paint.
Add the paint and the baking soda to a disposable bowl. Stir until well blended.
**** NOTE: You can adjust the ratio after stirring up the paint depending on the consistency you are looking for. I wanted mine to be a bit thick for texture.
PAINTING THE OUTSIDE:
- Lay down a plastic drop cloth to protect your surface.
- Wash and dry the bowl thoroughly.
- Flip the bowl over and lay it on the plastic drop cloth
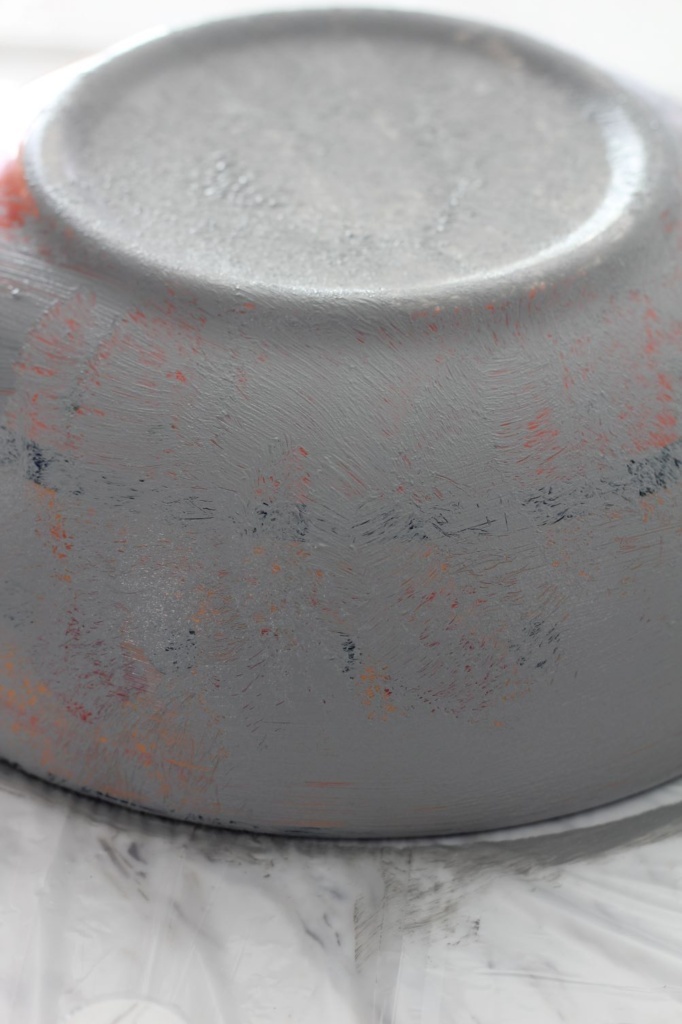
- Using a regular paintbrush or chip brush, begin giving the outside a light coat of paint.
- To add additional texture use a ‘cross hatch’ (criss-cross your brushing) paint technique
- Once you have covered the entire outside of the bowl, allow it to dry according to the paint’s instructions. (Usually 1 hour.)

- Apply a second coat of dark granite/soda paint on the outside of the bowl. Again, use the crosshatching brush technique to continue to add layers of texture.
We’ve now created the base or undertone of the concrete look on the outside of the bowl!
PAINTING THE INSIDE:

- Apply a light coat of paint to the inside of the bowl and the rim. Once again, using the crosshatch brush technique. Once you have covered the inside of the bowl, allow it to dry for at least 1 hour. Then apply the second coat.
When the bowl has had two coats of paint applied to both the inside and the outside of the paint, allow it to dry completely for 24 hours.
TIP: No need to wash out your brush- simply place it in a Ziploc bag overnight.
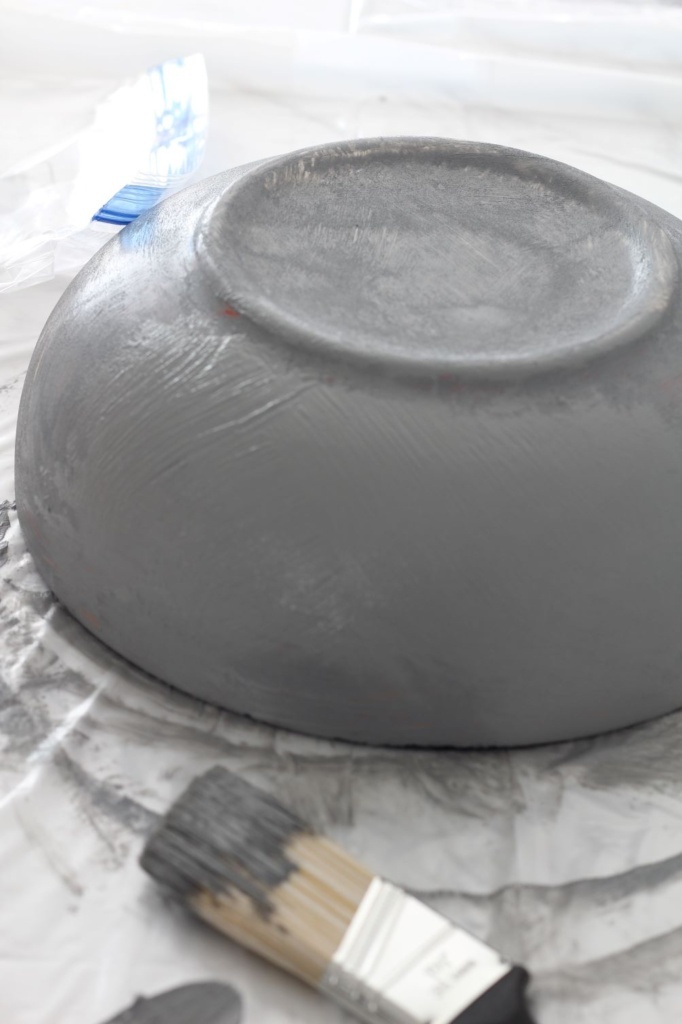
MIXING THE PAINT FOR THE TOPCOAT:
I used the same ratio of paint versus baking soda with the topcoat as I did with the bottom. This time I used the Timeless Grey.
- We will use the same regular or chip paintbrush as we did for the basecoat. There is no need to wash or rinse it out.
- Again we will start with the outside of the bowl first.
- This time, instead of crosshatch brush strokes we will be ‘patting or pouncing’ the paint on with a chip brush.

By pouncing on the paint we are leaving a bit of the dark granite paint to peak through, but we are also creating MORE texture.

- Whenever it looked like I had applied too much paint in one area, I just gently dabbed it with a damp rag (you can also use a sponge) to remove some of it.
- You will only need to apply one coat of lighter gray paint. But you will still need to allow it to dry for 1 hour, before turning it over to do the inside.

- Follow the same steps on the inside as the outside until you’ve reached the look you want. Then allow the paint on the inside to dry for 1 hour.
- As I mentioned the ‘look’ of your concrete is totally up to you. Some concrete has more grayish tones, other concrete is browner. And others still are almost completely white.

If you were looking for more of a gray tone, then you could definitely stop the painting process here. If you’re looking for a browner tone, I would water down some brown paint and sponge it on in certain areas, sponging any excess as you go.
But, if you’re like me, you want all that and more, LOL! So at this point, I just kept experimenting by sponging on some water-down brown paint, along with some white until I got the look I wanted.
Since I wanted to seal the bowl before filling it with moss, I allowed the paint to dry overnight to make sure it had some time to dry completely.
SEALING THE BOWL:
This step is totally optional. But since I put all that time and effort into getting the right look, I decided it was best to protect it.

- I really like working with this Waverly wax sealer, and since I had it on hand, I used it. Just like paint, you simply brush on 2 light coats (30 minute drying time in between.) And let it dry for another hour.
adding the moss:
There are SO many ways you can fill in your bowl before adding the moss. And they are all on Pinterest if you want to look it up. But as far as I was concerned whatever I put in my bowl was going to be covered up by the moss anyway. So…I went with what I had on hand.
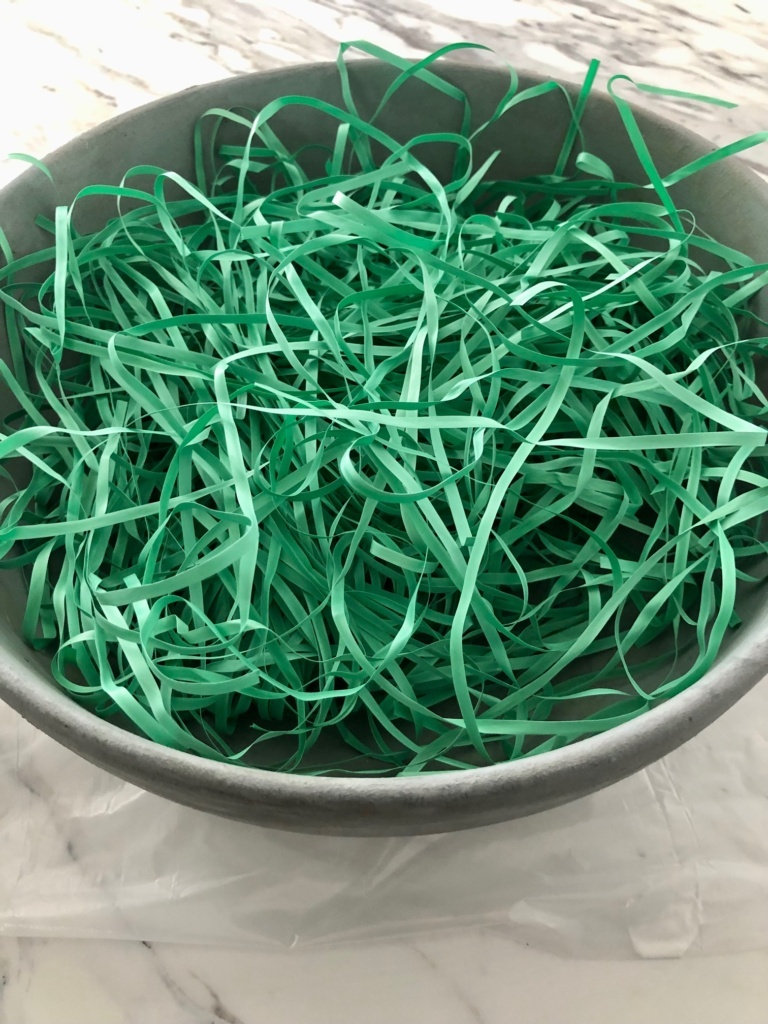
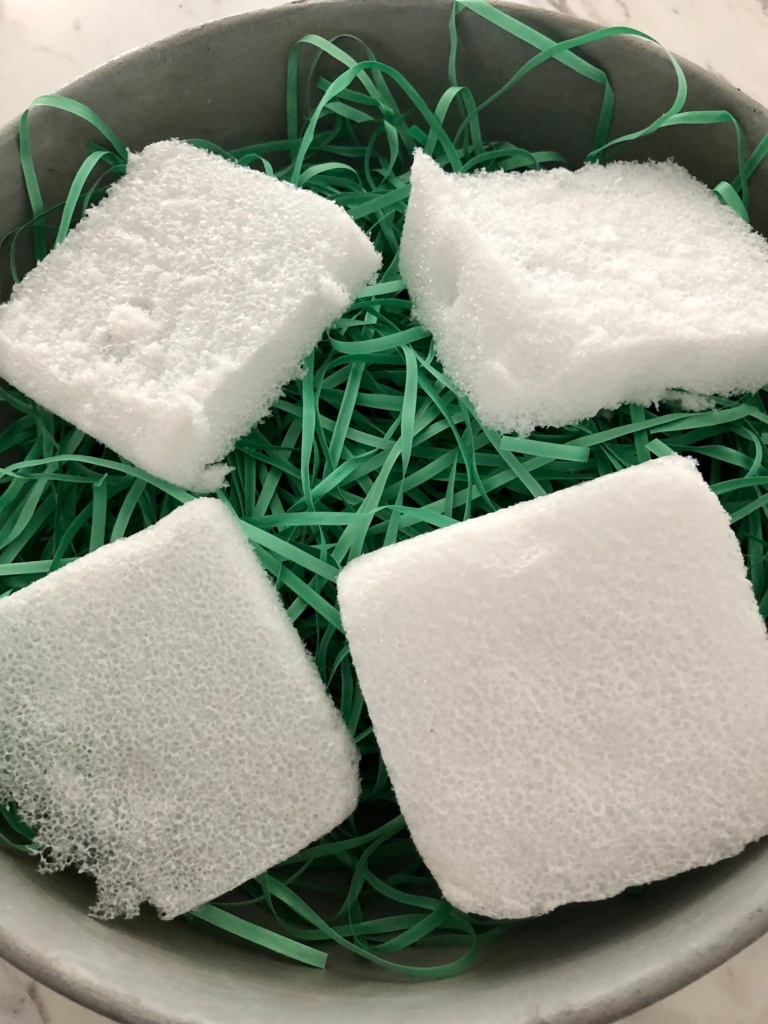
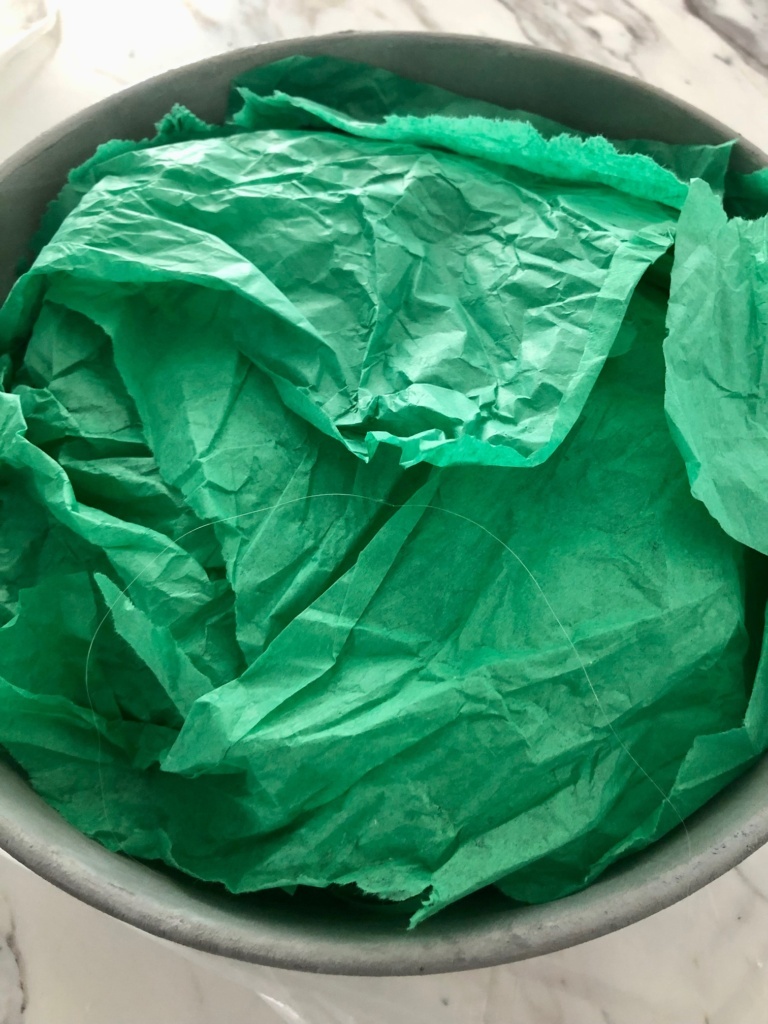
The majority of filler was some Easter grass (shredded paper will do) I had leftover from last year. To add some stability I cut a foam square I had in my craft supplies into fourths and laid them on top of the filler paper. Then I covered it all up with some leftover tissue paper from Christmas.
On a side note: The fact that I chose green for most of the filler was totally by chance.
Once I had my foundation set I simply laid out pieces of moss until the filler was covered. Note I did not mention gluing the moss down. That’s because I didn’t.
I would like to be able to switch out the moss later, and it will be so much easier to not have it glued down.

And that, my friends, is it! Some paint, a little bit of moss, and VIOLA! A stylish concrete planter bowl with moss!

So which would you choose? The high-end bowl? The 50ish’ or so bowl? Or make it yourself for$10 or less?

I love all three but I have to say, my friends. I absolutely LOVE how this planter bowl turned out, so I’m choosing the DIY!

Now, if only I could decide which table to set it on it!
I hope you enjoyed the first installment of our new series Buy or Diy and this month’s DIY challenge! Don’t forget to check out the other links at the bottom of the post for more Trash to Treasure inspiration!


SHOP THIS POST↓
[show_shopthepost_widget id=”4716006″]
Thank you so much for stopping by!

Christine this is genius! I mean… it looks like it was made of cement from day 1! Definitely pinning and heading to the thrift store for a bowl. Gorgeous!
Wow, that came out so perfect. I will definitely be trying this. I am also in my local Goodwill and will be on the hunt for the perfect bowl now. Thanks for sharing.
WOW! I love your concrete technique. I just made a moss bowl with a wooden bowl, wished I would of saw this tutorial because I much rather have a bowl like the one you just made. Perfect Christine. By the way, love your new series!
Great job in transforming your bowl into a faux concrete planter, Christine! It’s amazing how paint and additives can transform items into this type of finish! Looks very realistic! Thanks for the step by step instructions!
Thank you so much, Tammy! Good luck thrifting! That’s the best part!
Thank you, Jodi! I’m so jealous! Can I come with you?! LOL!
Thank you so much, Terrie! I’ll have to check your moss bowl out! Aren’t they fun! I’m super excited for this series, too! Can’t wait to find more inspiration!
Thank you, Gail! I totally agree! Paint is magical!
Wow, that’s impressive! It really does look like concrete!
Niky @ The House on Silverado
I have always seen these but never new how to DIY one. Love this so much
Thank you so much, Hannah! You HAVE to make one! So easy and I just love the natural element it brings to our home!
Thank you so much, Niky!
Christine this is amazing. I’m telling you it looks exactly like concrete!
Thank you so much, Cindy! It’s amazing what paint can do! 🙂
Oh my gosh! I have got to make one! I love it!!
Bravo, Christine! I kept going back and forth between your bowl and the store bought versions. I like yours best. I see succulents displayed in this bowl too. So want to give it a go. Great tutorial so I just may be able to pull it off.
I love this project – The simplicity and bringing it all together using the moss is fantastic. All you do is 100% keep doing great!
Thank you, Shae! I hope you enjoy yours as much as I do mine!
Thank you so much, Kelli! Succulents would look perfect in the bowl as well! Have fun creating!
Oh my goodness, Carole! Thank you so much! That means the world to me! You’ve made my week! Hugs!
Christine, I absolutely love this project. I have everything to make it except the bowl, so I’ll be on the hunt for a cheap one. Great instructions and love how you styled the bowl with moss.
Thank you, Carol! I’m so glad you enjoyed the post! Good luck finding a bowl and have fun creating!
That is so crazy cool, Christine! This looks JUST LIKE CONCRETE! I can’t get over it. I’m super excited about this series because it is so relatable. Can’t wait to see all that you’re going to share, make and create. As always love your talent never ceases to amaze me, CoCo
Aw, my sweet friend that means the world to me. Thank you so much! I really enjoyed this project and I’m looking forward to using this technique on other items!