
Trash to Treasure-Medallion Wood and Metal Wall Art!
How to create modern wall art from thrift store finds!
Do you remember a while back when I gave my home office a refresh?
Probably not. Because I never actually shared it, other than a photo in my stories of a freshly painted wall.
That’s kind of how things happen when you live in an older home.
I get busy with one project and then before I finish it, another one comes along, and then another. And then I go back to that first project and I do a bit more and then ‘squirrel’ it starts all over again.
Truth be told my office is just fine the way it is.
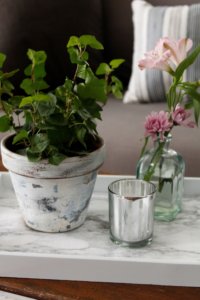
I not only painted the walls and doors and trim, but I added in some DIY wall art and even more storage and organization!
But there are a few minor things left undone. Like the flooring. I still haven’t decided what I want to do with it. Carpet-Paint? Sand and Stain? I don’t know. And of course, there’s one VERY naked wall that’s in desperate need of some artwork.
I already had in mind what I wanted for one piece.

This medallion wood and metal wall art would go just perfectly with the other wall art I chose in this room. Unfortunately, the lowest price I could find for it was still over $50!!
$50 was a bit over my budget, especially since I will need more than one piece to fill the wall space. So I put that idea out of my head.
Until one day Michael told me that the clock hanging in the family room was broke. FYI when Mr. ‘I can fix anything’ says something is broke. It’s broke.

Regardless, the moment I saw the wood frame I just knew it would be perfect for recreating that medallion wall art piece. Now all I needed to do was find the medallion part!!!
TIP: You could also look for large embroidery hooks, round mirror frames, or even inexpensive plastic clock frames that you could give a paint treatment to look like wood!

Michael actually scored this find on a recent trip to our local thrift store. I’m not sure what this two-tiered metal scroll stand was used for prior, but it was only .99 in the clearance aisle and the top piece was the perfect shape and size to be the center medallion in wall art!
TIP: You could also look for metal trivets, a small metal scrolled tabletop or a base for a birdbath.
So now that we have the two main items to put this wall art together! Let’s get started!
Other Materials/Tools Needed:
(Affiliate links are provided for your convenience. You can read our full disclosure policy here.)
Black Spray Paint
Pliers
Stain
Step One: Take the clock apart.
This was as easy as removing six screws and pulling the innards out of the clock. (I already have an idea for the clock face so that won’t go to waste!)

Step Two: Separate the scroll faceplate from the stand.

This just required a few snips from the wire cutter. That centerpiece with the screw hole wasn’t needed so I tugged on it a little and it popped right off.
Step Three: Open up the ends of your screw eyes.

I just used the pliers and gently bent the eye of the screw outward.

It doesn’t have to be perfect you just want it opened. You’ll see why in a second!
Step Four: Attach your screw eyes to the inside of your clock frame.

My clock already had pre-drilled holes from the screws that held the innards and back on so this step was as simple as screwing the eyes into four of those holes. One on top-One on the bottom and one on either side.
Step Five: Attach the scrolled metal piece onto the hooks.

Step Six: Bend the hooks back over with the pliers to keep the metal piece in place.

In hindsight, I should have spray painted the little screw eyes before I attached them!!! Of course, I totally forgot and by the time I had tightened them I wasn’t about to unscrew them and start over. So I just grabbed a small paintbrush and carefully applied a bit of black paint to match the metal piece. Lastly, I just touched up the 2 other screw holes left from the backing with a bit of stain to match the frame color.

I thought about giving the clock frame a bleached finish like the inspiration piece, but then I decided against it. I actually like the dark wood and it goes well with the other wall art in this space.

This wall space is slowly starting to fill up, but I do still need one or two more pieces!

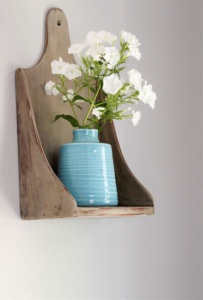
Other than that this little reading corner is starting to get that cozy vibe I’m always looking for.
So what do you think about this Trash to Treasure Medallion Wood and Metal Wall Art?
Has it inspired you to think outside the box a bit? Maybe take a second look at that outdated, non-functional, and even ugly piece and imagine what it COULD be!
All it takes is a little time and imagination!
Thank you so much for stopping by!

If you liked this Trash to Treasure you might enjoy these too!


Thank you so much for stopping by!


Brilliant – love how this turned out. You’re awesome at putting things together and this piece looks great in that corner. These little details make all the difference and I love how you keep it simple and don’t over do it.
Happy Valentines Sweet Friend!
Carole
Christine, I love a great repurposed project. I love what you did with the clock, It looks beautiful.