
Painting Kitchen Cabinets (Reveal and How to!)
I know. I know. For the last thirteen days you all have been sitting on the edge of your seat impatiently waiting for me to FINALLY reveal our kitchen cabinet makeover. The dishes have piled up in your sink and you’ve had to resort to eating off of paper plates.
Am I right?
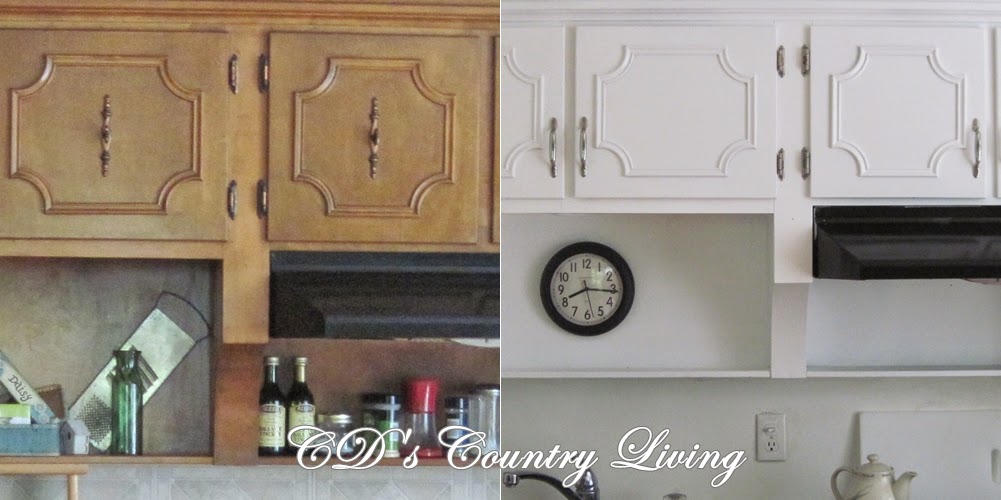
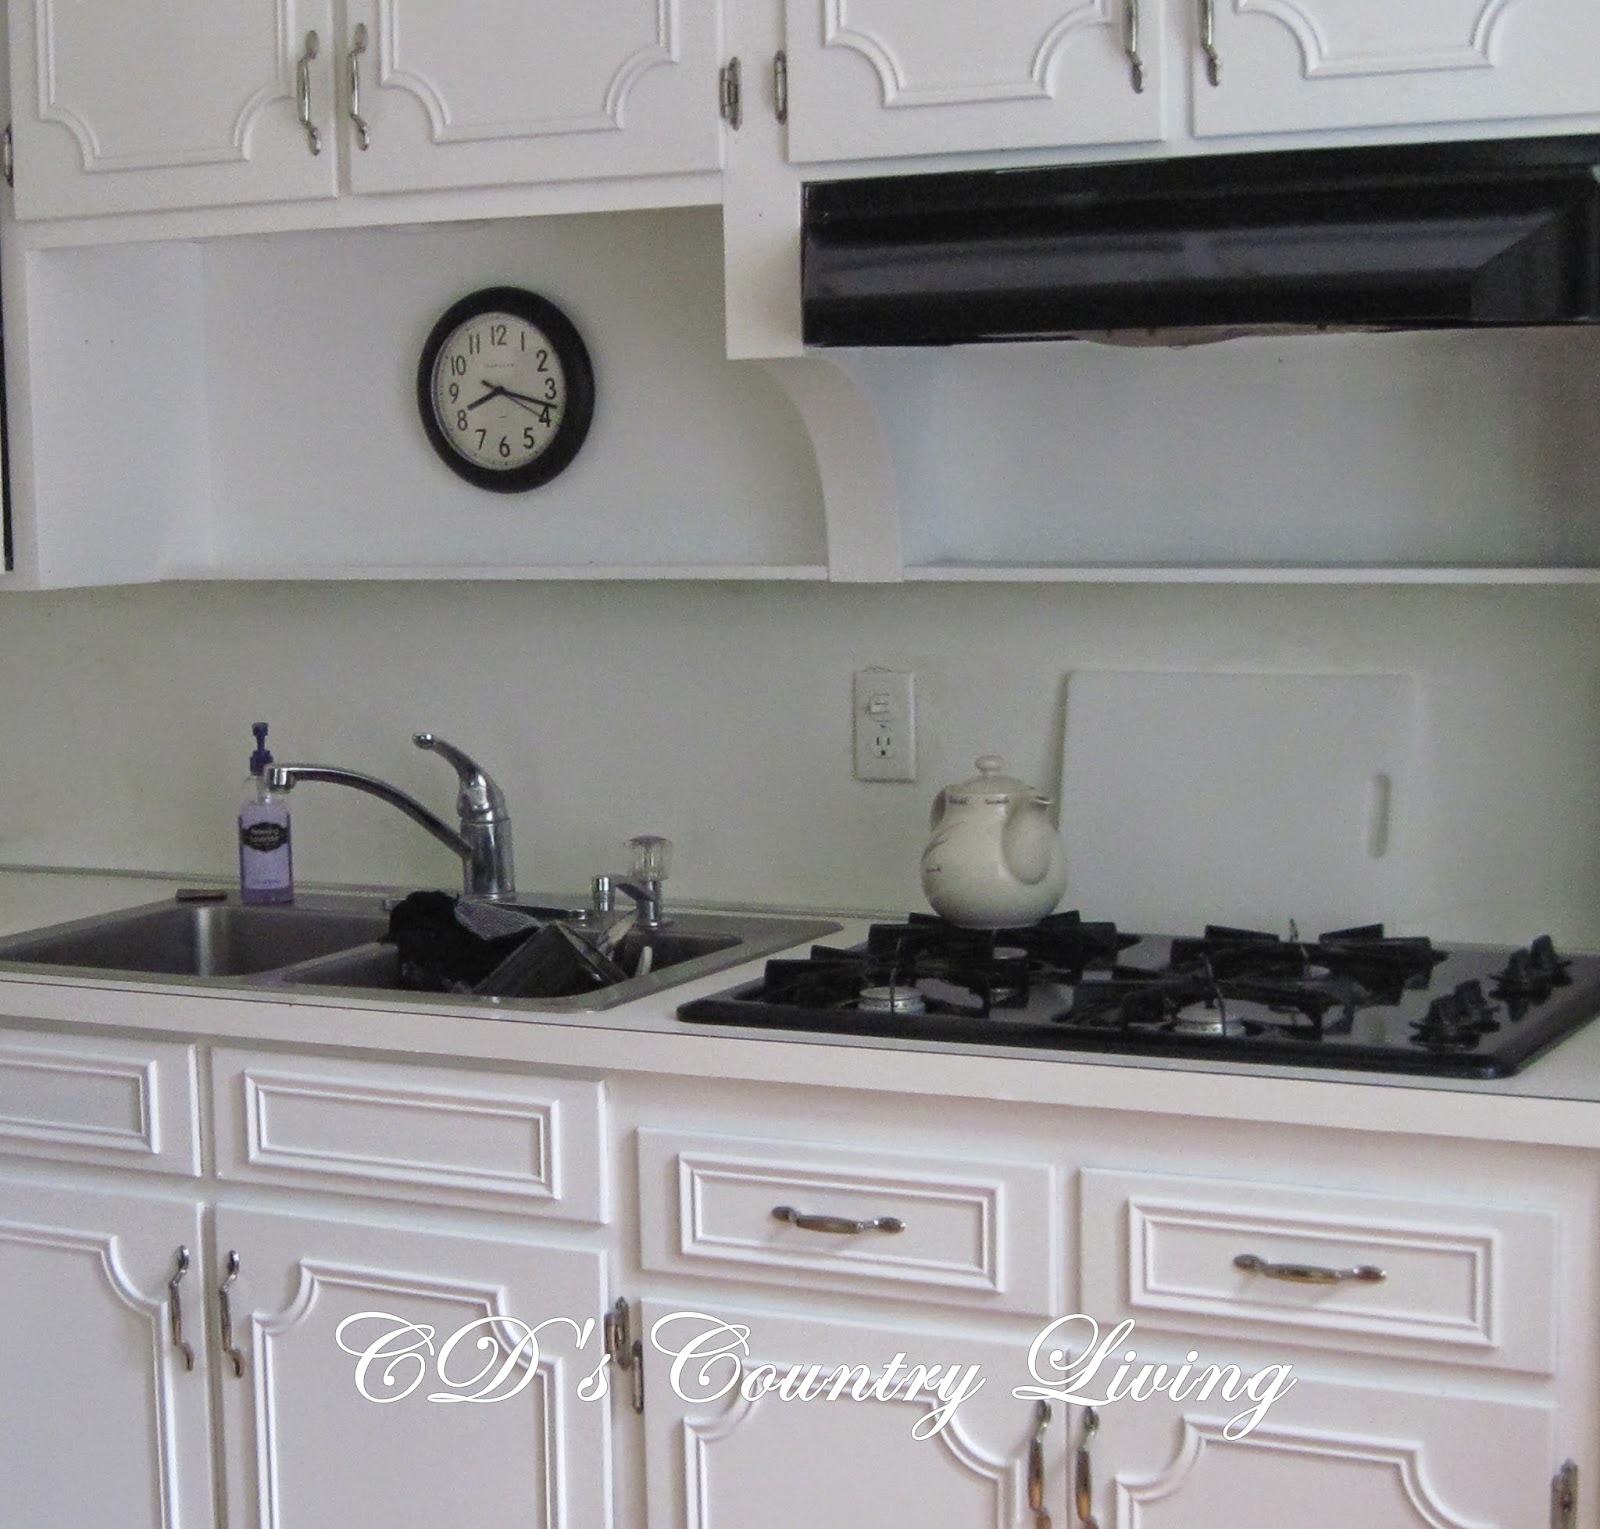
Well, the day is FINALLY here! So let’s begin, as all makeover’s do, with a BEFORE photo of our orange-and very outdated cabinets!

Here are the ‘top’ half of our kitchen cabinets. (Thanks to the wonderful magic of cropping-you will be saved from seeing MY sink full of dishes but in my defense-they are clean!
Anyway-back to the cabinets. Aren’t they GORGEOUS! Indeed. Who wouldn’t feel all warm and fuzzy each time they reached for the handle, only to find it in the CENTER of the cabinet, instead of where it belongs!!!!!
But as I stated in a previous post-Michael and I were all for replacing the entire front of the cabinets-but, unfortunately, after closer inspection of the rest of the kitchen (Let’s not go there now)- and a budget that was soaring to all new heights, we had no other option but to pray that paint made a difference!


Yes, it is just painted AND new hardware…………………

Which-by the way-is now in its rightful place……………..(The hardware I mean-Just in case your mind is blown away by the HUGE change-and I lost you.)

Never mind the fact that all the dings, scars, scratches, and years of built-up GRIME-has magically disappeared……………(there was nothing magical about it-let me tell you!)

So, I guess this is where I divulge the reason(s) for why this project took so……….LONG!
And more importantly………………………………….
Since I now know more about what NOT to do when it comes to painting kitchen cabinets, I’ll start there-because the ‘TO DO’ list will be that much shorter-if not self-explanatory.
#1. Do not read more than three tutorials on ‘How to Paint Kitchen Cabinets’. Trust me on this one. All you will accomplish in doing so- is to become even more confused-and in the end-more frustrated-because most of these wonderful people actually knew what they were doing going in-and if not-you will never know it by reading their post/articles and drooling over their perfectly painted cabinets!
#2. When deciding whether to spray or brush and roll- Do not fall into the trap of believing that ‘spray’ painting your cabinets is quicker and easier. It is not. Unless of course you are a professional spray painter. (See #1 in my disclaimer-If I ever have to do this again-I’ll take the fear of brush strokes over spray painting- any day!)
#3. Do not waste your money on those fancy de-greasers and de-glossers, that some expert tutorial tells you to buy, to prepare your cabinets for paint. They don’t work any better than good old fashioned Dawn dishwashing detergent, and you won’t lose any brain cells from breathing in the chemicals. (I must have lost quite a few-because, even after hours of scrubbing-I still wanted to paint my cabinets!)
#4. No matter how tired and/or, impatient you are-do not forget the most important, yet time-consuming step-SANDING! (Again, trust me on this one! If your every muscle in your back and arms don’t feel like jello-you haven’t sanded enough!)
#5.Do not be cheap when it comes to primer! There are several ‘quality’ primers out there and if you read the expert tutorials (remember-only three)-they will give you all kinds of advice on which are the best (most expensive).

I went with one in the ‘middle’ price range ($17.00 per gallon). Would buying a more expensive primer have saved time and pulling of hair(mine)? Maybe-but I’ll never know, because we chose to spray paint the cabinets-which requires thinning of both primer AND paint. (See # 2-and if you still think spray painting is the best option-read on.)
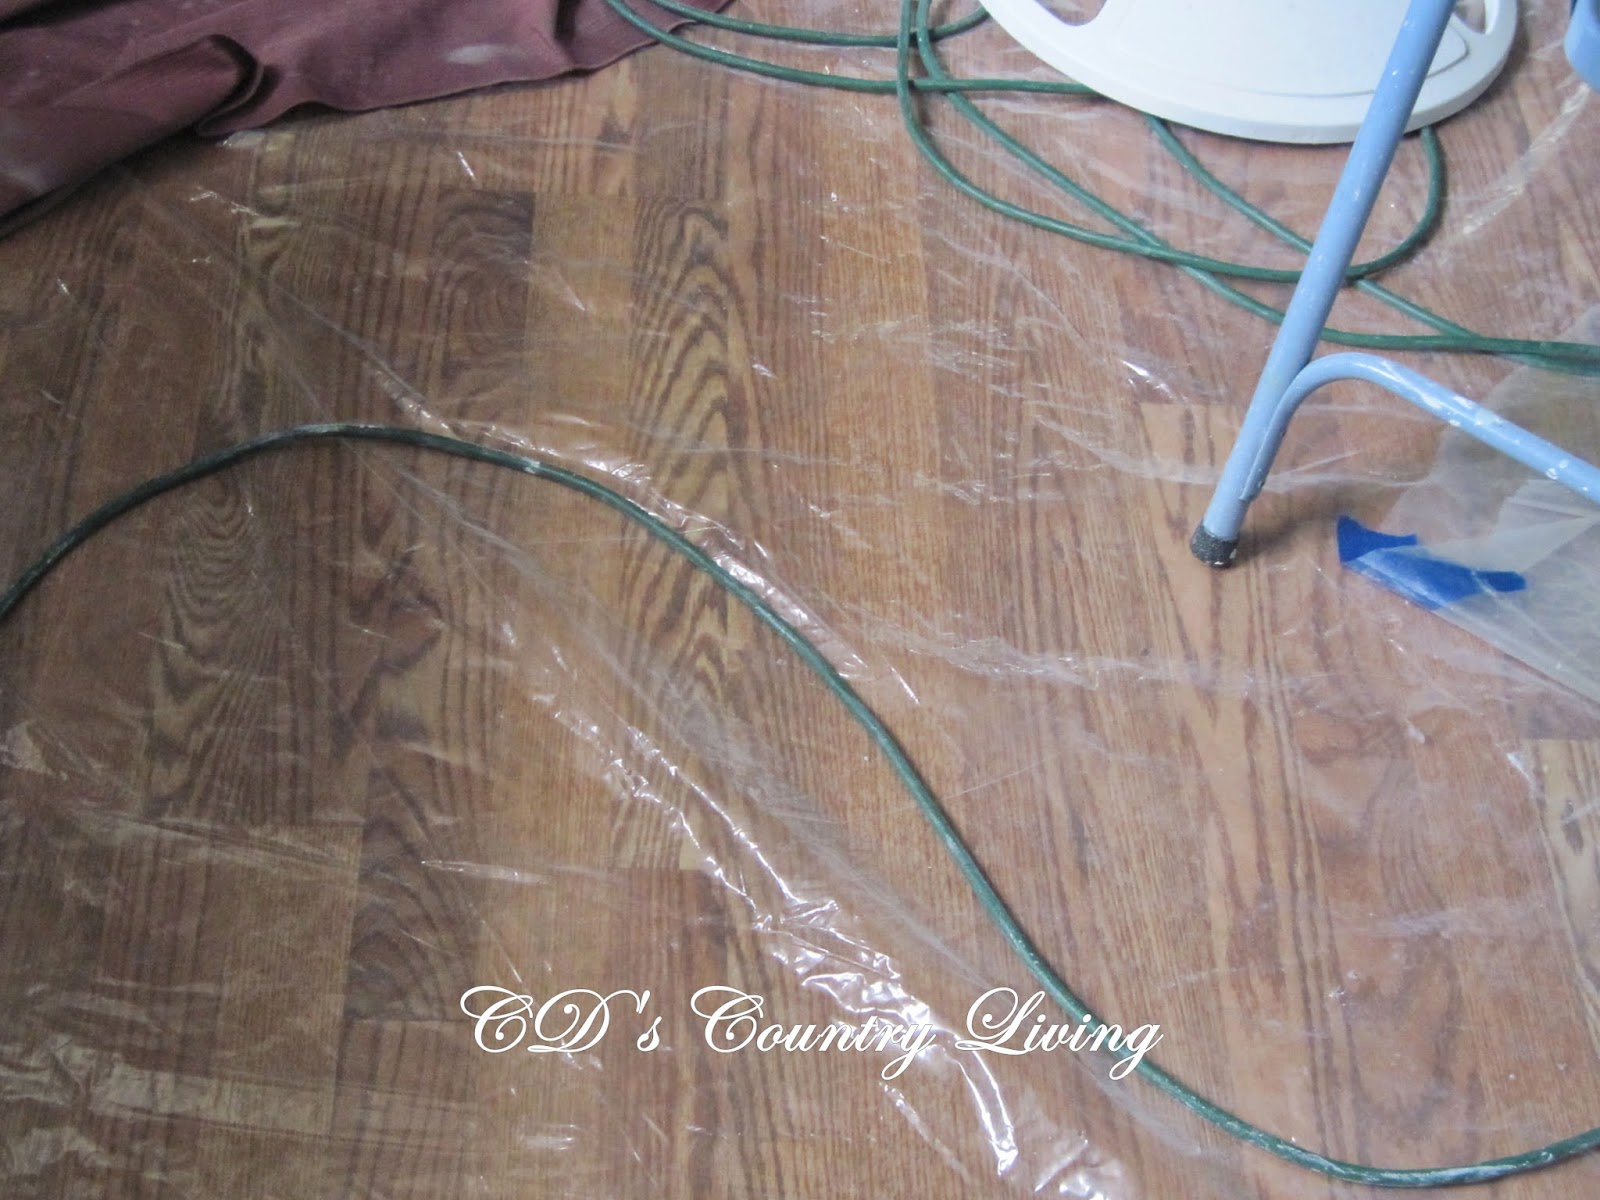
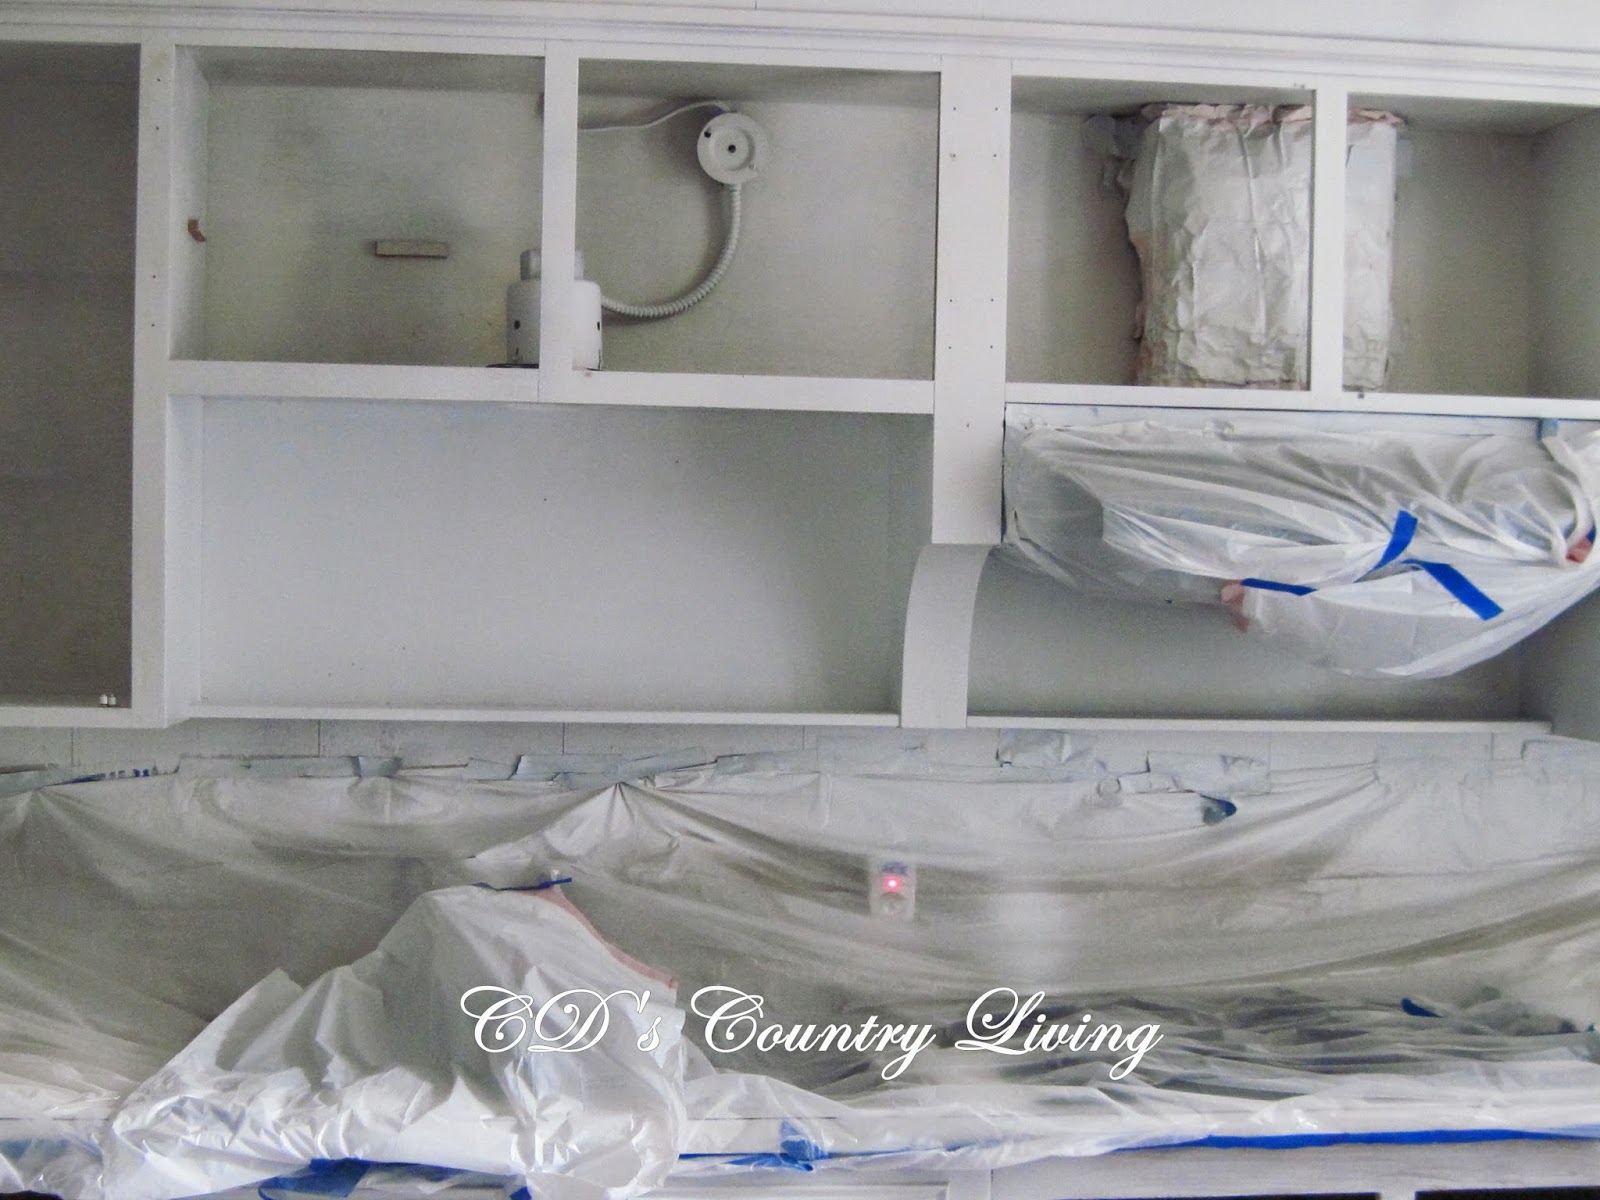
6. There is a great deal more prepping involved if you decide to spray your cabinets-(didn’t I tell you not to fall into that ‘easy’ trap?) and you should take into account several key factors before you begin that process.
a. Plastic rips
b. There is no tape on God’s green earth that can stay put when a 195 lb man is on a mission to get the job done-FAST!
c. Light fixtures, walls, and ceilings are NOT exempt from the preparation process. Remember-just because they are not in the line of fire-doesn’t mean they won’t get painted. ***Unless you have a professional painter. (Did I mention hubby is not one either?)
7. Prior to removing your cabinet fronts in preparation for painting-make sure, you have a DETAILED plan for marking the cabinets, ensuring that when you are done they are put back where they belong. I used the abbreviated location method. (For example, ASKL=Above Sink Left.) Clever, right? Well, the kids did not agree-and ended up wasting an hour changing it to some numbered version with a diagram and everything!!! (See #3 in my disclaimer)
8. Do not wait until just before you are going to paint the cabinets-to determine where or even, if, your new hardware will fit. Doing so will cause MUCH- unneeded tension, and will waste yet another hour until an agreement is made.
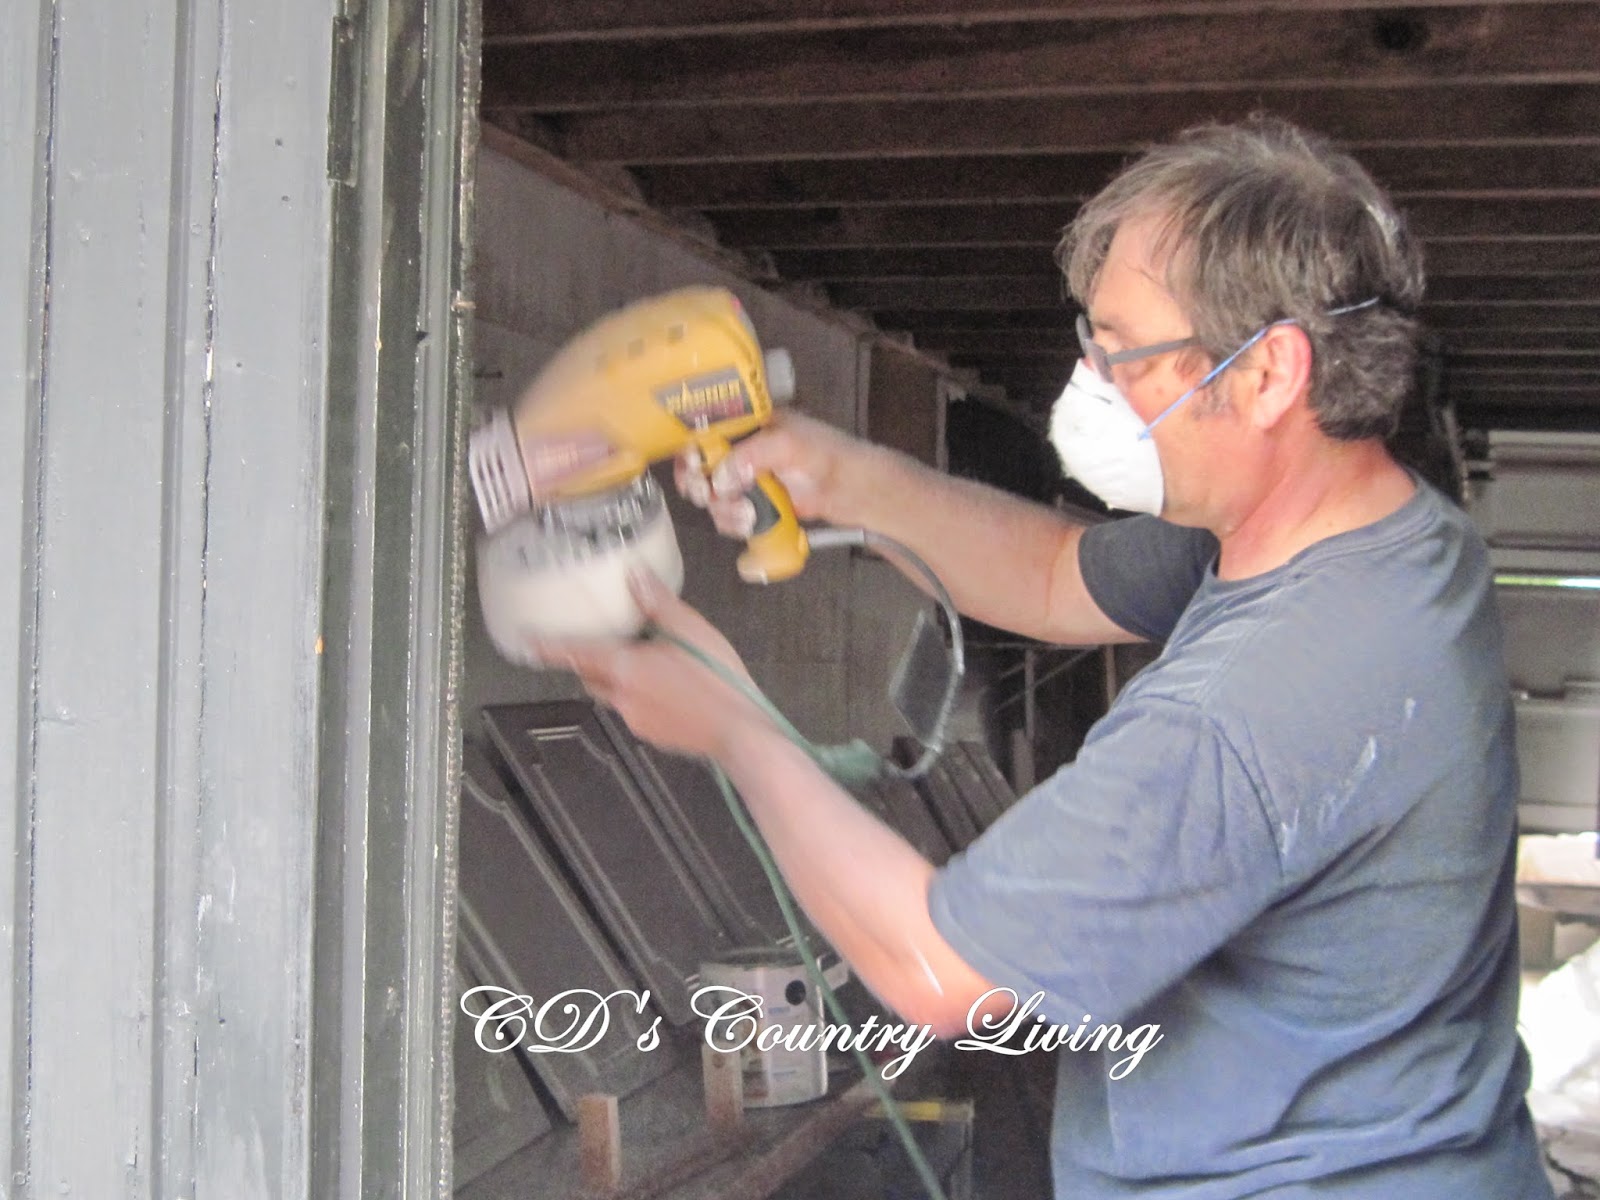
9. Do not expect your spray gun to work magic! We purchased a Wagner Power Painter Plus for $99.00 at Wal-mart. No, it was not the top of the line sprayer-but according to the tutorials I read-it was ONE of the best for the $. Even so-a sprayer can only do so much, and eventually, it will clog!

As you can see in the above photo (upper left) where the gun jammed, leaving splatters and drips in its wake. It did this many times during the 4 coat process. This of course- requires more work (sanding)!
Last but not least-
#10. DO not- I repeat do not, paint your kitchen cabinets (or anything for that matter) when the weatherman calls for the humidity to be in the 70-80% ratio! Humidity does not = good drying time.
Whew! That was a LONG post, and I didn’t even get to the How to!!!! Oh well, there are enough of them out there to last a lifetime. So maybe I should have titled this post, Painting Kitchen Cabinets Reveal and What not to do! At least now you know what NOT to do.
And of course, you got to see my FABULOUS reveal of the kitchen cabinets! Hubby said the rest will have to wait for a while- because he needs a break.
***Update-
Paint color: Behr Ultra White Paint/Primer (we used 1 gallon) $32.00 /gallon
Hardware: Menards- Brushed Nickle-box of 20 on sale for $20.00, We need to replace the drawer pulls. Originally we purchased half-moons for them (also brushed Nickle), but they do not fit the drawers, so we are returning them for knobs.
Hinges were painted with Krylon Spray Paint- color-Brushed Nickle
I’ll be sharing Painting our Kitchen Cabinets and the Revail at these AMAZING parties-so stop on over and get some inspiration from all the creative folks linking up!
Monday:
Thrifty Decor Chick
Tuesday:
Coastal Charm,
A Stroll Thru Life,
A Cozy Little House
Knick of Time
Kammy’s Korner
I'm popping in from Inspire Me Tuesday. I just painted my kitchen cabinets too. And you're right, sometimes you can read too many tutorials and get very confused. 🙂 Anyway, yours look wonderful and I love the hardware!
Great job! My goodness, I bet that was hard work!! I know you must be thrilled with the way it turned out. Your kitchen is bright and fresh now. 🙂
Thank you, Lisa! I'll have to stop over and check yours out!!!
Yes, Stacey, it was hard work, and one of these day's I might be able to forget the nightmare and actually enjoy it! 🙂 Thanks for the sweet comment and for stopping by!
Oh wow, what a difference. Love the white, so pretty. Thanks tons for linking to Inspire Me.
Thank you, Marty!
It looks awesome! We painted our own cabinets, but it was during the construction phase so I didn't have to worry about taping everything. So good job on being dedicated enough to tape everything off. It looks great.
Sarah @ Backwoods Babies
Thank you, Sarah! Taping everything up took a lot more time-but it saved us 'extra' work in the long run!!!