5 Tips To Be Your General Contractor
In our last post, we discussed what we considered to be our top pros and cons of being your own General Contractor.
We are overjoyed that so many of you found that post helpful, and we hope this one is too!
As promised, in today’s post we will go more in-depth into being your own GC and what we learned along the way. So let’s get started with our five top tips!
5 Tips To Be Your General Contractor
1. Get organized
As I mentioned in our last post a GC has plenty of hats. And all of these hats involve a LOT of paperwork.
A. Documents:
You’ll need to keep track of things like budget, permits, contractor bids, and receipts.
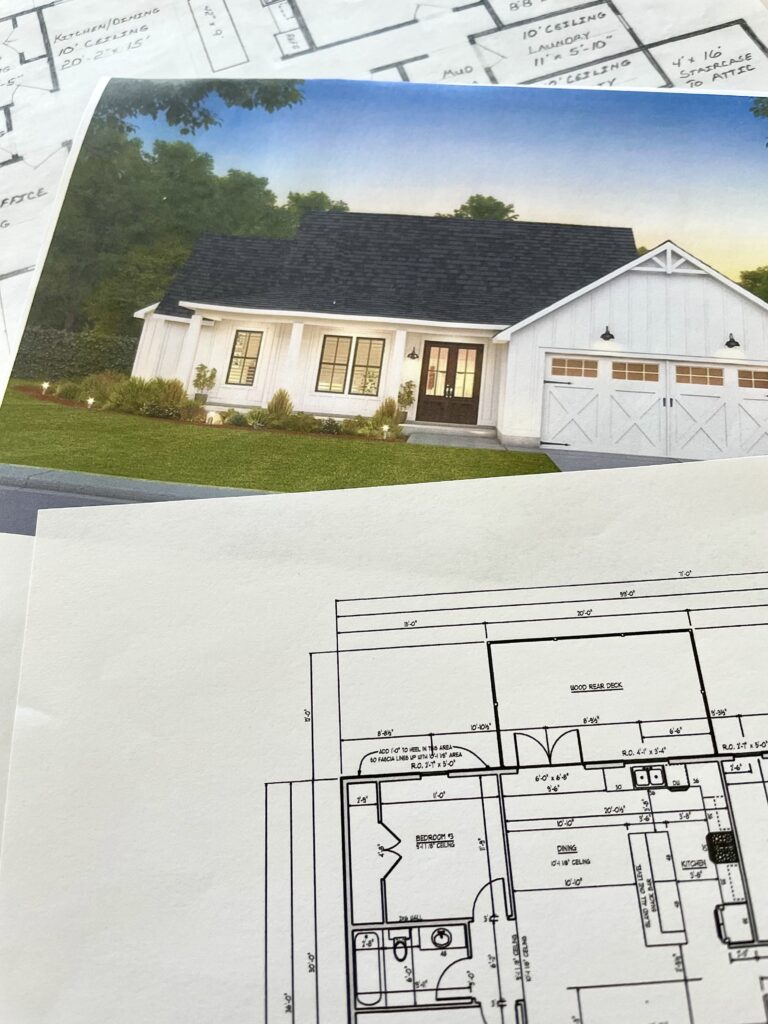
I found an amazing light-weight organizer I could bring with me shopping to hold all my receipts and lists and we also invested in a small safe to keep important documents like permits, banking info, and our house plans.
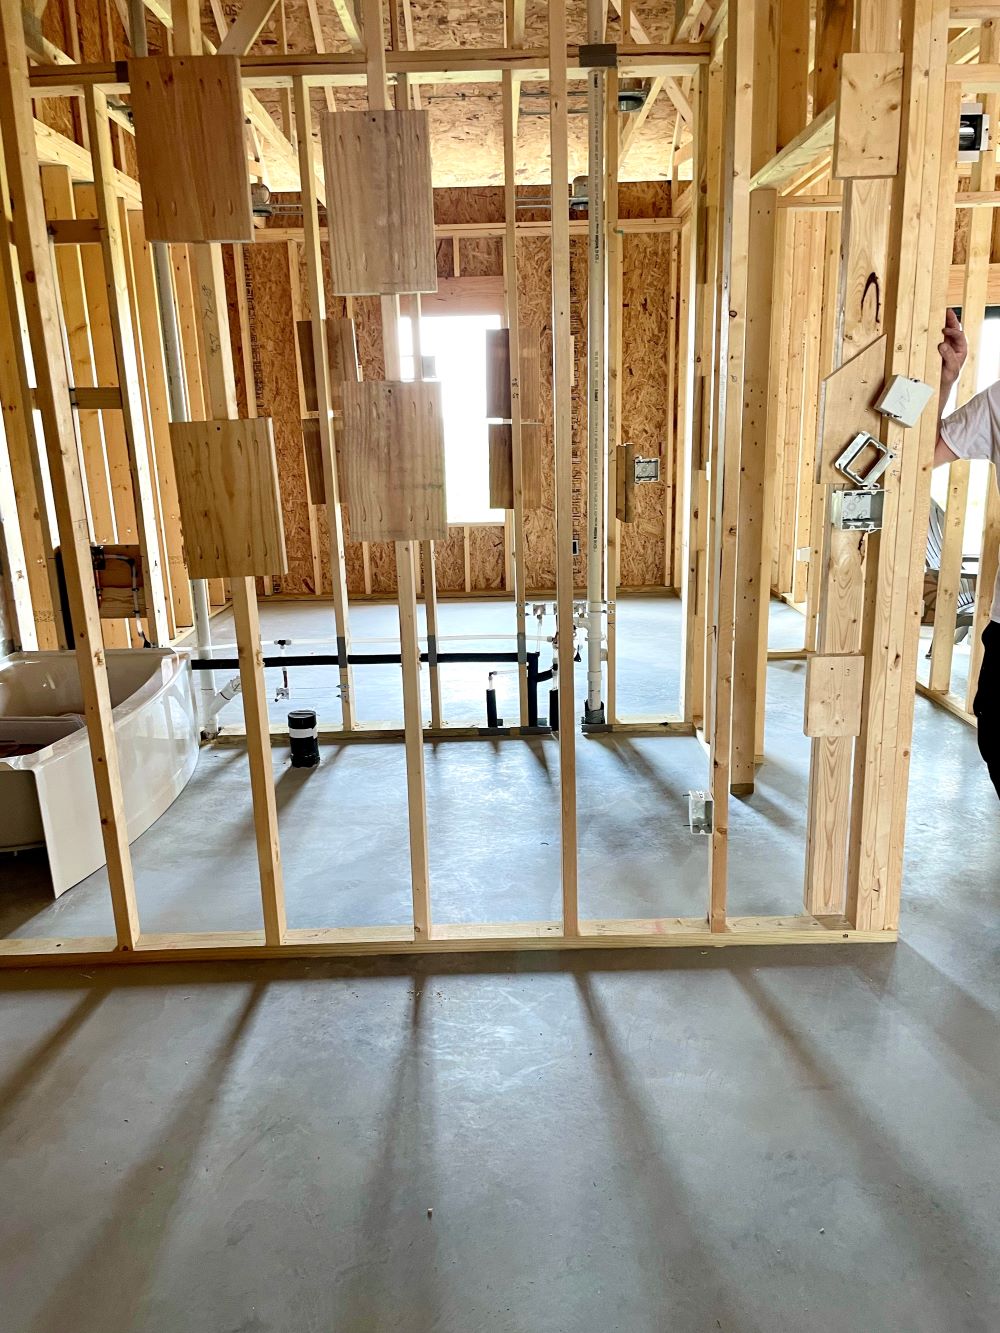
B. Materials:
As your own GC, you will ensure the contractors have all the materials needed to complete their jobs.
In most new builds the main contractor who does the framing, exterior, and main interior work will include the materials in their bids and they will supply them. But other contractors like your plumber and electrician will need to see if not install some items right after framing. An example of this for plumbing would be items like a tub, vanities, and shower fixtures.
Michael and I started purchasing items for our home months before we even broke ground. We began by making a list of items for each room on an Excel spreadsheet.
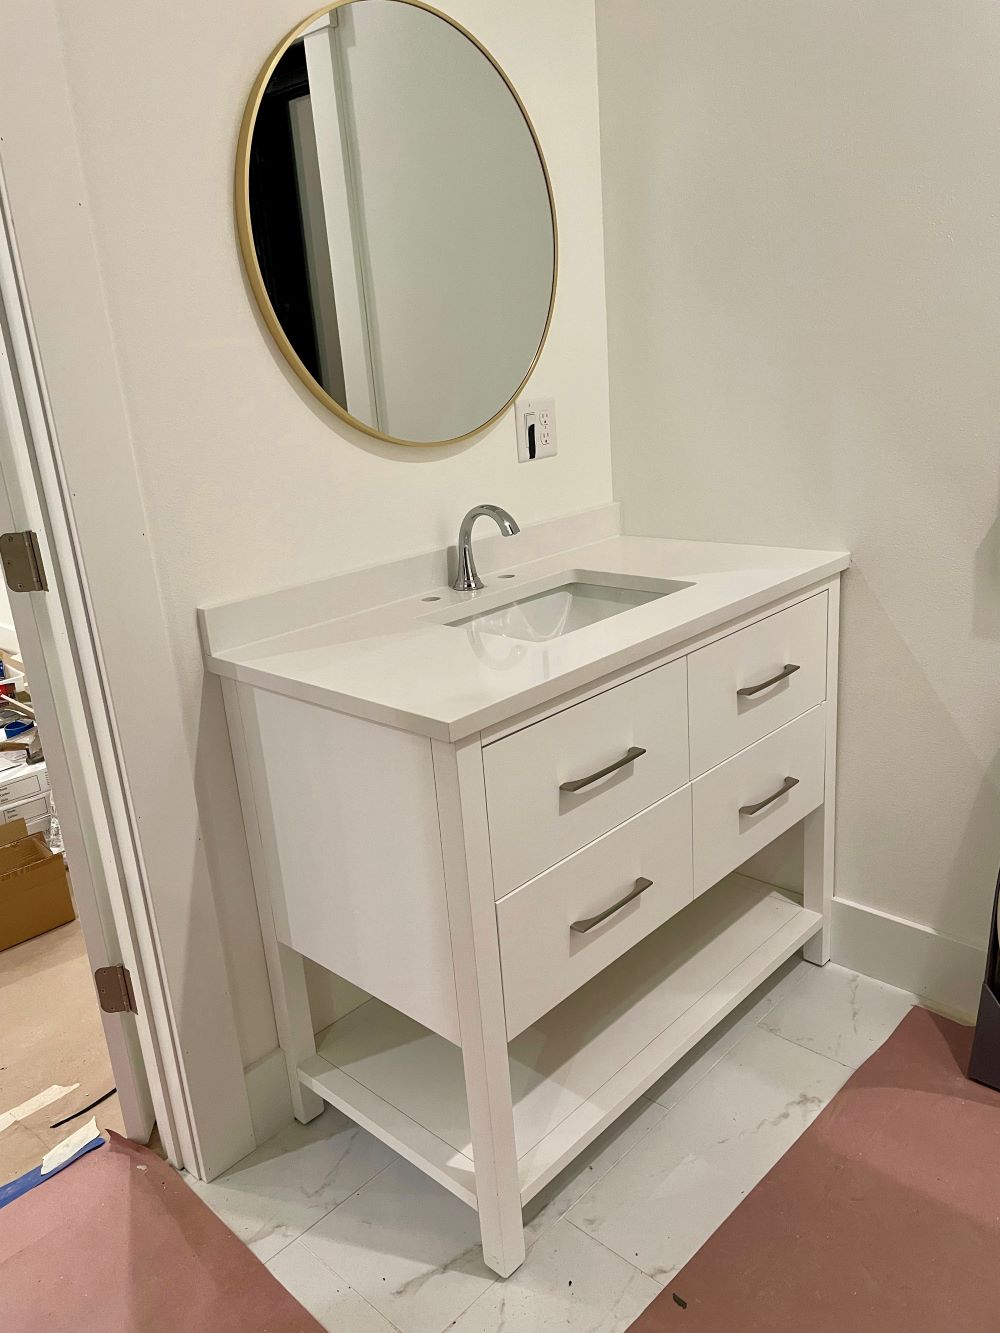
Example: Primary Bathroom List:
- Vanities (2)
- Mirror (2)
- Toilet (1)
- Tile (how many square feet)
- Flooring (how many square feet)
- Light fixtures (3)
- Faucets (3)
- Shower head (1)
- Glass shower door (1)
Then we spent hours and hours researching each item until we found exactly what we wanted. Lastly, we put those items on a wish list at the stores where we planned to purchase these items.
Many stores offer sales alerts that are sent directly to your email or you can use apps like Google Shopping which will also send alerts through an app or email. We did both.
Whenever an item went on sale we bought it immediately. Thankfully we had room at our rental to store the items until our house was framed in and then we moved them to our loft area so they were on site when needed.
2. KNOW THE STAGES TO BUILDING YOUR HOME
If you’re like I was, you might not know what the process of building a new home entails.
For example, what work needs to be done before insulation is installed? Or how much time between the drywall being installed and painting?
We will discuss later in the post what happens when things don’t go according to plans but here is how our building plan was set up.
- Clear property for site build
- Foundation- Footings, concrete poured, install drains, plumbing, sewer, and water.
- Framing-Roof, windows, doors
- Installation of HVAC, plumbing, vents, ductwork, wiring electrical
- First inspection
- Insulation
- Drywall
- Exterior Finishes-siding, deck, patio, sidewalk, driveway, (usually when all heavy trucks are no longer present or will be)
- Second Inspection
- Paint
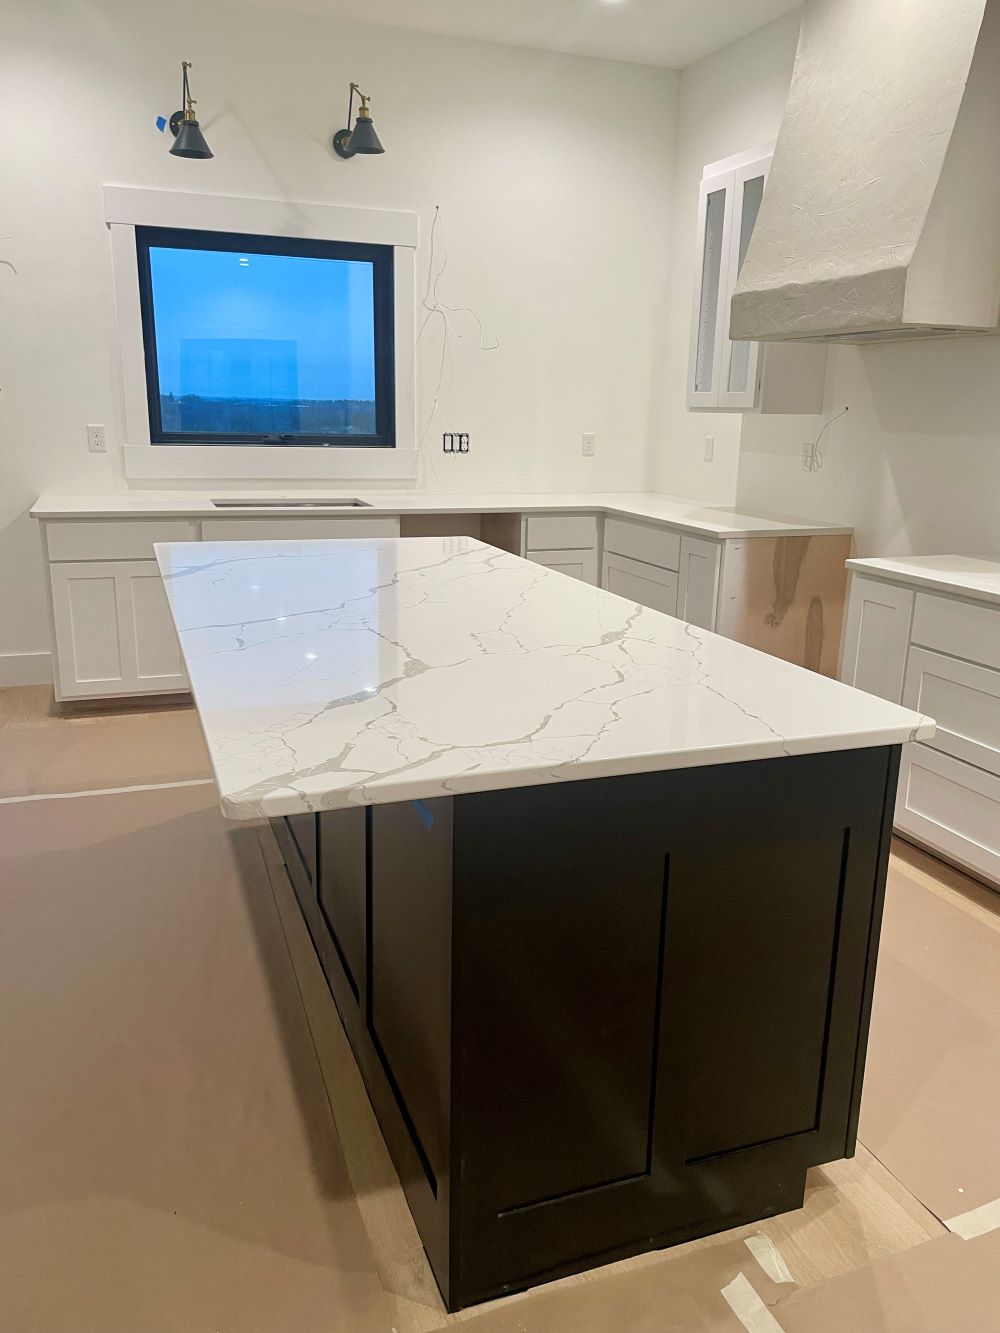
- Interior finishes-Flooring, cabinets, countertops, interior doors, trim, light fixtures
- Landscaping
- Final Finishes-hanging mirrors, shower doors, paint touch-ups
- Final Inspection
- Final Walkthrough
3. PLAN FOR DELAYS
You WILL have delays. They may be due to weather, supply chain issues, and even contractors. Regardless of the cause, you’ll need to be prepared for them.
The weather wasn’t a major issue, but we had windy days when the main contractor couldn’t work on outside projects. Communication with our builder was key here. Instead of delaying our entire project due to weather, Michael set it up so half the contractors could stay on our project and work inside on some things, while the other half left to work on another home build.
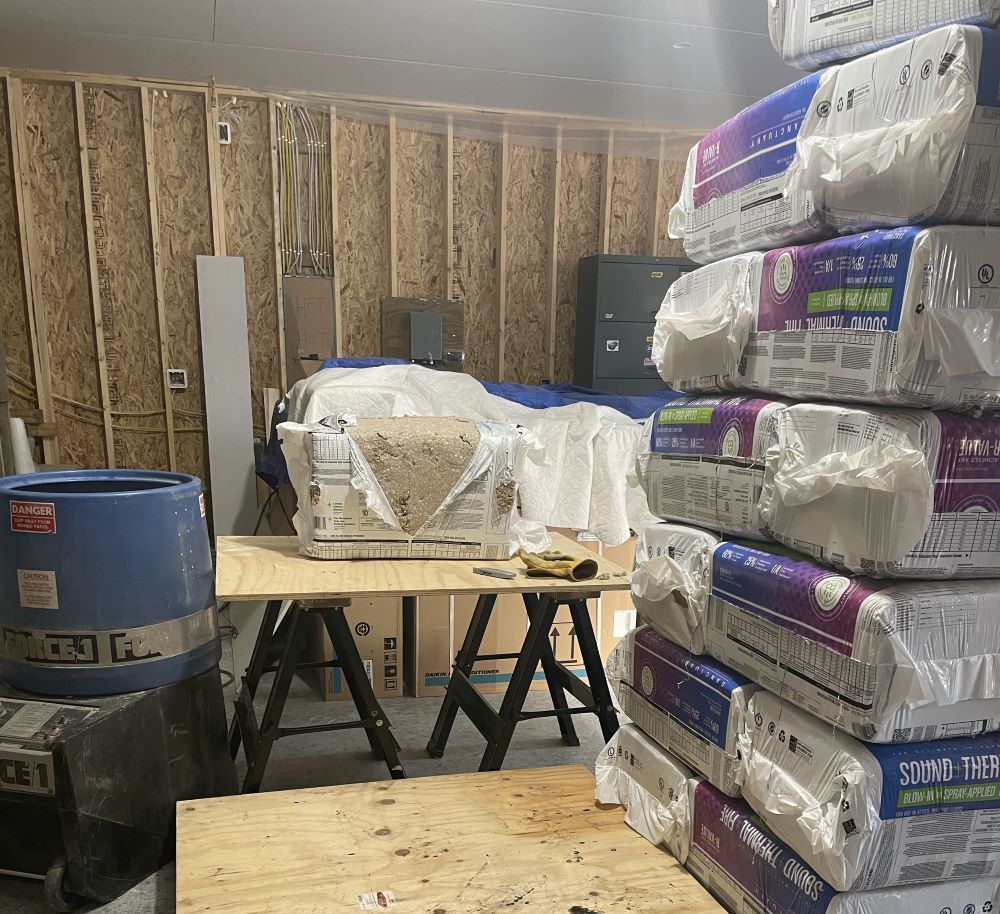
Like the weather, it’s hard to plan for supply delays, but if you plan for them they don’t cause as much stress or interruption in work. We found out early on that the insulation for our project was going to be delayed and when it was due for delivery our builder was going to be working on another site. Knowing this in advance helped us to decide to do the insulation ourselves. It not only saved us money but it prevented further delays.
Unfortunately, delays will happen and in most cases, they can cause a domino-like effect. If you haven’t planned for them it can cost time and money.
This leads me to tip #4
4. HAVE A CONTINGENCY FUND
Most pros will recommend you put aside 10% of the total budget for unexpected costs. We put a bit more aside and we were SO grateful we did.
Remember that domino effect I was talking about? Well, it happened to us.
We had major issues with our main contractor because he and his crew had taken on WAY more projects than ours. Unfortunately, we realized too late in the build to find someone else. The constant delays were pushing us further and further out and we soon were informed by our landlord that we couldn’t extend our lease on our rental. The owner was selling the house. We ended up having to move into another much smaller rental and since our home wasn’t dried in yet we had no place to store the items we purchased for our home. This meant we not only had to pay more rent than we expected but we also had to pay for a rental unit to store our items.
Delays, adding additional features, and contractor underbids are just a few reasons you may go over budget.
Putting that extra money aside for those issues will save you the homeowner and the GC a ton of stress.
Trust me!
And finally, tip #5…
5. LEARN TO NEGOGIATE:
I’ll start by saying NO-ONE is better at negotiating than Michael.
NO-ONE.
He has embarrassed me with his negotiating skills mostly because he does not know when to walk away.
But embarrassing or not, he has saved us a LOT of money with those skills so I try not to complain too much.
So what can you negotiate for when you’re the GC of your home build?
Everything. Well, almost everything.
Let’s start with our top two!

SERVICES:
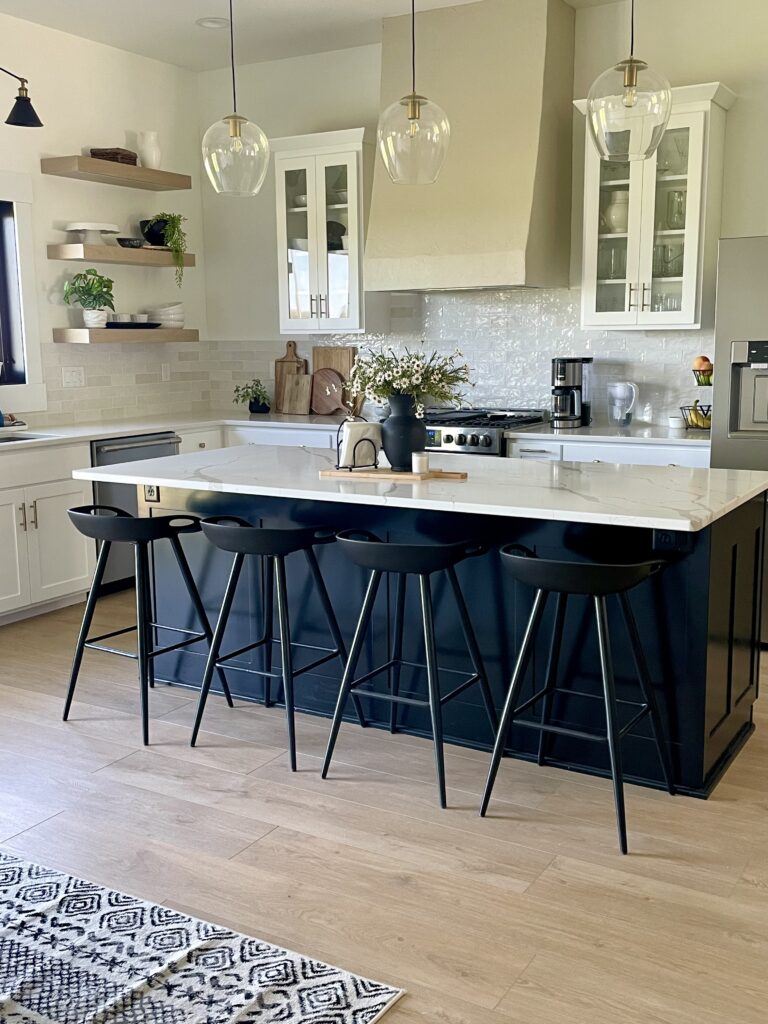
This can include things like warranties and delivery, but it can also include upgrades. As I mentioned earlier we had delays and decided to make up for them by installing our insulation. It took a lot of time, but it also saved us money. The icing on the cake was that Michael negotiated even more with the contractor and had them throw in custom shelves that we had installed in our living and kitchen areas.
PRODUCTS:
You can negotiate on high-ticket items like furniture, appliances, and even flooring and tile!
All you need to do is research and maybe make a compromise or two.
For example, we purchased our appliances before our home was even framed. Why? Because one of our local dealers was having a HUGE sale on appliance bundles at the time. This enabled us to get big discounts plus rebates! Bonus? Michael negotiated by offering to pay cash and they threw in delivery. Better Bonus? They stored our appliances until we moved in for… wait for it…FREE!
And there you have it!
Our 5 Tips to Be Your Own General Contractor!
If you’ve missed our last post A Guide to Building a New Construction Home- you can find it here.
You can also start from the beginning with our Building our Dream Home Series!!

Next up we’ll be sharing a home tour!!
Thank you so much for stopping by!